This comprehensive guide will walk you through everything about dusting brushes for home appliances. You’ll learn how to select the right brush, master step-by-step cleaning methods, and keep your tools in top shape. Say goodbye to dust buildup and hello to sparkling appliances with these expert insights.
Key Takeaways
- Dusting brushes are essential for appliance care: They reach tight spaces without scratching surfaces, preventing dust-related damage and improving efficiency.
- Choose based on bristle type and handle: Soft, natural bristles are gentle on electronics, while angled handles help clean vents and coils easily.
- Proper technique enhances results: Always unplug appliances first, use gentle strokes, and follow a top-down approach to avoid spreading dust.
- Regular maintenance extends brush life: Clean brushes weekly with mild soap, air dry thoroughly, and store in a dry place to prevent mold.
- Different appliances need different brushes: Use electrostatic brushes for TVs, extendable ones for fridge coils, and small brushes for keyboard crevices.
- Troubleshoot common issues quickly: If bristles shed, check for wear; if dust remains, dampen bristles slightly or upgrade to a higher-quality dusting brush.
- Invest in quality for long-term savings: A good dusting brush for home appliances reduces cleaning time, cuts energy costs, and prolongs appliance lifespan.
Introduction: Why Your Home Appliances Need a Dusting Brush
Dust is more than just an eyesore. It can clog your appliances, make them work harder, and even cause breakdowns. That’s where a dusting brush for home appliances comes in. This guide will teach you all about these handy tools. You’ll learn how to pick the best brush, use it like a pro, and keep it clean. By the end, you’ll have a clear plan for a dust-free home. Let’s dive in!
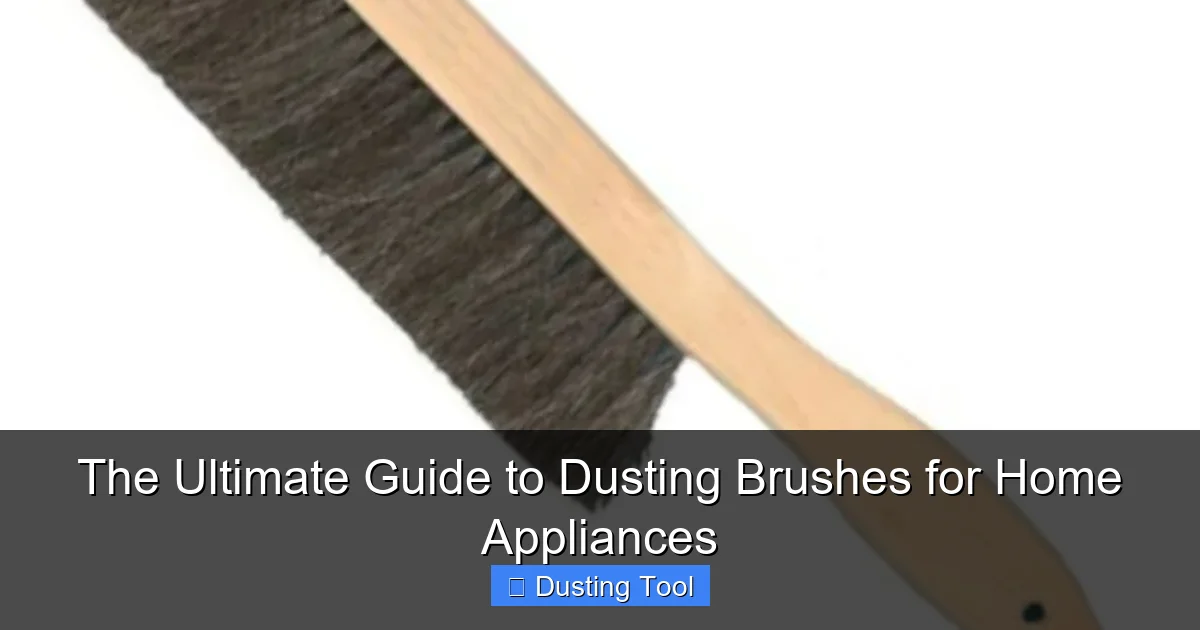
What Is a Dusting Brush and Why Use It?
A dusting brush is a cleaning tool with soft bristles attached to a handle. It’s designed to sweep away dust from surfaces without scratching. For home appliances, it’s a game-changer. Unlike rags or feather dusters, a dusting brush for home appliances gets into nooks and crannies. Think of fridge coils, oven vents, or computer fans. Dust buildup there can lead to overheating and higher bills. Using a brush keeps appliances running smoothly. It’s quick, easy, and effective.

Visual guide about The Ultimate Guide to Dusting Brushes for Home Appliances
Image source: images-na.ssl-images-amazon.com
Benefits Over Other Tools
Why choose a brush? First, it traps dust instead of pushing it around. Second, it’s gentle on delicate parts. Third, it reduces allergen spread. With a good dusting brush, you save time and money on repairs.
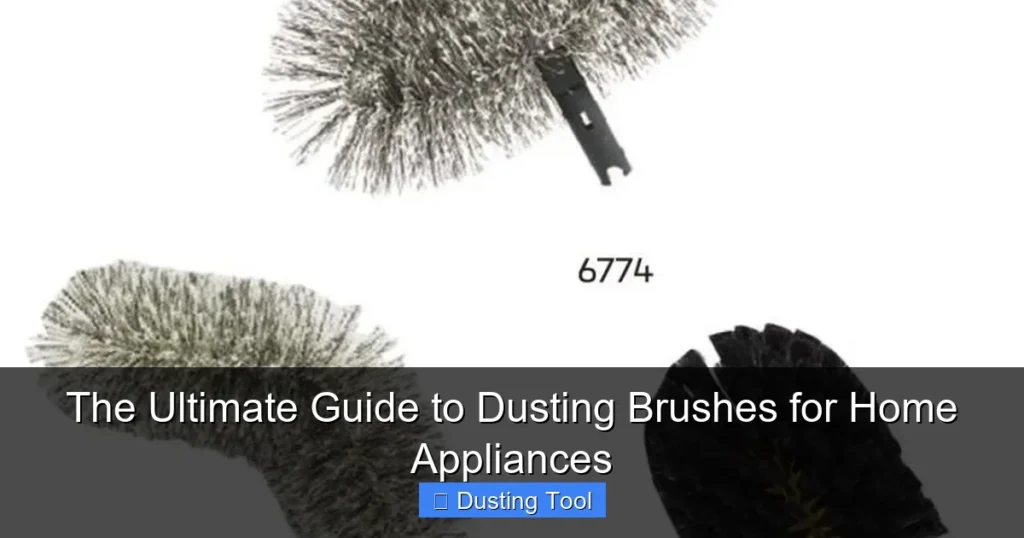
Types of Dusting Brushes for Home Appliances
Not all brushes are the same. Picking the right one matters. Here are the main types.

Visual guide about The Ultimate Guide to Dusting Brushes for Home Appliances
Image source: carrmclean.ca
Soft Bristle Brushes
These have natural or synthetic soft bristles. They’re perfect for electronics like TVs and stereos. The bristles won’t scratch screens or plastic. Look for a compact size for easy handling.
Angled Brushes
Angled heads help you reach tight spots. Use them for appliance vents or behind the fridge. They make dusting awkward angles a breeze.
Extendable Brushes
These have long handles that telescope out. Ideal for high places or under appliances. Clean ceiling fan blades or top of cabinets without a ladder.
Electrostatic Brushes
These brushes use static to attract dust. Great for surfaces that hold dust, like computer keyboards. They grab dust like a magnet.
Mini Detail Brushes
Small brushes with fine bristles. Use them for keyboard keys or appliance buttons. They detail clean where bigger brushes can’t go.
Each type has its role. For example, an electrostatic dusting brush for home appliances like computers cuts static cling. An angled brush is best for coil cleaning.
How to Choose the Right Dusting Brush
With so many options, how do you pick? Consider these factors.
Visual guide about The Ultimate Guide to Dusting Brushes for Home Appliances
Image source: carrmclean.ca
Bristle Material
Soft natural bristles (like goat hair) are gentle. Synthetic bristles (like nylon) are durable. For most home appliances, synthetic works well. It’s easy to clean and lasts longer.
Handle Design
Look for a comfortable grip. Ergonomic handles reduce hand fatigue. If you have many high appliances, get an extendable handle. For precision, a short handle is better.
Brush Size and Shape
Match the brush to your appliance. A large brush covers big areas fast. A small brush gets into crevices. Angled shapes help with vents.
Compatibility
Check if the brush is safe for your appliances. For electronics, ensure it’s anti-static. For kitchen appliances, heat-resistant bristles are a plus.
Always read reviews. A good dusting brush for home appliances should feel sturdy and do the job without fuss.
Step-by-Step Guide to Using a Dusting Brush
Now, let’s get cleaning. Follow these steps for best results.
Preparing Your Appliances and Brush
Start by turning off and unplugging appliances. Safety first! Then, check your dusting brush. Remove any old dust or debris. Shake it out or rinse if needed. Let it dry completely before use.
Dusting Different Appliances
Use gentle strokes. Work from top to bottom to avoid recirculating dust. Here’s how to handle common appliances.
For Refrigerators and Freezers
Pull the fridge out carefully. Use an extendable dusting brush to clean the back coils. Brush in one direction to lift dust. Also, dust the top and sides. This helps the fridge run efficiently.
For Ovens and Stovetops
Wait until the oven is cool. Use a soft bristle brush to dust control panels and vents. Avoid heating elements. For stovetops, brush around burners to prevent clogging.
For Electronics like TVs and Computers
Use an electrostatic or soft brush. Gently dust screens, vents, and ports. Hold computers steady while brushing fans. This prevents overheating.
For Vents and Fans
Angled brushes are perfect here. Dust air conditioner vents, dryer vents, and ceiling fans. Brush blades thoroughly to improve airflow.
Post-Dusting Steps
After dusting, wipe surfaces with a damp cloth if needed. Then, clean your dusting brush. Tap it to remove loose dust or wash it. Store it in a dry place. A hook or drawer works fine.
Remember, regular use of a dusting brush for home appliances keeps dust at bay. Aim for weekly touch-ups.
Maintenance and Care for Your Dusting Brush
Take care of your brush, and it will take care of you. Here’s how.
Cleaning the Brush
Weekly, wash bristles with mild soap and water. Rinse well. Squeeze out excess water and air dry upright. Don’t use heat to dry, as it can damage bristles.
Storage Tips
Keep brushes away from moisture. Hang them or store in a case. Avoid crushing bristles. This keeps their shape and effectiveness.
When to Replace
If bristles are frayed or shedding, it’s time for a new brush. Typically, a quality dusting brush for home appliances lasts 6-12 months with regular use. Don’t wait until it’s useless.
Troubleshooting Common Issues
Ran into a problem? Here are quick fixes.
Brush Shedding Bristles
This often means low quality or old age. Check for wear. If new, return it. For an old brush, replace it. Meanwhile, pick off loose bristles before use.
Dust Not Coming Off
Dampen bristles slightly with water. This helps grab dust. Or, upgrade to a brush with denser bristles. Also, ensure you’re brushing in the right direction.
Brush Smells Musty
It might be moldy. Wash with vinegar and water, then dry completely. Store in a well-ventilated area next time.
Handle Breaking
Avoid excessive force. If the handle cracks, repair with tape or get a new brush. Invest in a sturdy dusting brush for home appliances to prevent this.
Conclusion: Embrace a Dust-Free Home
You now know all about dusting brushes for home appliances. From choosing the right type to mastering cleaning steps, you’re set. Regular dusting extends appliance life, cuts energy use, and keeps your home healthy. Start with one brush and build your collection. Happy cleaning!
🎥 Related Video: Say goodbye to dusty ceiling fans and hard-to-reach spots!
📺 Homeessentials
The HomeEssentials Extendable Fan Cleaner Brush is a game changer for effortless cleaning without the hassle of ladders.