This guide provides everything you need to know to master your extendable duster. You will learn how to choose the right tool, the proper technique for dusting ceilings, fans, and high walls, and how to maintain your duster for years of effective use. Transform this simple tool into your secret weapon for a truly comprehensive clean.
Key Takeaways
- Choose the Right Head for the Job: Microfiber is great for flat surfaces and trapping dust, while lambswool excels on delicate items and conforms to shapes.
- Preparation is Key: Clear the area, protect furniture, and start from the top (ceilings) to work your way down, preventing double work.
- Use the Right Motion: Employ gentle, sweeping strokes and let the duster head do the work. Avoid harsh scrubbing on delicate surfaces.
- Extend Safely and Securely: Ensure all locking mechanisms are fully engaged before applying pressure to prevent collapse and potential injury.
- Clean Your Duster Head Regularly: Shake it out frequently during use and wash it according to material guidelines to maintain maximum dust attraction.
- Store it Properly: Retract the pole, clean the head, and store in a dry place to extend the life and hygiene of your tool.
Your Complete Guide to the Extendable Duster for High Walls
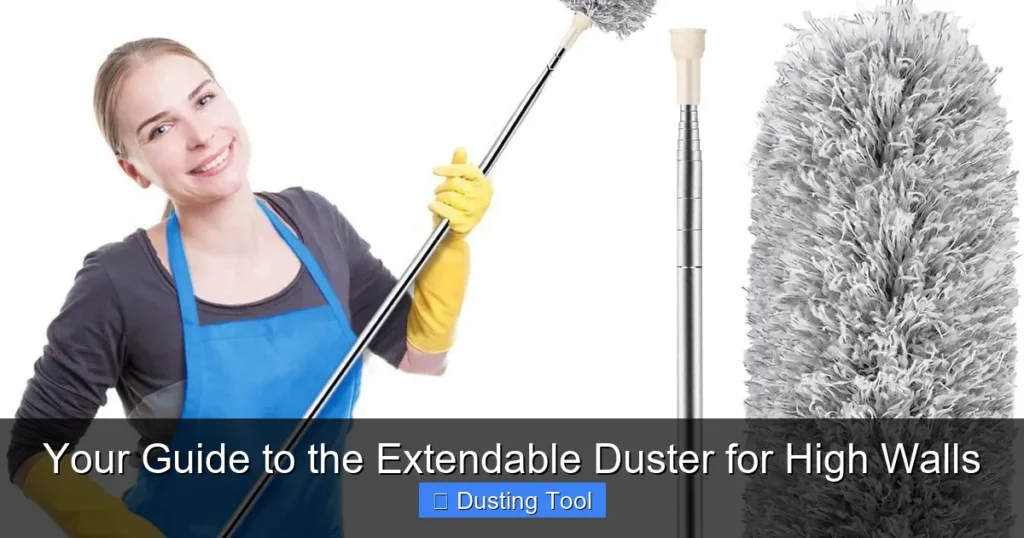
Do you look up at your ceiling corners and see cobwebs? Does your ceiling fan look like a fuzzy pet? High walls, light fixtures, and tops of cabinets collect dust. But you do not need a risky balancing act on a ladder to clean them. The extendable duster is your secret weapon. This simple, clever tool can transform your cleaning routine. It brings those hard-to-reach spots within easy reach. This guide will show you how. You will learn to pick the perfect duster, use it like a pro, and keep it working great for years. Let’s banish high dust for good.
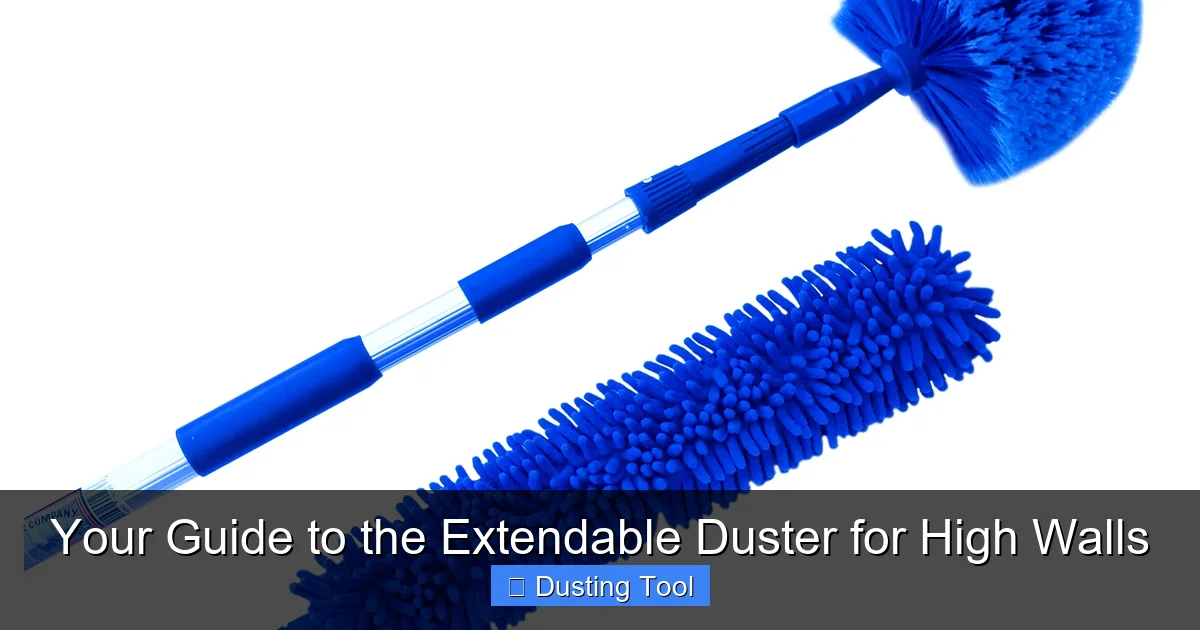
Step 1: Choosing Your Perfect Extendable Duster
Not all extendable dusters are the same. Picking the right one makes cleaning easier and more effective.
Visual guide about Your Guide to the Extendable Duster for High Walls
Image source: i5.walmartimages.com
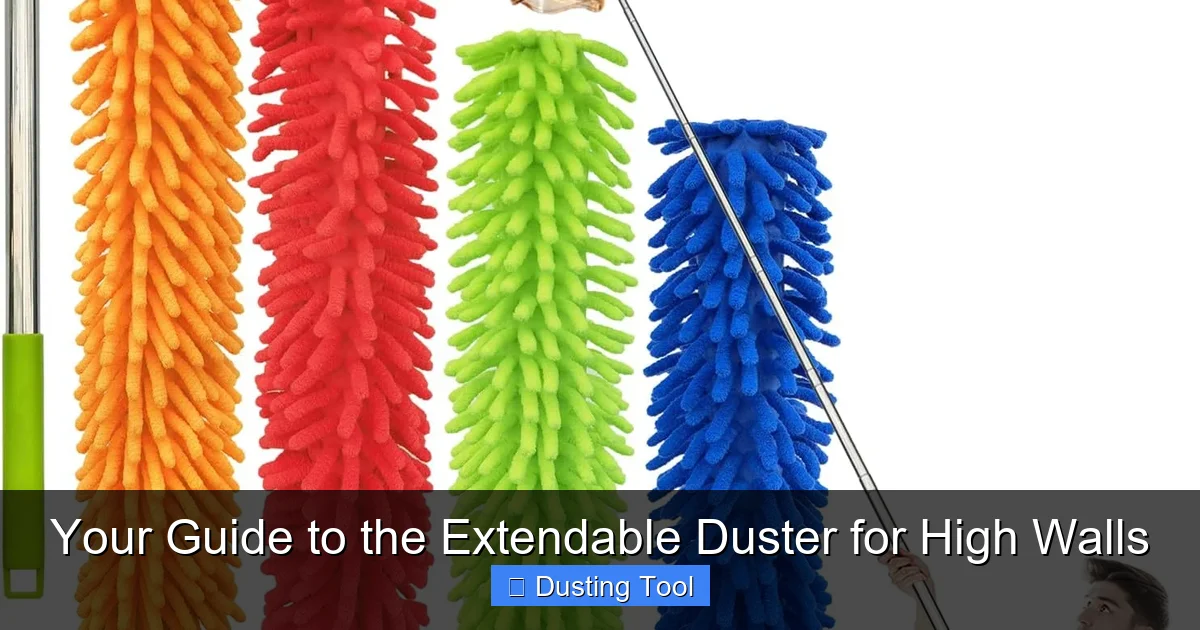
Consider the Duster Head Material
The head is the business end of your tool. The material decides what it cleans best.
- Microfiber: This is a top choice. Microfiber strands have a static charge. They attract and trap dust like a magnet. It is great for smooth surfaces like walls, ceilings, and flat cabinet tops. Many are machine washable.
- Lambswool: Traditional and very effective. Lambswool is naturally electrostatic. It is often softer and fluffier than microfiber. It is perfect for delicate items like lampshades, blind slats, and intricate light fixtures. It conforms to shapes well.
- Synthetic Fluffy Fibers: These mimic lambswool but are often more affordable. They work well for general, all-purpose dusting on most high surfaces.
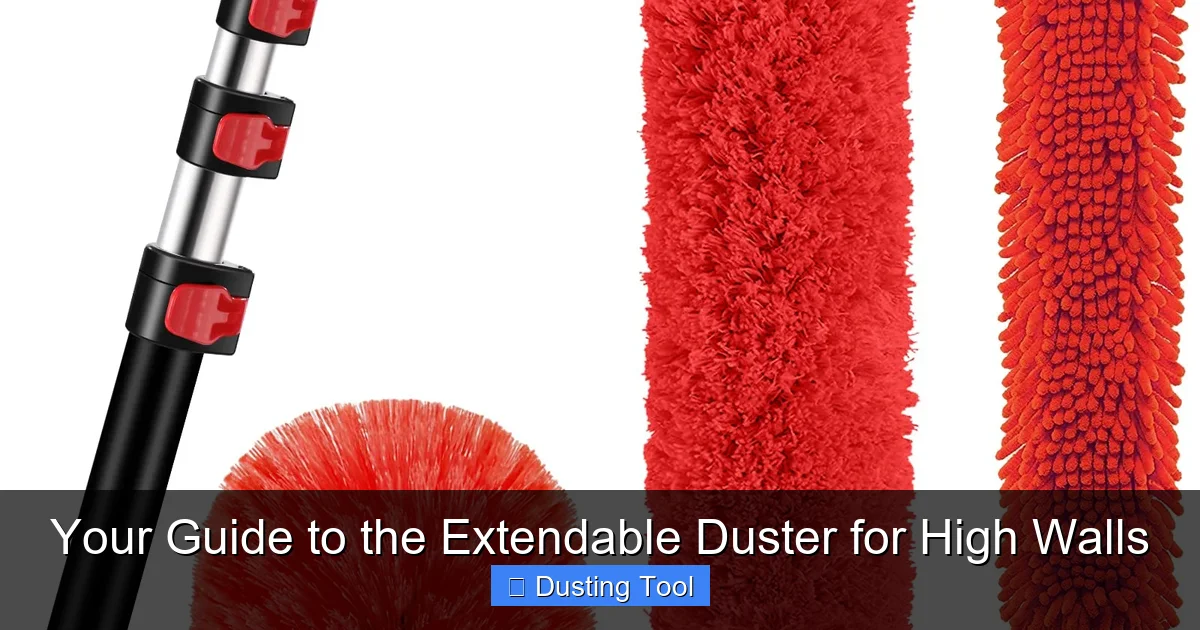
Examine the Pole and Extension Mechanism
The pole is your reach. Look for these features.
- Material: Aluminum poles are light and strong. Fiberglass is also light and does not conduct electricity (safer near fixtures). Plastic can be less durable.
- Locking Mechanism: This is crucial. A twist-lock or push-button lock must feel secure. Test it. The pole should not slip or collapse when you press against a ceiling.
- Length: Most poles extend from about 3 feet to 12 feet or more. Think about the highest point in your home. A pole that extends to 8-12 feet covers most residential ceilings.
Look for Useful Extra Features
Some dusters have bonuses that add value.
- Pivoting Head: A head that angles or pivots is a game-changer. It lets you clean flat ceilings and then angle the head to dust the vertical side of a high cabinet without moving.
- Detachable Head: This makes washing the head much easier. Some even come with multiple, interchangeable heads for different tasks.
Step 2: Preparing to Dust Your High Walls and Ceilings
A little prep makes the whole job faster and cleaner.
Visual guide about Your Guide to the Extendable Duster for High Walls
Image source: m.media-amazon.com
Clear and Protect the Area
Move furniture away from the walls you will be dusting. If you cannot move something, cover it with a light sheet or old towel. This catches any falling dust bunnies or debris you knock loose. Do not forget to protect electronics and lamps.
Assemble Your Toolkit
Have everything you need ready. You will need your extendable duster, obviously. Also grab a vacuum cleaner with a hose attachment or a dustpan and brush. This is for cleaning up the dust that falls to the floor. A step stool can be handy for starting higher up, even with an extendable pole.
Start from the Top
Always follow the golden rule of cleaning: start high and work down. You will dislodge dust from the ceiling and high walls. It will fall onto lower surfaces and the floor. You clean those last. This way, you never re-dust an area.
Step 3: Mastering the Dusting Technique
Using your extendable duster well is about finesse, not force.
Visual guide about Your Guide to the Extendable Duster for High Walls
Image source: m.media-amazon.com
Extending and Locking the Pole
Pull the pole to your desired length. Listen for a firm click if it’s a button lock. For a twist-lock, turn the sections until they are very tight. Give it a gentle tug to test. A secure pole is safe and gives you control.
The Basic Sweeping Motion
Stand comfortably. Hold the pole near its base for the best leverage. Use slow, deliberate, sweeping strokes. Let the fluffy head do the work. Do not press too hard, especially on fragile surfaces. Imagine you are lightly painting the ceiling with the duster.
Tackling Specific High-Up Areas
- Flat Ceilings and Corners: Extend the pole so you can reach comfortably without over-stretching. Work in sections, moving the duster in one direction to gather dust into a line, then sweep it toward the edge of the room or into your waiting dustpan.
- Crown Molding and Detailed Trim: Use the edge or tip of the duster head. A pivoting head is excellent here. Angle it to fit into the grooves and curves of the molding.
- Ceiling Fans: First, ensure the fan is OFF. Use the duster on the top of each blade first. Then, angle the head to get the bottom of each blade. Hold a cloth or bag underneath the blade you are cleaning to catch falling dust.
- Light Fixtures and Smoke Detectors: Be gentle. Use a soft, fluffy lambswool or microfiber head. Lightly dust around the fixture. Never apply pressure. For a chandelier, you might dangle the duster head among the crystals.
- High Walls and Wall Decor: Use long, vertical strokes from the top of the wall down to the floor molding. For framed pictures or shelves, dust the top surface first with a careful horizontal stroke.
Step 4: Cleaning and Maintaining Your Extendable Duster
A clean duster works better and lasts longer.
Shaking Out During Use
Every few minutes, take the duster outside or over a trash can and give it a firm shake. This removes the trapped dust from the head. This prevents you from just moving dust from one spot to another.
Washing the Duster Head
Check the manufacturer’s label. Most microfiber and synthetic heads can be hand-washed or machine-washed in warm water with a mild detergent. Do not use fabric softener. It coats the fibers and ruins their dust-grabbing power. Air dry completely. Lambswool heads often require gentle hand washing and air drying flat.
Storing Your Duster Properly
Once the head is clean and dry, retract the pole to its shortest length. This prevents bending or damage. Store it in a closet, utility room, or garage where it is dry. Hanging it up is ideal to keep the head fluffy and off the ground.
Step 5: Troubleshooting Common Problems
Here are solutions to typical extendable duster issues.
Problem: The Pole Keeps Slipping or Collapsing
Solution: This is usually a locking mechanism issue. For twist-lock poles, ensure you are twisting it tight enough in the correct direction. For button locks, check for debris blocking the button or internal latch. Clean the joints. If it is worn out, it may be time for a new pole.
Problem: The Duster is Just Pushing Dust Around
Solution: Your duster head is likely saturated. Shake it out vigorously outdoors. If it is still not grabbing dust, it needs to be washed. Dirt and oils reduce its electrostatic charge.
Problem: I Can’t Reach a Tight Corner or Behind a Fixture
Solution: If your duster head does not pivot, try bending the pole’s last section slightly (if it’s flexible). Alternatively, attach a clean, dry cloth to the end of the pole with a rubber band for a custom, slender tool.
Conclusion: Reach New Heights in Cleaning
The humble extendable duster is a powerhouse tool. It makes a daunting task simple and safe. You no longer have to ignore the dust on your ceiling fan or the cobwebs in the corner. With the right tool and the right technique, you can easily maintain every inch of your home. Remember to choose wisely, prepare your space, use gentle motions, and keep your duster clean. Your high walls, your ceiling, and your sense of accomplishment will thank you. Now go extend that pole and enjoy the view from a dust-free home.
🎥 Related Video: under bed , chair, wall dust cleaner, removable, washable cleaning brush
📺 celebritygists