Discover the essential steps to dry microfiber cloths without damaging their unique fibers. This guide reveals why standard drying methods ruin performance and how to keep your cloths lint-free, absorbent, and durable for years. Stop wasting money on replacements!
Key Takeaways
- Never use fabric softener or dryer sheets: They coat fibers, destroying absorbency and causing streaks on surfaces.
- Air drying is best: Hang cloths flat or over a rack to preserve fiber integrity and prevent shrinkage.
- Use low heat if machine drying: High heat melts fibers; always choose the “air fluff” or “no heat” setting.
- Ensure cloths are fully dry before storage: Dampness breeds mildew and odors, ruining cloths quickly.
- Avoid direct sunlight for extended periods: UV rays can weaken fibers over time; dry in shade or indoors.
- Never wring or twist wet cloths: This damages the split fibers that give microfiber its cleaning power.
- Check care labels first: Always follow manufacturer instructions for your specific cloth type.
Why Proper Drying is Crucial for Your Microfiber Cloths
You invested in microfiber cloths for their amazing ability to clean without chemicals, trap dust, and leave surfaces streak-free. But if you’re drying them wrong, you’re silently destroying that performance. Microfiber isn’t like regular cotton – it’s made of ultra-fine synthetic fibers (often polyester and polyamide) split during manufacturing. This splitting creates millions of tiny hooks that grab dirt and liquid. Heat, harsh chemicals, and rough handling can melt, coat, or break these delicate hooks. The result? Cloths that leave lint, smear instead of clean, and wear out fast. Learning how to dry microfiber cloths correctly is the secret to keeping them working like new for hundreds of washes. In this guide, you’ll get foolproof steps to dry them safely, effectively, and extend their life dramatically.
Step 1: Pre-Dry Preparation – Setting Up for Success
Before you even think about drying, proper prep ensures your cloths start the process in the best condition. Skipping this step can trap dirt or cause damage later.
Visual guide about How to Dry Microfiber Cloths Safely and Effectively
Image source: bondcleaninggeelong.com.au
Rinse Thoroughly to Remove Residue
After washing, give your microfiber cloths a final rinse under cool running water. This removes any leftover detergent, dirt, or cleaning solution that could bake onto fibers during drying. Hold each cloth under the tap, gently squeezing (not wringing!) to flush water through. Continue until the water runs completely clear. This simple step prevents stiff, scratchy cloths and keeps them soft and absorbent.
Remove Excess Water Gently
Never wring microfiber cloths! Twisting or squeezing forcefully damages the split fibers. Instead, lay the damp cloth flat on a clean towel. Roll the towel and cloth together tightly, then press down firmly to absorb water. Unroll and repeat with a dry towel if needed. Alternatively, hold the cloth by two corners and gently shake it several times to fling off loose droplets. The goal is to get them damp, not sopping wet, before drying. This reduces drying time and stress on the fibers.
Check for Stains or Odors Before Drying
Inspect each cloth. If you spot a stubborn stain or notice a musty smell, treat it before drying. Drying sets stains and odors permanently. For organic stains (like food or grease), pretreat with a small amount of liquid dish soap or a paste of baking soda and water. For odors, soak in a solution of 1 part white vinegar to 3 parts cold water for 15-30 minutes, then rinse well. Never use bleach – it degrades microfiber fibers.
Step 2: The Best Method – Air Drying Your Microfiber Cloths
Air drying is the gold standard for preserving microfiber cloths. It’s gentle, energy-efficient, and avoids all heat-related risks. Here’s how to do it right:

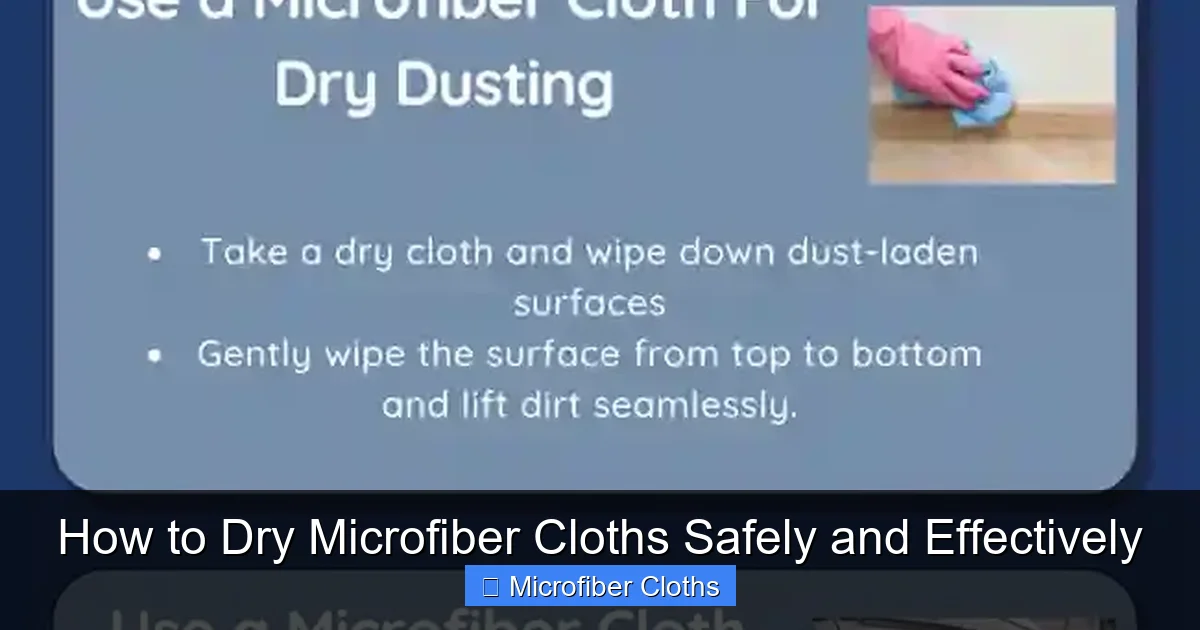
Visual guide about How to Dry Microfiber Cloths Safely and Effectively
Image source: bondcleaninggeelong.com.au
Choose the Right Drying Location
Find a well-ventilated area away from direct sunlight. A bathroom with the fan on, a laundry room, or a shaded porch works perfectly. Sunlight fades colors and can weaken fibers over time, so avoid drying them on an outdoor clothesline in full sun for hours. Good airflow is key – stagnant air slows drying and can cause mildew.
Hang Cloths Correctly
Lay each damp cloth flat over a drying rack, shower rod, or hanger. Ensure it’s spread out smoothly without folds or wrinkles. If using a hanger, clip it by one corner only to allow maximum air circulation around the entire cloth. Avoid bunching or stacking cloths on top of each other – this traps moisture and leads to uneven drying or mildew. For smaller cloths (like glasses cloths), lay them flat on a mesh drying rack.
Ensure Complete Dryness Before Storage
This is non-negotiable! Microfiber holds moisture deep within its fibers. Feel the cloth thoroughly – it should feel completely cool and dry to the touch, not just surface-dry. Pay special attention to seams and thicker areas. Damp cloths stored away will develop mildew, a sour smell, and become unusable. Depending on humidity and cloth thickness, air drying usually takes 4-12 hours. Be patient – rushing this step ruins cloths.
Step 3: Machine Drying – When Air Drying Isn’t Practical
Sometimes air drying isn’t feasible (bad weather, urgent need). If you must use a dryer, follow these strict rules to avoid disaster:
Visual guide about How to Dry Microfiber Cloths Safely and Effectively
Image source: res.cloudinary.com
Use the Absolute Lowest Heat Setting
Set your dryer to “Air Fluff,” “No Heat,” or “Delicates” (if it has a cool air option). Never use “Permanent Press,” “Normal,” or “High Heat.” High heat melts the fine fibers, causing them to fuse together. This destroys the split-fiber structure, turning your cloth into a linty, ineffective rag. If your dryer only has heat settings, choose the lowest possible (like “Low” or “Delicates”) and limit the cycle time.
Skip the Fabric Softener and Dryer Sheets Completely
This cannot be stressed enough. Fabric softener and dryer sheets leave a waxy, cationic coating on fibers. This coating repels water, making your microfiber cloths hydrophobic (water-hating) instead of super-absorbent. They’ll also leave streaks on glass and surfaces. Always dry microfiber cloths alone, without any other laundry that might transfer softener residue.
Don’t Overload the Dryer
Place only a few cloths in the dryer at a time (max 3-4 for a standard load). Overcrowding prevents proper airflow, leading to uneven drying and potential mildew. If cloths are still damp after the cycle, run another short “air fluff” cycle or switch to air drying for the final dryness. Check cloths every 15-20 minutes – stop the dryer as soon as they’re completely dry to the touch.
Step 4: Storage – The Final Step for Long-Lasting Performance
Proper storage locks in the benefits of correct drying and keeps cloths ready for action.
Store Only When 100% Dry
Double-check dryness one last time before folding or hanging. Place completely dry cloths in a clean, breathable cotton bag, a drawer lined with parchment paper, or an open basket. Avoid plastic containers or zip-top bags – they trap any residual moisture and promote mildew. Keep them away from direct sunlight and heat sources like radiators.
Organize by Purpose (Optional but Recommended)
Store cloths designated for different tasks separately (e.g., kitchen, bathroom, glass, car). Use labeled bins or separate drawers. This prevents cross-contamination and makes it easy to grab the right cloth. Fold cloths neatly or roll them to minimize creases that could affect performance.
Troubleshooting Common Microfiber Drying Problems
Even with care, issues can pop up. Here’s how to fix them:
Cloths Feel Stiff or Scratchy After Drying
This usually means detergent or mineral buildup (from hard water). Rewash cloths with 1/4 cup white vinegar added to the rinse cycle (no detergent). Vinegar dissolves residue without damaging fibers. For severe buildup, soak in a vinegar solution (1:3 ratio with water) for 1 hour before washing.
Cloths Have a Musty Smell
Mildew is the culprit – they weren’t fully dry before storage. Rewash immediately with vinegar or a microfiber-specific cleaner. Add 1/2 cup baking soda to the wash cycle for extra odor-fighting power. Dry thoroughly using the air-dry method. Prevent future issues by ensuring 100% dryness.
Cloths Are Leaving Lint or Streaks
Likely caused by fabric softener residue or melted fibers from high heat. Rewash cloths 2-3 times with hot water (if care label allows) and no detergent, adding 1/2 cup white vinegar to each rinse cycle. If fibers are melted, the cloth is probably ruined and needs replacing – a stark reminder to always use low heat!
Cloths Shrank or Changed Shape
High heat in the dryer is almost always the cause. Unfortunately, shrinkage is usually permanent. In the future, strictly adhere to air drying or “no heat” dryer settings. Check care labels for maximum temperature limits.
Conclusion: Dry Smart, Clean Better
Mastering how to dry microfiber cloths isn’t just about laundry – it’s about protecting your investment and ensuring every clean is streak-free and effective. By skipping fabric softener, embracing air drying, using minimal heat, and ensuring complete dryness, you preserve the microscopic hooks that make microfiber magical. Your cloths will stay absorbent, lint-free, and durable for years, saving you money and reducing waste. Remember, the extra few minutes spent drying correctly pays off in flawless windows, spotless countertops, and cloths that feel like new wash after wash. Start implementing these steps today, and you’ll wonder how you ever cleaned without them!