An extendable duster is the essential tool for removing dust and allergens from hard-to-reach air vents. This guide explains how to choose the right one, properly clean your ceiling, wall, and floor vents, and maintain your tool for a healthier, more efficient home. Regular vent cleaning improves air quality and can even lower your energy bills.
Do you ever look up at your ceiling vent and see a fuzzy gray blanket of dust? You’re not alone. Those hard-to-reach air vents are dust magnets. Every time your heating or cooling system kicks on, it can blow that dust right into the air you breathe. This affects your home’s cleanliness and can impact allergies and HVAC efficiency.
The solution is simpler than you think. An extendable duster for air vents is a game-changing tool. It turns a dreaded, ladder-climbing chore into a quick and easy part of your cleaning routine. This complete guide will walk you through everything. You’ll learn how to pick the perfect duster, use it like a pro, and keep your home’s air flowing cleanly.
Key Takeaways
- Essential for Air Quality: Regularly cleaning vents with an extendable duster removes allergens and dust before they circulate, significantly improving indoor air.
- Right Tool for the Job: Choosing a duster with a pivoting head, sufficient length, and the right microfiber material is crucial for effective and safe cleaning.
- Preparation is Key: Turning off your HVAC system and laying down a drop cloth are vital preparatory steps that make the cleaning process easier and more effective.
- Technique Matters: Using gentle, sweeping motions from the back of the vent outward prevents pushing debris deeper into your ductwork.
- Beyond the Vents: Your extendable duster is versatile; use it for ceiling fans, light fixtures, high shelves, and behind appliances for whole-home dusting.
- Regular Maintenance: Cleaning your duster head after each use and checking its components ensures it remains effective and lasts for years.
- Know the Limits: While perfect for surface vent cleaning, an extendable duster cannot replace professional duct cleaning for deep, internal duct debris.
What is an Extendable Duster and Why Do You Need One?
An extendable duster is a long, telescoping pole with a specialized cleaning head on the end. It’s designed to help you reach high, awkward spaces without a ladder. For air vents, these tools are indispensable. They allow you to safely and thoroughly clean ceiling registers, high wall vents, and even those behind heavy furniture.
Using one regularly provides huge benefits. First, it improves your indoor air quality by removing dust, pollen, and pet dander from the vent surface. Second, it helps your HVAC system run more efficiently. A clogged vent forces your system to work harder, wasting energy and money. A clean vent ensures optimal airflow. Finally, it’s a major time and safety saver. No more precarious balancing acts!
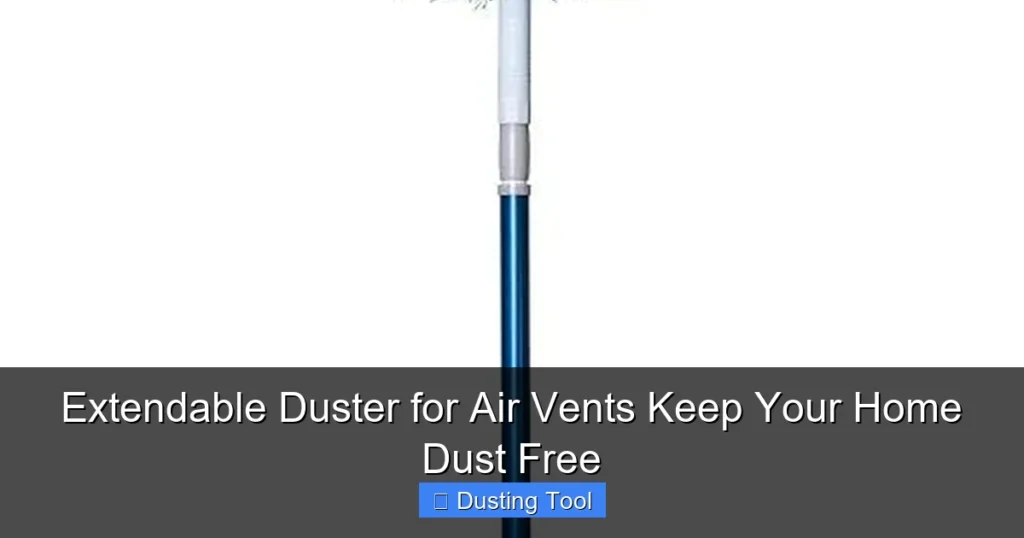
Choosing the Right Extendable Duster for Your Vents
Not all dusters are created equal. Picking the right one makes the job much easier.
Visual guide about Extendable Duster for Air Vents Keep Your Home Dust Free
Image source: jutemill.com
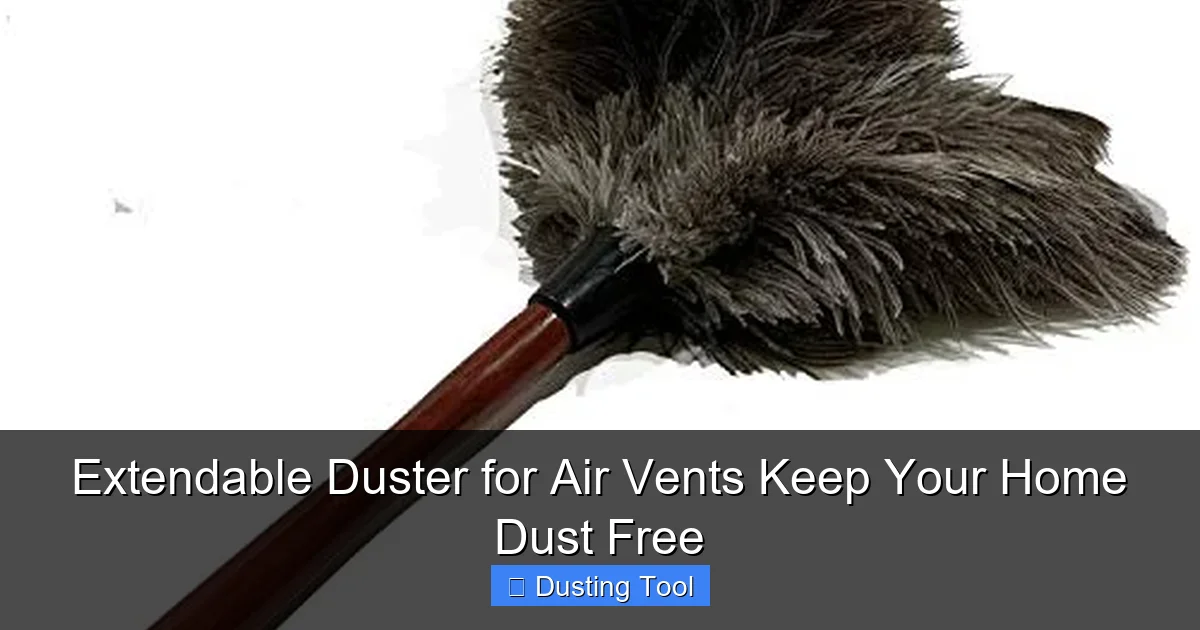
Key Features to Look For
- Telescoping Pole: Look for a pole that extends to at least 4-6 feet. This should cover most ceiling heights. Ensure it locks securely at different lengths.
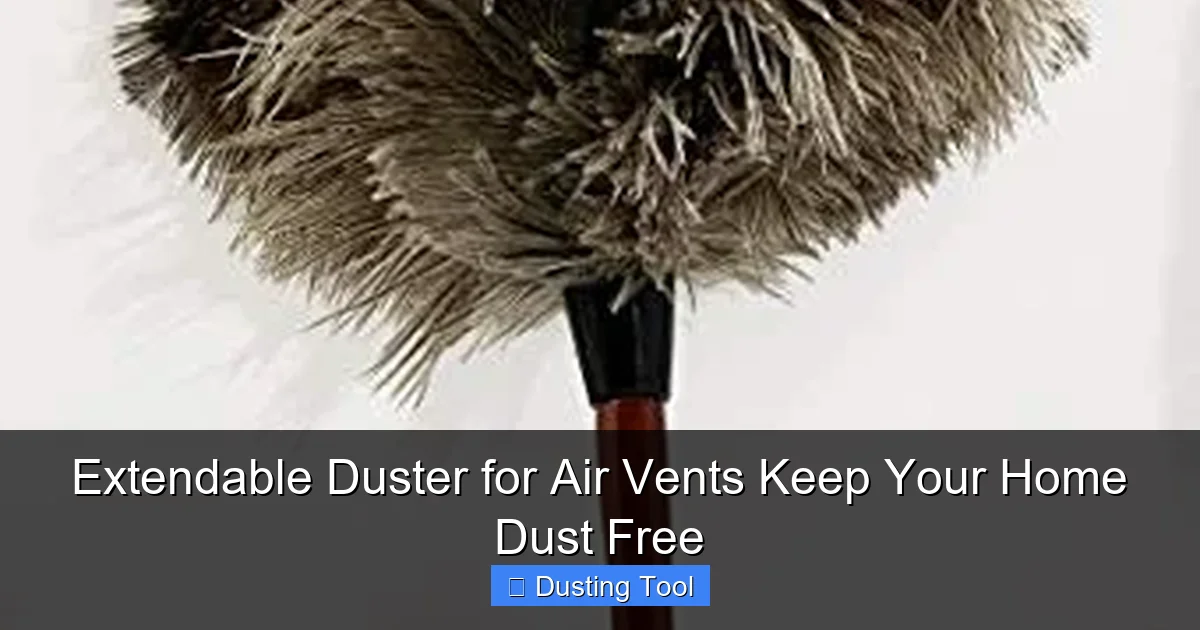
- Pivoting or Angled Head: This is the most important feature! A head that bends or swivels allows you to clean vent slats from the best angle, getting into all the crevices.
- Microfiber Material: Choose a duster head made of high-quality, electrostatic microfiber. This material grabs and holds dust instead of just moving it around. Some have a “scrubby” side for stuck-on grime.
- Lightweight & Sturdy: The pole should be light enough to handle easily but feel solid when extended. Aluminum or fiberglass are common good choices.
Types of Duster Heads
- Flat/Mitten Style: Great for broad, flat surfaces and wiping down vent covers.
- Flexible Fingers: These bend to conform around slats and into corners, excellent for detailed work.
- Combination Kits: Many kits come with multiple heads for vents, fans, and cobwebs.
Step-by-Step Guide: How to Clean Your Air Vents
Follow these simple steps for a thorough clean.
Visual guide about Extendable Duster for Air Vents Keep Your Home Dust Free
Image source: cdn.shopify.com
Step 1: Preparation and Safety
Good prep sets you up for success.
- Turn Off Your HVAC System: Go to your thermostat and switch the fan to “OFF.” This is critical. It prevents dust from being sucked into or blown out of the ducts while you clean.
- Gather Supplies: You’ll need your extendable duster, a vacuum cleaner with a hose attachment, a screwdriver (if vents are screwed in), a drop cloth or old sheet, and a damp cloth.
- Protect the Area: Lay the drop cloth on the floor or furniture beneath the vent. Dust and debris will fall.
Step 2: Remove and Clean the Vent Cover (If Possible)
For the deepest clean, take the cover off.
- Use your screwdriver to remove the screws holding the vent cover in place. If it’s just held by clips, gently pry it loose.
- Take the cover to a sink, bathtub, or outside. Wash it with warm, soapy water. For grease (like in kitchen vents), use a degreasing dish soap. A soft brush can help.
- Rinse thoroughly and dry completely with a towel. Let it air-dry fully before reinstalling to prevent rust or mold.
Step 3: Vacuum the Duct Opening
With the cover off, you can reach deeper.
- Attach the hose and crevice tool to your vacuum.
- Carefully reach into the duct opening as far as the hose allows (usually 1-2 feet).
- Vacuum the visible interior walls to remove loose dust bunnies and debris. Don’t force the hose or push debris further in.
Step 4: The Main Event: Using Your Extendable Duster
This is where your tool shines.
- Extend the Pole: Adjust your duster to a comfortable length where you can easily reach the vent without over-stretching.
- Angle the Head: Pivot the duster head so it aligns with the angle of the vent slats. You want the microfiber to make full contact.
- Use Gentle, Sweeping Motions: Start at the back of the vent (furthest inside) and gently pull the duster toward you. This pulls dust out instead of pushing it in. Repeat this motion across the entire surface.
- Flip and Repeat: For vents with horizontal and vertical slats, you may need to change the head angle and sweep in both directions.
Step 5: Final Touches and Reassembly
- Use the vacuum hose to suck up any dust that fell onto your drop cloth.
- If you didn’t remove the cover, wipe the outer frame and visible edges with a damp cloth.
- Once the cover is completely dry, screw or clip it securely back into place.
- Finally, remove the drop cloth, give it a shake outside, and put your supplies away.
Pro Tips and Tricks for Best Results
- Frequency: Give your vents a quick dusting monthly. Do a deep clean (removing covers) every 3-6 months.
- The “Two-Pass” Method: For very dusty vents, do a first pass with the duster to get the bulk, then a second pass with a fresh, clean side of the head.
- Spot Cleaning: For sticky spots on the vent cover, put a little isopropyl alcohol on a corner of your microfiber cloth and gently dab.
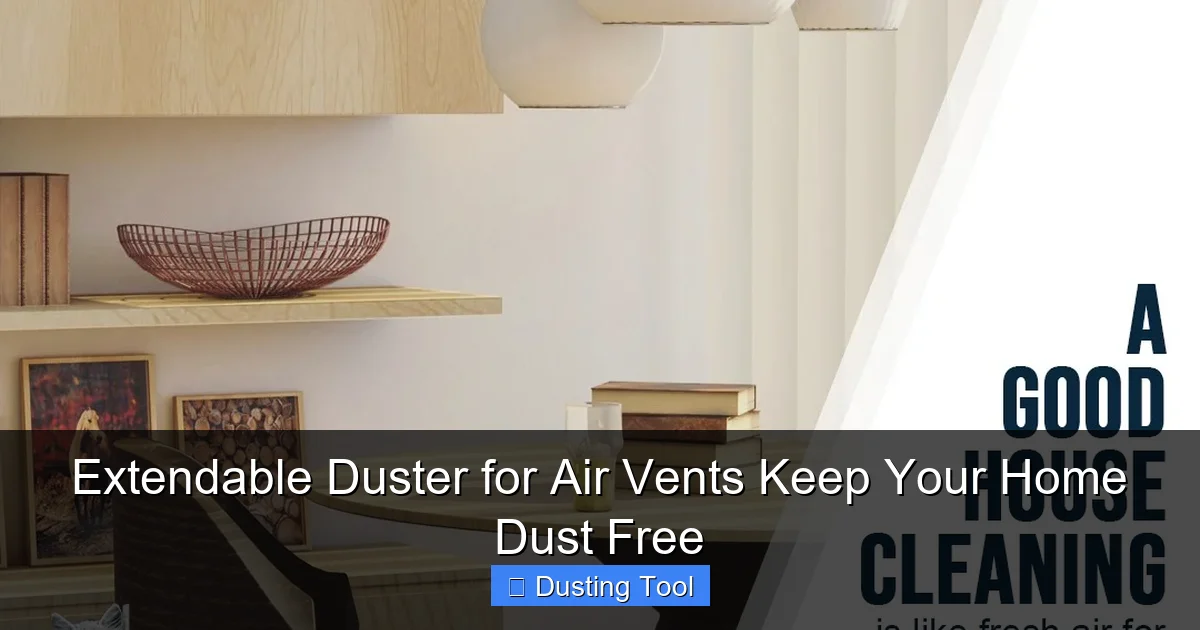
- Think Beyond Vents: Use your duster on ceiling fan blades, the tops of door frames, window tracks, and behind your refrigerator and TV.
Visual guide about Extendable Duster for Air Vents Keep Your Home Dust Free
Image source: 1.bp.blogspot.com
Troubleshooting Common Problems
- Dust Just Floats Around: Your duster head might be old or low-quality. Replace it with a high-grade electrostatic microfiber head. Also, ensure your HVAC fan is OFF.
- Can’t Reach a Deep Vent: Some vents are set deep into the ceiling. Look for a duster with extra-long “fingers” or a head specifically designed for deep registers.
- Stubborn, Sticky Dust: If dust is caked on, slightly dampen the microfiber head with water. Never use chemical sprays on the duster while it’s near the duct opening, as fumes can be pulled into your system.
- Pole Feels Wobbly: Check that all locking mechanisms are fully engaged. If it’s permanently loose, the internal mechanism may be worn; it might be time for a new tool.
Maintenance: Taking Care of Your Extendable Duster
To keep your tool effective, clean it after each use.
- Remove the microfiber head according to the manufacturer’s instructions.
- Shake it out outside or over a trash can.
- Wash it in warm water with a mild detergent. Avoid fabric softener, as it coats the fibers and reduces static cling.
- Air dry completely before reattaching it to the pole.
- Wipe down the telescoping pole with a damp cloth to keep it clean and ensure smooth extension.
Conclusion
An extendable duster for air vents is a small investment that pays off in big ways. It gives you the power to tackle a cleaning task that is often overlooked but vitally important. With just a few minutes of your time each month, you can reduce the dust in your home, help your HVAC system breathe easier, and create a healthier environment for everyone. Remember the core steps: turn the system off, use the right tool with the right technique, and clean regularly. Say goodbye to dusty vents and hello to cleaner, fresher air in every room.
🎥 Related Video: Use These Tools to Dust Your Home the Right Way | Day 17 Spring Cleaning Spree 2024 #cleaning #howto
📺 Clean That Up
Welcome to Week Four of the Spring Cleaning Spree 2024! This week we are going to be starting in our living room by dusting all …