
A keyboard duster is an essential tool for maintaining your computer’s performance and hygiene. This guide will teach you the correct techniques for using canned air or a mini vacuum, from safe application to deep-cleaning between keys. Regular dusting prevents sticky keys, hardware failure, and the spread of germs, extending the life of your keyboard significantly.
Key Takeaways
- Prevention is Key: Regular, gentle dusting is far easier than dealing with a deeply clogged and grimy keyboard that requires full disassembly.
- Angle and Distance Matter: Always hold canned air upright and use short bursts from at least 1-2 inches away to prevent moisture damage and ensure effective debris removal.
- Power Down First: Always turn off and disconnect your keyboard before cleaning to prevent electrical shorts and accidental keypress commands.
- Combine Tools for Best Results: Use a duster to loosen debris, then follow up with a soft brush or microfiber cloth to capture and remove it completely from the surface.
- Mind the Moisture: Never use liquid cleaners directly on the keyboard. If needed, apply isopropyl alcohol sparingly to a cloth, not the keys themselves.
- Establish a Routine: A quick once-over with a duster every week, coupled with a deeper clean every month, will keep your keyboard in pristine condition.
Keep Your Keyboard Clean with This Essential Duster: The Ultimate How-To Guide
Is your keyboard starting to feel a bit grimy? Do you find crumbs, dust, and who-knows-what hiding between the keys? You’re not alone. Keyboards are one of the dirtiest items in our daily lives, collecting everything from skin cells to snack leftovers. This isn’t just about looks. A dirty keyboard can lead to sticky keys, missed keystrokes, and even hardware failure. It’s also a breeding ground for germs. The good news? Keeping it clean is simple with the right tool: a trusty keyboard duster. This guide will walk you through everything you need to know. You’ll learn how to choose a duster, use it like a pro, and build a cleaning routine that works. Let’s get your keyboard looking and feeling new again.
Why Your Keyboard Deserves a Good Dusting
Think of your keyboard as the frontline of your digital world. You touch it constantly. Over time, it accumulates more than just dust. It collects oils from your fingers, dead skin, hair, food particles, and moisture. This gunk can work its way under the keycaps and onto the delicate mechanical switches or membrane layers underneath. The result? Keys that don’t register presses, a mushy feel, or worse, permanent damage. A regular duster for keyboards is your first and best defense. It blasts away loose debris before it gets compacted. This simple act preserves your typing experience and extends the life of your hardware. It’s a small habit with big rewards.
Visual guide about Keep Your Keyboard Clean with This Essential Duster
Image source: skinslegend.com
Choosing Your Weapon: Types of Keyboard Dusters
Not all dusters are created equal. Picking the right one makes the job easier and safer for your equipment.
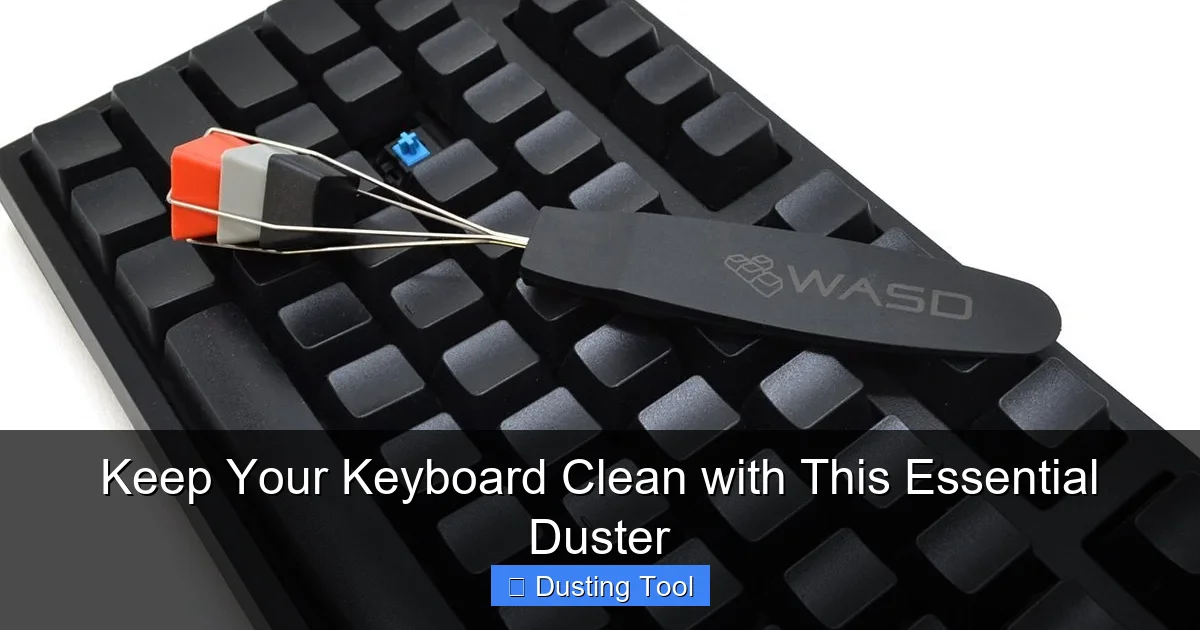
Visual guide about Keep Your Keyboard Clean with This Essential Duster
Image source: keyboardsguide.com
Canned Compressed Air
This is the classic choice. It comes in an aerosol can with a thin straw for precision. The high-pressure burst is excellent for dislodging stubborn debris from tight spaces. Look for brands that offer “zero CFC” and “moisture-free” formulas. These are safer for the environment and your electronics. The main downside is that it’s a consumable product—you’ll need to buy new cans.
Electric Air Dusters (Data Vacs)
These are powerful, reusable tools that plug into an outlet. They provide a continuous, strong stream of air, making them ideal for heavy-duty cleaning or if you have multiple devices. While more expensive upfront, they pay for themselves over time and are more eco-friendly than disposable cans.
Mini Keyboard Vacuums
These small, USB-powered devices suck up debris instead of blowing it. They are great for contained cleaning, as they don’t scatter dust into the air. However, their suction power is often limited. They work best on loose surface crumbs and are a good partner to a blower duster for keyboards.
Soft Brushes and Microfiber Cloths
While not “dusters” in the blowing sense, a soft-bristled brush (like a clean makeup brush or paintbrush) and a microfiber cloth are essential companions. Use the brush to sweep loosened dust into a pile or off the keyboard, and the cloth for wiping down key surfaces.
Your Step-by-Step Guide to a Perfect Keyboard Dusting
Ready to clean? Follow these steps for a safe and effective session.
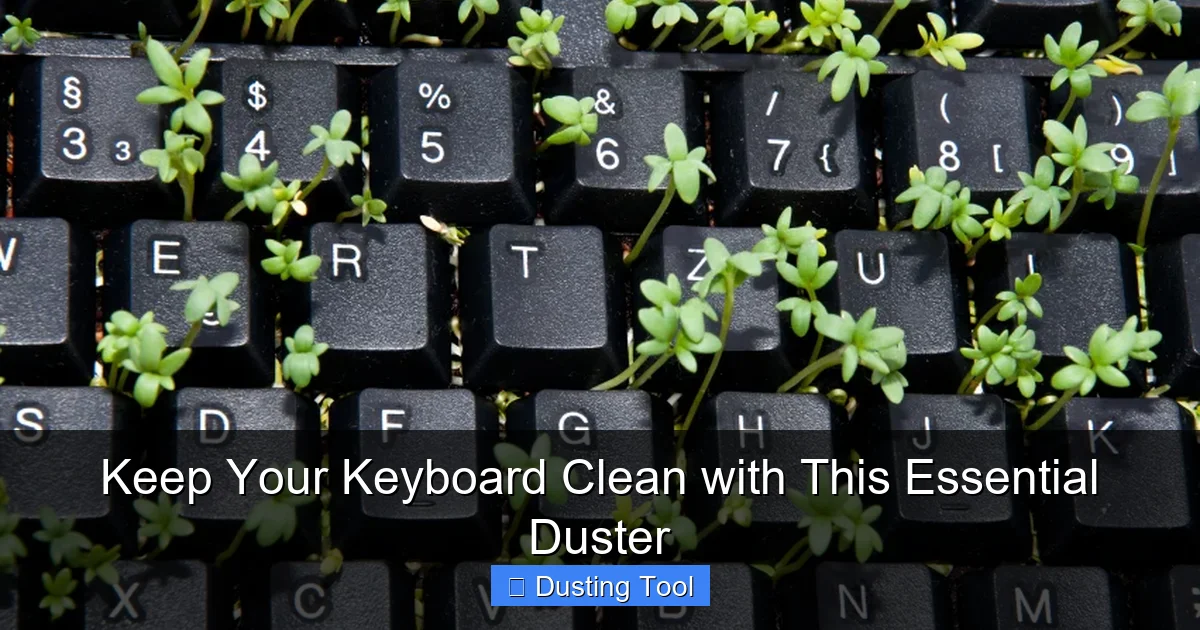
Visual guide about Keep Your Keyboard Clean with This Essential Duster
Image source: keyboardsguide.com
Step 1: Preparation is Everything
First, power down your computer and unplug the keyboard. If it’s wireless, turn it off and remove the batteries. This prevents any chance of electrical shorts or sending random keystroke commands. Tilt the keyboard upside down over a trash can or paper towel and give it a few gentle shakes. You’ll be surprised how much falls out immediately. Find a well-lit, uncluttered workspace to perform the cleaning.
Step 2: Mastering the Duster Technique
This is the core of the guide. If using canned air, always hold the can upright. Tilting it can cause liquid propellant to spray out, which can damage your keyboard. Insert the thin red straw that comes with the can for targeted blasts.
- Start at one corner (e.g., top-left) and work in a systematic pattern across the keyboard.
- Hold the nozzle 1-2 inches away from the keys. Don’t press it directly against them.
- Use short, controlled bursts. Long, continuous sprays can cause the can to get very cold and increase moisture risk.
- Angle your blows. Aim the air at a 45-degree angle across the rows of keys to get under the keycaps. Blow from the top of the keyboard toward the bottom to eject debris out the front.
If using an electric duster, the same principles apply, but you can use a more continuous stream. For a mini vacuum, slowly run the nozzle over and between the keys.
Step 3: The Follow-Up (Don’t Skip This!)
Dusting loosens debris, but it often just moves it around. Now, take your soft brush and gently sweep between the key rows, brushing the dislodged dust and crumbs off the keyboard onto a paper towel. For the key surfaces, lightly dampen a corner of a microfiber cloth with water or >90% isopropyl alcohol. Wring it out completely—it should be barely damp. Wipe the tops and sides of each keycap. The alcohol will disinfect and evaporate quickly without leaving residue.
Step 4: Final Checks and Reassembly
Give the keyboard a final visual inspection. Hold it at an angle to the light to see if any threads or hair are still stuck. Use a plastic toothpick or a keycap puller (if you have one) to gently fish out any persistent debris. Once satisfied, let the keyboard sit for a minute to ensure any minuscule moisture is gone. Then, plug it back in, reinsert batteries, and power up. Test all the keys to make sure everything is working perfectly.
Pro Tips for a Deeper Clean
- For Mechanical Keyboards: Consider removing keycaps for a quarterly deep clean. Use a keycap puller, soak the caps in warm soapy water, rinse, dry thoroughly, and then use your duster to clean the now-exposed switch plate before reassembling.
- Create a Cleaning Schedule: Do a quick 2-minute dusting every Friday. Schedule a more thorough cleaning like the one above once a month.
- Mind Your Environment: Eat snacks away from your keyboard. Wash your hands before typing to reduce oil transfer. These habits dramatically reduce how much cleaning you need to do.
Troubleshooting Common Keyboard Duster Issues
Even with the best duster for keyboards, you might hit a snag. Here’s how to solve common problems.
Problem: The Canned Air Feels Weak or Isn’t Working.
First, check that the straw is firmly attached. If it’s still weak, the can may be getting low or too cold. Let it warm up to room temperature. Shaking the can is not recommended for electronic dusters, as it can mix the propellant. If it’s empty, recycle it properly and get a new one.
Problem: I Blasted Debris Deeper Into the Keyboard.
This happens if you blow haphazardly. Remember to always angle your bursts to push debris *out* and *away* from the keyboard, not straight down. If something is stubbornly stuck, use a brush or toothpick to carefully lift it out before dusting.
Problem: A Key is Still Sticky or Unresponsive After Cleaning.
The debris might be under the keycap itself. For a membrane keyboard, try repeated focused bursts around the problematic key. For a mechanical keyboard, safely remove the keycap and clean the switch housing directly with a tiny burst of air or a cotton swab dipped in isopropyl alcohol.
Problem: Liquid Sprayed From the Canned Air.
You likely held the can at an angle. Immediately turn off and unplug the keyboard. Tilt it to drain any liquid and leave it disconnected and upside down to dry for at least 48 hours in a warm, dry place before testing it. Do not use heat like a hairdryer, as it can warp plastic.
Conclusion: Breathe New Life Into Your Keyboard
A clean keyboard is a joy to use. It feels better, works better, and is more hygienic. By making a keyboard duster a regular part of your tech maintenance routine, you’re protecting an important investment. You’ve now learned how to select the right duster, use it with proper technique, and tackle common issues. It doesn’t take much time or effort. Just a few minutes of care can add years to your keyboard’s life. So grab your duster, give your keyboard the refresh it deserves, and enjoy that like-new typing feel once again. Your fingers (and your computer) will thank you.
🎥 Related Video: Clean your keyboard 😡
📺 rillo