
Yes, monitor stands absolutely work with curved monitors, provided they meet key compatibility requirements. The process is straightforward, focusing on the monitor’s VESA mounting pattern and weight. This guide will walk you through checking your monitor, selecting the right stand, and securing a safe, optimal setup to enhance your workspace ergonomics.
Key Takeaways
- Check VESA Compatibility First: This is the non-negotiable starting point. Your curved monitor must have a VESA mount pattern (like 75x75mm or 100x100mm) on its back.
- Weight and Size Are Critical: Your chosen stand must support both the weight and the physical dimensions (especially width) of your curved monitor to ensure stability.
- VESA Adapter Plates Are Lifesavers: For monitors with non-standard backs or recessed mounts, a simple VESA adapter plate can bridge the gap and enable mounting.
- Curvature Affects Positioning: A curved screen is best viewed from a centered, arm’s-length distance. An adjustable stand helps you achieve this perfect ergonomic sweet spot.
- Articulating Arms Offer Great Flexibility: Monitor arms with full tilt, swivel, and rotation are excellent for curved displays, allowing you to fine-tune the viewing angle with precision.
- Stability is Paramount: Ensure your desk or mounting surface is sturdy enough to handle the stand and monitor’s combined weight and the potential leverage of a curved screen.
- The Benefits Are Significant: Using a stand with a curved monitor saves desk space, improves cable management, and unlocks superior ergonomics compared to the stock base.
Find Out If Monitor Stands Work With Curved Monitors
Curved monitors are a game-changer. They pull you into the action. They make your work feel more immersive. But their big, often bulky, default stands can hog your desk. You might be looking at that sleek monitor arm or ergonomic stand and wondering: “Will this even work with my curved screen?”
The good news is simple. Yes, monitor stands work wonderfully with curved monitors. But you can’t just grab any stand. You need the right one. This guide is your friendly roadmap. We’ll walk through every step. You’ll learn how to check compatibility. We’ll pick the perfect stand. And we’ll get your curved monitor mounted safely and beautifully. Let’s reclaim your desk space and boost your comfort.
Step 1: Understand the Core Concept – It’s All About VESA
Think of VESA as the universal language for mounting monitors. VESA stands for the Video Electronics Standards Association. They created a standard for mounting holes on the back of screens. This is your key.
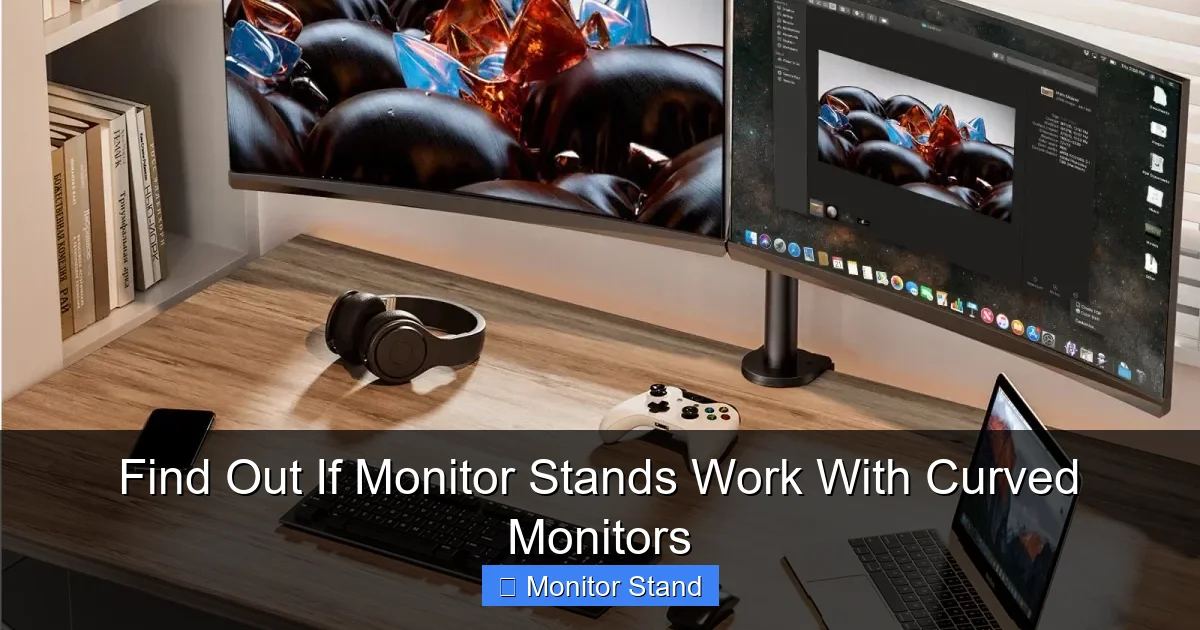
Visual guide about Find Out If Monitor Stands Work With Curved Monitors
Image source: hip2save.com
Most monitor stands don’t attach directly to your monitor’s plastic shell. They attach to a metal plate. This plate then connects to these VESA holes. So, the first and most important question is: Does my curved monitor have a VESA mount?
How to Find Your Monitor’s VESA Pattern
This is easy. There are three ways to find this info.
- Look at the Back of Your Monitor: Turn off and unplug your monitor. Gently lay it face down on a soft towel. Look at the back. You are searching for four screw holes in a square pattern. Sometimes they are hidden under the default stand’s neck. You might need to remove the original stand first (check your manual). Common patterns are 75x75mm (for smaller screens) and 100x100mm (for larger ones). Some big, ultrawide curved monitors use 200x200mm.
- Check the User Manual or Spec Sheet: This is the surefire method. Find your monitor’s model number (usually on a sticker on the back). Search online for “[Your Model Number] specifications.” Look for a line that says “VESA Mount Compatibility” or “Mounting Interface.”
- Check the Manufacturer’s Website: Go to the support or product page for your specific monitor model. The specifications tab will always list the VESA pattern if it has one.
What if my monitor doesn’t have VESA holes? Don’t worry just yet! We have a great solution in Step 3.
Step 2: Gather Your Monitor’s Vital Stats
Knowing your VESA pattern is step one. Now we need two more pieces of information. These are crucial for safety and stability.
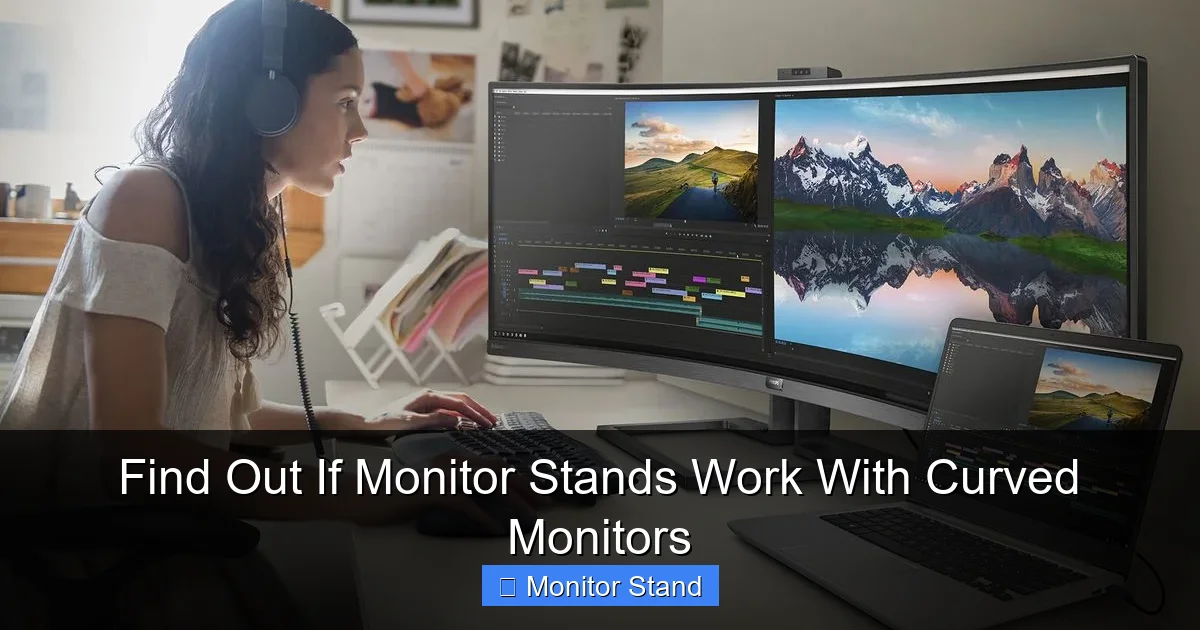
Visual guide about Find Out If Monitor Stands Work With Curved Monitors
Image source: cdn.mos.cms.futurecdn.net
1. Your Monitor’s Weight
This number is a big deal. Every monitor stand has a “maximum weight capacity.” You must ensure your monitor’s weight (without its original stand) is less than this capacity. Always leave a little buffer. If your monitor weighs 18 lbs, aim for a stand rated for 22 lbs or more. You can find the weight in the same manual or spec sheet. Remember to find the weight of the monitor panel only, not the total weight with its stock base.
2. Your Monitor’s Size and Curvature
The stand also has a “maximum screen size” rating. This is often about physical leverage and balance. A very wide, curved 34-inch ultrawide monitor acts differently than a flat 34-inch screen. Its curve means its weight is distributed slightly differently. The width is the key dimension here. Make sure the stand is rated for your monitor’s diagonal size (e.g., 27″, 32″, etc.). When in doubt, choose a stand rated for a size larger than your monitor.
Step 3: Choose the Right Type of Stand for Your Curved Monitor
Not all stands are created equal. Here are the main types and how they work with curved screens.
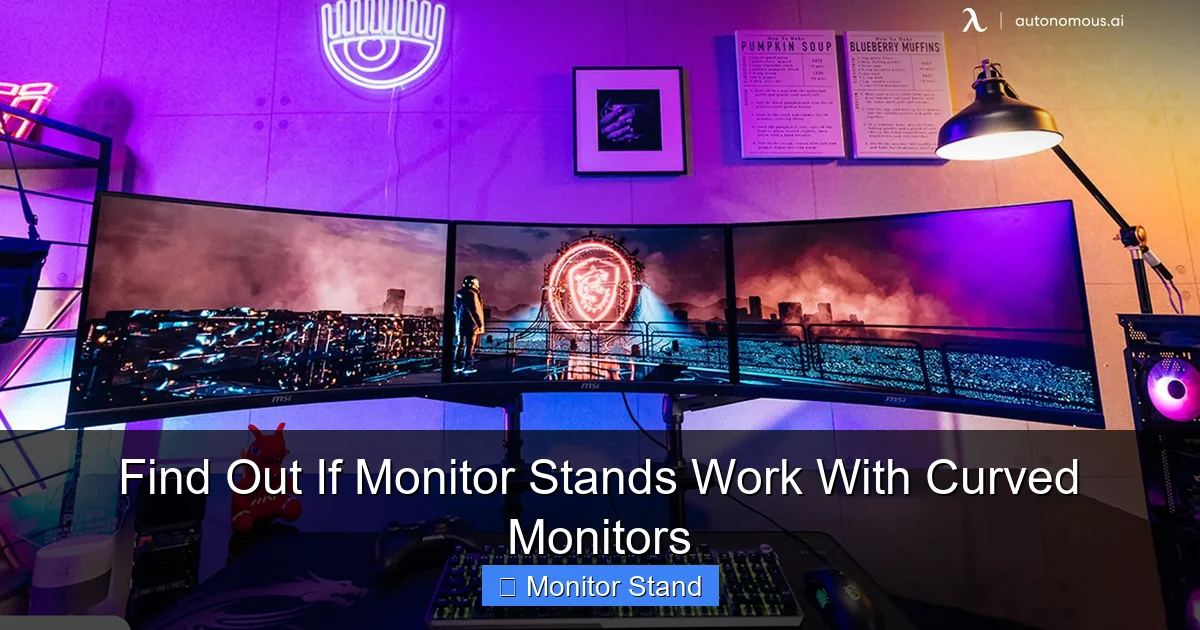
Visual guide about Find Out If Monitor Stands Work With Curved Monitors
Image source: cdn.autonomous.ai
Fixed-Height Stands (or Risers)
These are simple platforms. You place your monitor (on its original base) on top of them. Pros: They work with absolutely any monitor, curved or flat, VESA or not. They are cheap and provide a little lift. Cons: They don’t save desk space. They offer minimal ergonomic adjustment.
VESA-Compatible Monitor Arms (Desk Clamp or Grommet Mount)
This is the most popular and ergonomic choice. The arm clamps to the back of your desk or mounts through a hole (grommet). It has a VESA plate that attaches directly to your monitor. Why they’re great for curved monitors: They offer full articulation—height, tilt, swivel, and sometimes rotation. This lets you perfectly position the curve to match your eye level and distance. They free up all the space under the monitor.
VESA-Compatible Pole Stands (with a Footprint)
These have a heavy base that sits on your desk. A pole extends from it, with a VESA mount at the top. Pros: Very stable, often easier to install than arms. Good for heavier curved monitors. Cons: They use some desk space for their base.
The VESA Adapter Plate Solution
Found out your curved monitor doesn’t have VESA holes? This is your answer. A VESA adapter is a third-party bracket. It typically attaches to your monitor using the same screws that held its original stand. It then provides a standard VESA 100x100mm pattern on its back. Always check reviews to ensure a specific adapter fits your exact monitor model.
Step 4: The Installation Process – A Step-by-Step Walkthrough
You’ve got your stand and you’re ready to go. Let’s mount it safely.
Preparation is Key
Clear your desk. Gather the tools (usually just the included Allen keys/screwdrivers). Have a friend help if the monitor is large and heavy. Read the stand’s manual first.
Step 4.1: Remove the Original Stand
Power down and unplug everything. Lay the monitor face-down on a soft, clean surface. There is usually a single release button or a set of screws securing the neck to the monitor. Follow your monitor’s manual. Set the original stand aside.
Step 4.2: Assemble the New Stand
Follow the manufacturer’s instructions. Attach the desk clamp or assemble the base. Make sure all knobs and joints are tight, but don’t overtighten yet. You’ll do final adjustments with the monitor on.
Step 4.3: Attach the VESA Plate to Your Monitor
Take the VESA plate from your new stand. Line up the four holes with the VESA pattern on the back of your monitor. Use the provided screws. Critical tip: The screws must be long enough to grip securely but not so long that they press into or damage the monitor’s internal components. If the screws feel like they’re hitting something hard, stop! Use shorter screws, often provided in a separate bag for smaller monitors.
Step 4.4: Mount the Monitor to the Stand
This part varies. For an arm, you often slide the plate onto the arm’s bracket until it clicks, then secure it with a safety screw. For a pole stand, you might lift the monitor and hook the plate onto the pole. Have your friend support the monitor’s weight during this step.
Step 4.5: Cable Management and Final Adjustments
Route your video and power cables through the stand’s cable management channels if it has them. Now, gently adjust the monitor’s position. Tilt it so the curve is facing you directly. Adjust the height so the top of the screen is at or slightly below eye level. Move it to an arm’s length away. Tighten any tension knobs on the arm to hold the position firmly.
Step 5: Troubleshooting Common Issues
Sometimes, things don’t go perfectly. Here’s how to fix common problems.
Problem: The Monitor Tilts Forward or Sags Downward
Solution: The stand’s tilt or arm tension is too loose. Find the tension adjustment knob (usually hidden on the side of a joint near the VESA plate). Turn it clockwise to increase resistance. Do this in small increments while supporting the monitor.
Problem: The Stand or Arm Feels Wobbly
Solution 1: Check the desk clamp. Ensure it’s tightened securely onto a solid part of your desk (not just the lip). If your desk is very thin or made of glass, a clamp might not be suitable; consider a grommet mount or pole stand.
Solution 2: Ensure all other joints and connections in the arm or stand are properly tightened according to the manual.
Problem: The Screen Isn’t Level
Solution: Some high-quality arms have a “leveling” adjustment on the VESA plate itself. Loosen the screws holding the plate to the monitor slightly, level the screen by hand, and then re-tighten. If your stand doesn’t have this, minor leveling can sometimes be done by very slightly adjusting the tilt.
Problem: The Curve Feels “Off” or Distorted
Solution: You are likely sitting too close or at a sharp angle. Remember, the sweet spot for a curved monitor is directly in the center, at about an arm’s length. Use the swivel and extension of your arm to pull the monitor back and center it perfectly in front of you.
Conclusion: Unlock Your Curved Monitor’s Full Potential
So, do monitor stands work with curved monitors? Absolutely. It’s not just possible; it’s highly recommended. The process boils down to a simple checklist: VESA compatibility, weight capacity, and screen size rating. Once you’ve confirmed these, a world of ergonomic benefits opens up.
By moving from a bulky stock stand to a sleek arm or adjustable pole, you’re not just decluttering your desk. You’re taking control of your posture, reducing neck and eye strain, and positioning that beautiful curve exactly where it was designed to be—perfectly aligned with your field of view. It’s an upgrade that pays for itself in comfort every single day. Take the plunge, follow this guide, and enjoy a workspace that’s as functional as it is immersive.