
Build your own study desk with this comprehensive guide. You will learn to construct a sturdy desk with an integrated monitor stand using basic tools and materials. Follow these steps to save money and create a perfect fit for your home office.
Key Takeaways
- Plan Thoroughly: Good design ensures your study desk is functional, ergonomic, and fits your space perfectly.
- Choose Quality Materials: Selecting the right wood and hardware leads to a durable and stable desk that lasts.
- Measure and Cut Precisely: Accuracy during cutting is crucial for a professional look and easy assembly of your study desk.
- Assemble with Care: Take your time during assembly to ensure all joints are square and secure for a wobble-free study desk.
- Finish for Protection and Style: Sanding and applying a finish not only protects the wood but also enhances the beauty of your custom study desk.
- Prioritize Ergonomics: Building in features like a monitor stand promotes better posture and comfort during long study sessions.
- Customize Freely: One of the best perks of DIY is tailoring your study desk to your exact needs and aesthetic preferences.
Introduction: Why Build Your Own Study Desk?
Hello there! Are you tired of generic desks that don’t fit your space or needs? Building your own study desk is a fantastic solution. It is easier than you think. This guide will walk you through the entire process. You will learn to create a sturdy, custom study desk with a built-in monitor stand. This project is perfect for beginners. You will save money. You will get a desk that is exactly right for you. Let’s get started on this fun and rewarding DIY journey!
Step 1: Planning Your Study Desk Design
Every great build starts with a plan. Do not skip this step. A good plan makes everything easier later. Think about how you will use your study desk. Do you need space for a computer, books, or both? Consider the monitor stand. It will lift your screen to a comfortable height. This is key for a healthy posture.

Visual guide about Learn to Build Your Own Study Desk
Image source: i.ytimg.com
Determining Dimensions
First, measure your available space. Note the width, depth, and height. A standard desk height is about 29 to 30 inches. But you can adjust it for your chair and body. For the desktop, a good size is 48 inches wide by 24 inches deep. This gives plenty of room. The monitor stand can be about 12 inches tall and 24 inches wide. Sketch these dimensions on paper.
Sketching Your Design
Draw a simple diagram of your study desk. Include the top, legs, and monitor stand. Label all parts with sizes. This sketch is your blueprint. It will help you buy the right amount of wood. It will also guide you during assembly. Keep it handy.
Tip: Use free online design tools if you prefer digital sketches. They can help you visualize your custom study desk better.
Step 2: Gathering Materials and Tools
Now, let’s gather everything you need. Having all materials and tools ready saves time. Here is a basic list. You can find these at any hardware store.
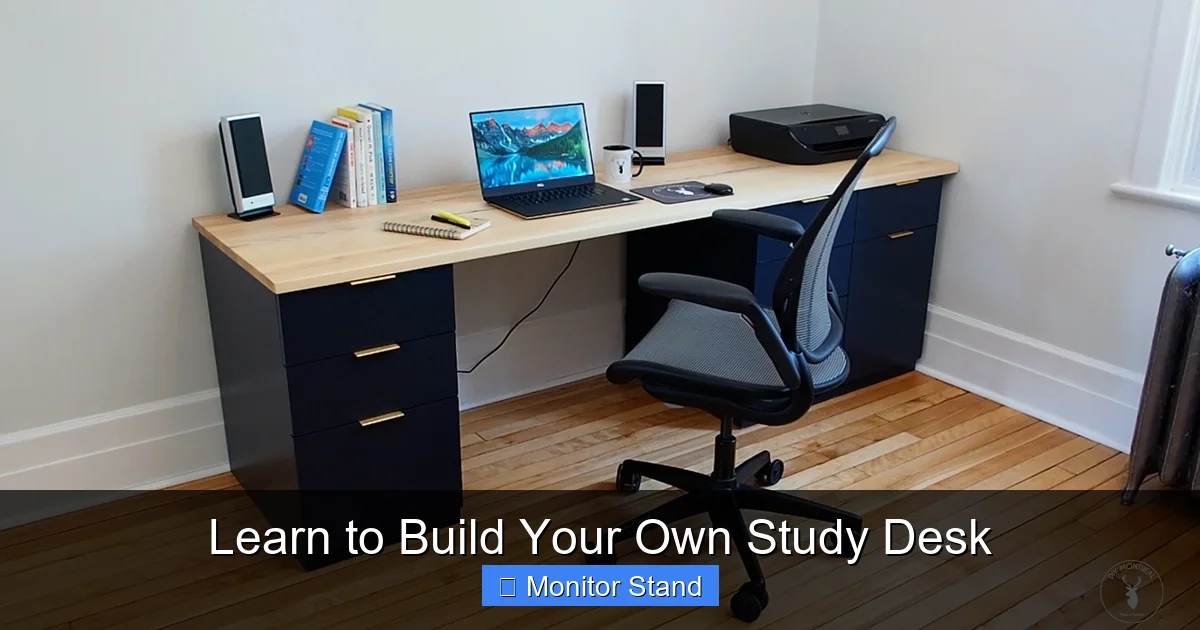
Visual guide about Learn to Build Your Own Study Desk
Image source: diymontreal.com
List of Materials
For a simple study desk, you will need:
- Wood: Pine or plywood is great for beginners. For the desktop: 3/4-inch thick sheet, 48″ x 24″. For the legs: 2×2 boards, cut to 29 inches long (4 pieces). For the frame: 1×3 boards for rails. For the monitor stand: 1×6 boards or more plywood.
- Hardware: Wood screws (2-inch and 1.25-inch), wood glue, sandpaper (80, 120, 220 grit), and finish (like polyurethane or stain).
- Optional: Corner braces for extra strength, cable management clips, and felt pads for the bottom of legs.
Essential Tools
You do not need fancy tools. Basic tools will work:
- Saw: A circular saw or handsaw for cutting wood.
- Drill: A power drill with drill bits and screwdriver bits.
- Measuring Tape and Square: For accurate measurements and right angles.
- Clamps: To hold pieces together while you work.
- Sander: An orbital sander or sanding block.
- Safety Gear: Safety glasses and hearing protection.
Example: If you are on a tight budget, you can often rent larger tools like a circular saw from a hardware store.
Step 3: Cutting the Wood to Size
Time to cut your wood according to your plan. Precision here is key for a study desk that assembles smoothly.
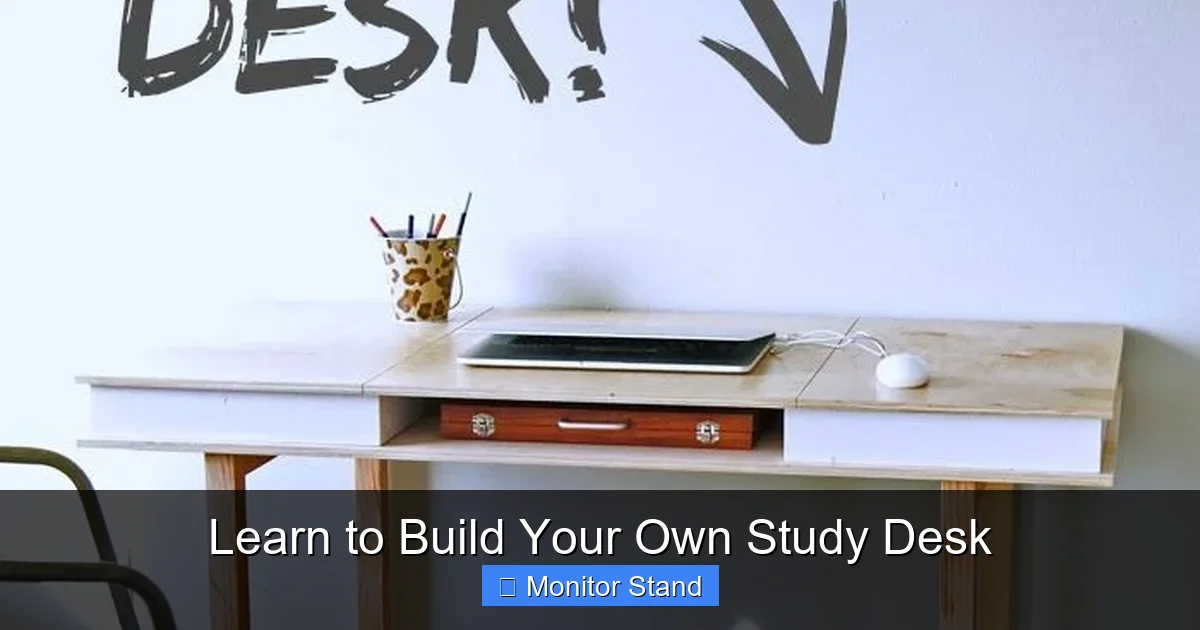
Visual guide about Learn to Build Your Own Study Desk
Image source: i.pinimg.com
Measuring and Marking
Lay your wood on a flat surface. Use your measuring tape and a pencil to mark all cut lines. For straight lines, use a carpenter’s square. Mark clearly. Double-check all measurements before cutting. Remember the old saying: measure twice, cut once.
Making the Cuts
Set up your saw on a stable workbench. If using a circular saw, use a guide for straight cuts. Wear your safety gear. Cut slowly and steadily along the marked lines. First, cut the desktop to 48″ x 24″. Then, cut the four legs to 29 inches each. Next, cut the rails for the frame. Finally, cut the pieces for your monitor stand. Label all pieces as you go to avoid confusion.
Tip: If you are new to cutting, practice on scrap wood first. This builds confidence for your actual study desk pieces.
Step 4: Assembling the Desk Frame
The frame is the skeleton of your study desk. It must be strong and square. Let’s build it.
Joining the Legs and Rails
Lay two legs parallel on the floor. These will be the front legs. Take a rail (a 1×3 board cut to width minus a few inches). Apply wood glue to the end of the rail. Position it between the legs, about 4 inches from the bottom. This is the apron. Drill pilot holes to prevent splitting. Then, screw the rail to the legs using 2-inch screws. Repeat for the back legs. Now, connect the front and back assemblies with side rails. Use clamps to hold everything together while you screw.
Ensuring Squareness
Before the glue dries, check if the frame is square. Use a carpenter’s square at the corners. If it is not square, adjust by gently tapping the frame until it is. You can also measure diagonally from corner to corner. Both diagonal measurements should be equal. This step is crucial for a stable study desk.
Example: If your frame is wobbly, adding corner braces inside the joints can provide extra stability for your study desk.
Step 5: Adding the Desktop and Monitor Stand
Now, attach the top and build the monitor stand. This is where your study desk starts to look complete.
Attaching the Desktop
Place the desktop on a flat surface, bottom side up. Position the assembled frame on top of it. Center the frame so there is an even overhang on all sides. Secure the frame to the desktop. Drill pilot holes through the rails into the desktop. Use wood glue and 1.25-inch screws to attach it. Do not overtighten the screws. Flip the study desk over carefully. It should stand firmly.
Building the Monitor Stand
The monitor stand can be a simple riser. Cut two side pieces from 1×6 wood, about 12 inches tall and 10 inches deep. Cut a top piece for the stand, 24 inches wide and 10 inches deep. Assemble it like a small box without a bottom. Use wood glue and screws. You can add a back piece to hide cables. Once assembled, place the monitor stand on the desktop towards the back. You can attach it with screws from underneath or leave it freestanding for flexibility. This stand elevates your screen, reducing neck strain.
Tip: For a cleaner look, route cables through a hole drilled in the desktop under the monitor stand. This keeps your study desk tidy.
Step 6: Sanding and Applying Finish
Sanding and finishing make your study desk smooth and beautiful. Do not rush this part.
Sanding for Smoothness
Start with coarse 80-grit sandpaper. Sand all surfaces of your study desk to remove rough edges and saw marks. Always sand with the wood grain. Then, move to 120-grit for a smoother feel. Finally, use 220-grit for a fine finish. Wipe away all dust with a damp cloth. Your study desk should feel smooth to the touch.
Choosing and Applying Finish
Pick a finish that suits your style. Polyurethane is durable and easy to apply. Stain changes the wood color. Follow the product instructions. Apply finish in a well-ventilated area. Use a brush or cloth. Apply thin, even coats. Let each coat dry completely. Lightly sand between coats with fine sandpaper. Two to three coats are usually enough. This protects your study desk from spills and wear.
Example: If you want a natural look, use a clear matte polyurethane. It protects the wood without adding shine.
Step 7: Final Assembly and Setup
You are almost done! Let’s put everything together and set up your new study desk.
Putting It All Together
Once the finish is dry, attach any remaining hardware. Add felt pads to the bottom of the legs. This protects your floor. If you did not attach the monitor stand permanently, place it on the desktop. Check all screws to ensure they are tight. Your DIY study desk is now ready for use.
Ergonomics and Adjustments
Position your study desk in your room. Place your monitor on the stand. The top of the screen should be at or slightly below eye level. Your arms should be parallel to the floor when typing. Adjust your chair height accordingly. Add a keyboard tray if needed. Personalize with organizers or plants. Enjoy your custom, ergonomic study desk!
Troubleshooting Common Issues
Even with care, issues can pop up. Here are quick fixes:
- Wobbly Desk: Check if all legs touch the floor evenly. Adjust with shims if needed. Tighten all screws. Ensure the frame is square.
- Uneven Surface: If the desktop is not flat, you may have missed sanding. Sand the high spots carefully. Or, check if the frame is warped.
- Screw Splitting Wood: Always drill pilot holes for screws. Use the correct screw size. If split, remove the screw, fill the crack with wood glue, and re-drill.
- Finish Bubbles: Bubbles mean you applied too thick a coat. Sand lightly and apply a thinner coat. Stir finishes, do not shake, to avoid bubbles.
Do not worry. Most problems have simple solutions. Your study desk will be fine.
Conclusion: Enjoy Your Custom Study Desk
Congratulations! You have built your own study desk. This project teaches valuable skills. You now have a unique piece of furniture. It fits your space and style perfectly. Remember, building a study desk is not just about saving money. It is about creating something with your hands. Use your new study desk for work, study, or hobbies. Share your experience with friends. Who knows? You might inspire them to build their own study desk too. Happy building!