To clean a bathroom floor properly, you need the right tools, a systematic approach, and knowledge of your floor type. This guide walks you through daily maintenance, a deep cleaning routine, and how to tackle tough problems like soap scum and moldy grout. Following these steps will ensure a hygienic, spotless floor that lasts.
Key Takeaways
- Sweep or Vacuum First: Always remove loose hair and debris before mopping to avoid a muddy, streaky mess.
- Know Your Floor Type: Using the wrong cleaner can damage surfaces; always check manufacturer recommendations for vinyl, tile, stone, or laminate.
- Target Grout Separately: Grout lines harbor mold and mildew; they require a dedicated brush and cleaner (like baking soda paste or oxygen bleach) for a deep clean.
- Work from the Farthest Point: Start cleaning in the corner farthest from the door and move backward to avoid stepping on your freshly cleaned floor.
- Dry the Floor Thoroughly: Use a dry towel or mop to eliminate water spots and prevent slips, which also starves mold of the moisture it needs to grow.
- Prevention is Key: A squeegee after showers, a bathroom mat, and weekly light cleans drastically reduce the need for heavy scrubbing sessions.
- Safety First: Ensure good ventilation when using chemical cleaners and always wear gloves to protect your skin.
How to Clean a Bathroom Floor Properly: The Ultimate Guide
Your bathroom floor faces a daily assault. It deals with soap suds, water splashes, toothpaste blobs, and lots of hair. A quick swipe with a wet mop might make it look clean. But a truly proper clean involves more. It’s about hygiene, preserving your floor, and creating a fresh space.
This guide will teach you everything. You will learn the best tools. You will get a step-by-step plan for any floor. We will cover daily tricks and deep cleaning methods. Soon, you will have a bathroom floor that sparkles and stays cleaner longer. Let’s get started.
Step 1: Gather Your Cleaning Arsenal
Don’t start empty-handed. Having the right tools makes the job faster and better.
Visual guide about How to Clean a Bathroom Floor Properly
Image source: tipsbulletin.com
- Soft-Bristled Broom or Vacuum: For dust and hair pickup. A vacuum with a hard-floor setting is ideal.
- Microfiber Cloths or a Spin Mop: Microfiber grabs dirt instead of pushing it around. A spin mop helps control water.
- Buckets (Two is Ideal): One for your cleaning solution, one for rinse water.
- The Right Cleaner: This depends on your floor. More on this below.
- Grout Brush or Old Toothbrush: Essential for scrubbing grout lines.
- Squeegee or Dry Towel: For drying the floor after cleaning.
- Rubber Gloves: Protect your hands from cleaners and germs.
- Knee Pads (Optional): Your knees will thank you during a deep clean.
Choosing the Correct Cleaner for Your Floor Type
Ceramic or Porcelain Tile: These are durable. You can use many cleaners. A pH-neutral cleaner is safe. A mix of vinegar and water works well. Avoid harsh acids on polished tiles.
Natural Stone (Marble, Granite, Slate): Stone is porous and sensitive. Never use vinegar or acidic cleaners. They will etch the surface. Use only cleaners formulated for stone.
Vinyl, Linoleum, or Luxury Vinyl Plank (LVP): Use mild cleaners. Too much water can seep into seams. Avoid abrasive scrubs and wax-based products. Dish soap and warm water is a safe bet.
Laminate: Laminate hates standing water. Use a well-wrung mop and a laminate-specific cleaner. Water can cause swelling and warping.
All-Purpose Solution: For a safe DIY option, mix 1/4 cup of white vinegar with 1 gallon of warm water. Add a few drops of dish soap for grease-cutting power. Do not use on stone or unsealed grout.
Step 2: The Proper Cleaning Process (Step-by-Step)
Follow this sequence for a flawless clean every time.

Visual guide about How to Clean a Bathroom Floor Properly
Image source: belloscleaning.com
1. Clear the Floor and Ventilate the Room
Remove rugs, toilet mats, wastebaskets, and scales. Open a window or turn on the exhaust fan. Fresh air helps with fumes and dries the floor faster.
2. Dry Dust or Vacuum Thoroughly
This is the most skipped, yet most important, step. Loose hair and grit turn into an abrasive paste when wet. You’ll just spread dirt around. Sweep into a dustpan or use your vacuum on all floor surfaces, including corners and behind the toilet.
3. Pre-Treat Problem Areas
Spot-tackle tough stains before general mopping. For soap scum rings, apply a little cleaner directly. For moldy grout, make a paste of baking soda and water. Scrub it with your grout brush. Let it sit for 5-10 minutes.
4. Mix Your Cleaning Solution
Fill your first bucket with hot water and the recommended amount of cleaner. Fill a second bucket with clean, hot rinse water. The two-bucket system keeps your cleaning water fresher. You won’t mop dirt back onto the floor.
5. Mop from the Back to the Door
Start in the corner farthest from the door. Dip and wring your mop well. You want it damp, not dripping. Clean in small, overlapping sections. Frequently rinse your mop in the rinse bucket. Wring it out. Then dip it in the clean solution again. This prevents cross-contamination.
6. Pay Special Attention to Grout Lines
As you mop, use the edge of your mop head or a cloth to scrub along grout lines. For a deep clean, get on your knees (with pads!) and use the grout brush in a circular motion after applying your paste or cleaner. This lifts ingrained dirt.
7. Rinse the Floor (Often Overlooked!)
Soap or cleaner residue leaves a dull, sticky film. Go over the floor with a mop dipped in your clean rinse water. Wring it very well. You are picking up leftover cleaner, not re-wetting the floor.
8. Dry the Floor Completely
Use a dry microfiber cloth, a dry mop head, or a squeegee to remove all standing water. This prevents water spots on tile. It also stops mold growth. It makes the floor safe to walk on immediately.
9. Let It Air Out and Replace Items
Leave the fan on or the window open a bit longer. Let the floor and room air dry fully. Only put your rugs and mats back when the floor is completely dry. This stops moisture from getting trapped underneath.
Step 3: Deep Cleaning and Troubleshooting Tough Problems
Sometimes, a regular clean isn’t enough. Here’s how to handle deep-set issues.
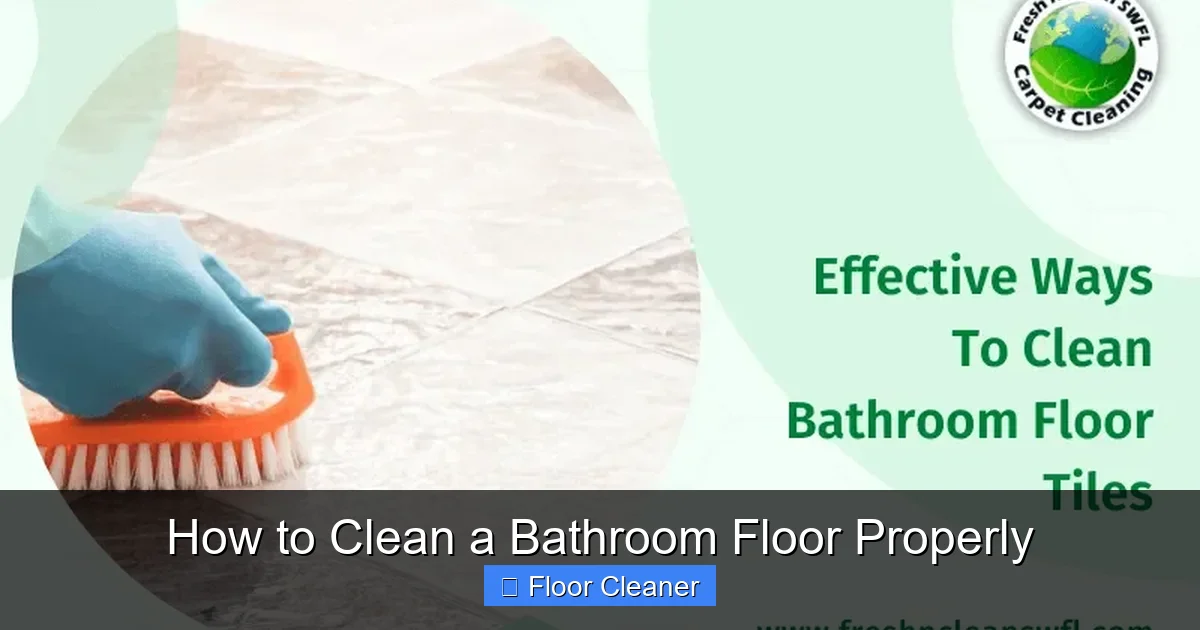
Visual guide about How to Clean a Bathroom Floor Properly
Image source: freshncleanswfl.com
Reviving Discolored or Moldy Grout
For severe grout problems, skip the baking soda. Use an oxygen bleach powder. Mix it with warm water to form a paste. Apply it to the grout lines. Let it sit for at least 15 minutes. Scrub with your brush. The oxygen bleach lifts stains and kills mold without harsh fumes. Rinse thoroughly.
Removing Hard Water Stains and Soap Scum
Hard water leaves white, chalky rings. Soap scum is a greasy film. For non-stone floors, undiluted white vinegar can break these down. Spray it on. Let it sit for a few minutes. Scrub with a non-scratch pad. Wipe clean. For stubborn spots, a dedicated bathroom scale remover may be needed.
Dealing with Rust Stains
Rust from shaving cream cans or fixtures is tricky. Make a paste from lemon juice and borax (or cream of tartar). Apply it to the stain. Let it sit for 30 minutes. Scrub gently. The citric acid reacts with the rust to dissolve it.
Step 4: Smart Maintenance to Make Cleaning Easier
A clean floor is easier to keep clean. These habits reduce your workload.
- Squeegee After Showers: A 30-second squeegee of walls and the floor removes most water, preventing scale and mold.
- Use an Absorbent Bath Mat: A good mat catches water and drips from your body.
- Weekly Quick Clean: Once a week, do a quick dry-vacuum and a damp mop with plain water or a light cleaner. This stops dirt from building up.
- Seal Your Grout: If you have new grout or have just deep-cleaned it, apply a grout sealer. This creates a protective barrier that repels water and stains. Re-seal every 1-2 years.
- Wipe Up Spills Immediately: Don’t let toothpaste or hair dye sit. A quick wipe prevents a future stain.
Conclusion
Learning how to clean a bathroom floor properly is a game-changer. It’s not just about looks. It’s about creating a healthier home. You now have a complete system. You know how to prepare, which tools to use, and the step-by-step process. You can tackle tough stains and stop them from coming back.
The secret is consistency. A little effort each week beats a massive, exhausting scrub-fest every few months. Start with a deep clean using this guide. Then, use the maintenance tips. You will save time and energy. Your bathroom will feel fresher and more inviting. Now, grab your tools and give your floor the proper clean it deserves!
🎥 Related Video: Cleaning Bathroom Floors
📺 Clean My Space
Tips for your bathroom floors during the third and final stage of cleaning. See the full video here: Clean With Me: Bathroom …