Using a toilet brush correctly is essential for effective cleaning and bathroom hygiene. This guide walks you through the entire process, from pre-cleaning preparation to the proper brush stroke technique and crucial post-use sanitation of the brush itself. Following these steps ensures you eliminate germs and odors, not just spread them around.
Key Takeaways
- Preparation is Key: Always apply cleaner and let it sit before scrubbing to break down stains and germs effectively.
- Scrub Under the Rim: The area under the toilet rim harbors the most bacteria and mineral deposits, so make it your primary target.
- Use a Gentle, Thorough Motion: Avoid harsh splashing. Use a swirling or gentle jabbing motion to cover all interior surfaces.
- Sanitize the Brush After Every Use: This is the most critical hygiene step. Rinse it in clean toilet water, then disinfect it in its holder with hot water and cleaner.
- Let the Brush Air-Dry: A closed, wet holder breeds mold and bacteria. Always use a holder with ventilation holes and leave it open to dry.
- Replace Regularly: Toilet brushes wear out and become less effective. Replace your brush every 3-6 months or at the first sign of fraying or permanent discoloration.
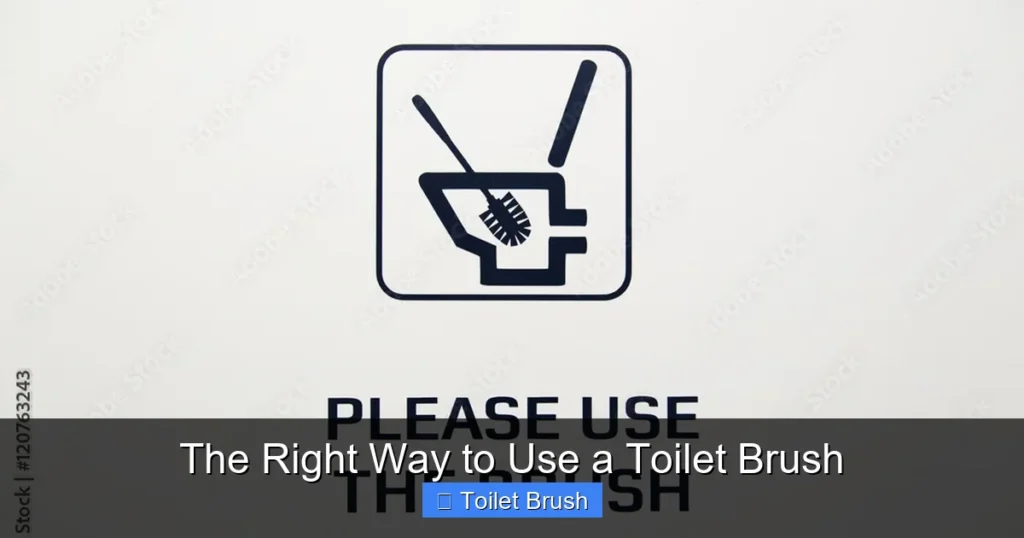
The Right Way to Use a Toilet Brush: A Complete Guide to Hygiene and Cleanliness
Let’s talk about a tool we all own but might not use to its full potential: the humble toilet brush. It’s not the most glamorous part of cleaning, but using it correctly is the difference between a truly clean toilet and one that just looks clean. A poorly used brush can actually spread germs and leave behind unpleasant odors. This guide will walk you through everything—from gathering your supplies to the final sanitizing step. You’ll learn a simple, effective method that ensures a hygienic bowl and a fresh-smelling bathroom. Ready to master this essential skill? Let’s dive in.
What You’ll Need
First, assemble your cleaning squad. Having everything ready makes the process faster and more efficient.

Visual guide about The Right Way to Use a Toilet Brush
Image source: as2.ftcdn.net
- A Quality Toilet Brush: Choose one with sturdy bristles and a comfortable handle. Consider a brush with a angled head for better reach under the rim.
- Toilet Bowl Cleaner: Your choice of liquid, gel, or even a DIY paste. Look for cleaners with disinfecting properties.
- Disinfectant Spray or Wipes: For cleaning the toilet seat, lid, handle, and the brush holder.
- Rubber Gloves: Non-negotiable for protecting your hands.
- Optional but Helpful: A pumice stone for tough mineral stains, and a microfiber cloth for wiping down exterior surfaces.
Step 1: The Pre-Cleaning Prep
Don’t just start scrubbing! Preparation makes the scrubbing work much easier.
Visual guide about The Right Way to Use a Toilet Brush
Image source: ascienceenthusiast.com
Clear the Area and Protect Yourself
Put on your rubber gloves. Move any bathroom rugs, scales, or wastebaskets away from the toilet to avoid splashes. Lift the toilet seat and lid all the way up, propping them against the tank if possible.
Apply Your Cleaner
Squirt a generous amount of toilet bowl cleaner under the rim of the bowl, where water flows out. Let the cleaner run down the sides. Then, add a little more around the rest of the bowl, including at the water line. This is crucial: let the cleaner sit for at least 5-10 minutes. This dwell time allows the chemicals to break down stains, lime scale, and germs, which means less elbow grease for you later.
Step 2: The Art of Scrubbing
Now for the main event. It’s not just about swishing water around.

Visual guide about The Right Way to Use a Toilet Brush
Image source: static.vecteezy.com
Start Under the Rim
This is ground zero for bacteria and mineral deposits. Dip your toilet brush into the water to wet the bristles. Place the brush head under the rim and use a firm but gentle swirling or jabbing motion. Work your way all the way around the circumference. Pay extra attention to the holes where the water comes out.
Scrub the Bowl Interior
Move down the sides of the bowl, using the same swirling motion. Focus on the trapway (the S-shaped pipe at the bottom) and the water line, where grime often builds up. For stubborn stains, you can apply a bit more pressure or use a dedicated pumice stone on wet porcelain—it won’t scratch.
Mind the Water Level
If your toilet has a very high water level, you may need to flush halfway through to get better access to the bowl’s surface. Just be sure to reapply a small amount of cleaner to the areas you’ll continue scrubbing.
Step 3: The Crucial Post-Scrub Sanitation
This step is what separates a hygienic clean from a messy one. Your goal is to clean the brush, not just the toilet.
Rinse the Brush in the Toilet
After scrubbing, hold the toilet brush over the bowl and flush. As the clean water swirls, swish the brush head through it vigorously to rinse off the majority of debris and cleaner. Do this for the entire flush cycle.
Disinfect the Brush and Holder
This is non-negotiable. Place the rinsed brush back into its holder. Pour about an inch of hot water into the holder base. Add a dash of disinfectant cleaner, bleach (if compatible with your holder), or a few drops of essential oil for freshness. Swirl the brush in this solution. This kills germs on the brush and cleans the holder simultaneously.
Let it Air Dry
Do NOT snap on a sealed lid. This traps moisture and creates a perfect breeding ground for mold and bacteria. Leave the holder open or, if it has a cover, ensure it has ventilation holes. Let the brush air-dry completely between uses.
Step 4: Finishing Touches
Your toilet bowl is clean, but you’re not done yet.
Use your disinfectant spray or wipes to thoroughly clean the exterior: the seat (top and bottom), lid, handle, tank, and the base of the toilet. Don’t forget the brush holder’s exterior! Give the area around the toilet a quick wipe-down if any cleaner splashed. Wash your gloves with soap and water, then wash your hands thoroughly.
Troubleshooting Common Issues
Ran into a problem? Here are quick fixes.
- Stubborn Stains (Rust/Lime): Let a stronger acid-based cleaner sit overnight, or use a wet pumice stone gently on the stain.
- Bad Odors from the Brush/Holder: Deep clean the holder with hot, soapy water. Soak the brush in a bleach solution (1 part bleach to 10 parts water) for 10 minutes, then rinse thoroughly. Ensure both dry completely.
- Bristles Falling Out/ Fraying: This means it’s time to replace your brush. Worn-out bristles are less effective and can shed into your toilet.
- Splashing During Scrubbing: You’re being too aggressive. Use slower, controlled motions. You can also lower the water level by using a cup to remove some water from the bowl before you start.
Conclusion: A Simple Habit for a Healthier Home
Using your toilet brush the right way takes only a few extra minutes but makes a world of difference. It transforms a chore from a quick, messy swipe into a effective, hygienic process that actually cleans and disinfects. By following these steps—pre-treating, scrubbing thoroughly, and, most importantly, sanitizing the brush itself—you ensure your bathroom is genuinely fresh and germ-free. Remember, a clean brush is the heart of a clean toilet. So, adopt this method, replace your brush regularly, and enjoy the confidence of a truly spotless bathroom.
🎥 Related Video: How to use a toilet brush #shorts #howto #learning
📺 StillLearningTheBasics