Learn how to store a broom the smart way and save space in every room of your home. This guide covers wall mounts, door racks, small-space hacks, and simple DIY ideas so your broom stays straight, clean, and ready to use. Whether you live in a tiny apartment or a large house, you’ll find easy, budget-friendly broom storage solutions that work.
Key Takeaways
- Point 1: Always store a broom off the floor and upright to protect bristles and extend its life.
- Point 2: Use vertical wall space, doors, and corners to create smart, space-saving broom storage.
- Point 3: Simple tools like hooks, racks, and clips make it easy to store a broom neatly and safely.
- Point 4: Clean and dry your broom before storing to prevent odors, mold, and damaged bristles.
- Point 5: Even very small homes can fit a broom using behind-the-door, closet, or under-shelf storage ideas.
- Point 6: Organizing all your cleaning tools together saves time and keeps your home less cluttered.
- Point 7: A little planning and the right hardware turn awkward brooms into tidy, easy-to-reach tools.
How to Store a Broom Smart Space Saving Storage Ideas
If you are tired of your broom falling over, getting bent bristles, or cluttering up a corner, you are not alone. Learning how to store a broom the right way can save space, protect your broom, and make your home look more organized. The good news is that you do not need a big laundry room or a huge closet. You just need a few smart ideas and simple tools.
In this guide, you will learn how to store a broom in different types of homes and rooms. You will see space saving storage ideas for walls, doors, closets, and even tiny apartments. You will also learn how to care for your broom so it lasts longer and works better. By the end, you will know exactly where and how to store a broom in your home.
Why Proper Broom Storage Matters
Before we dive into the space saving storage ideas, it helps to know why it is important to store a broom correctly. Many people just lean a broom in a corner and walk away. That seems easy, but it can cause problems over time.
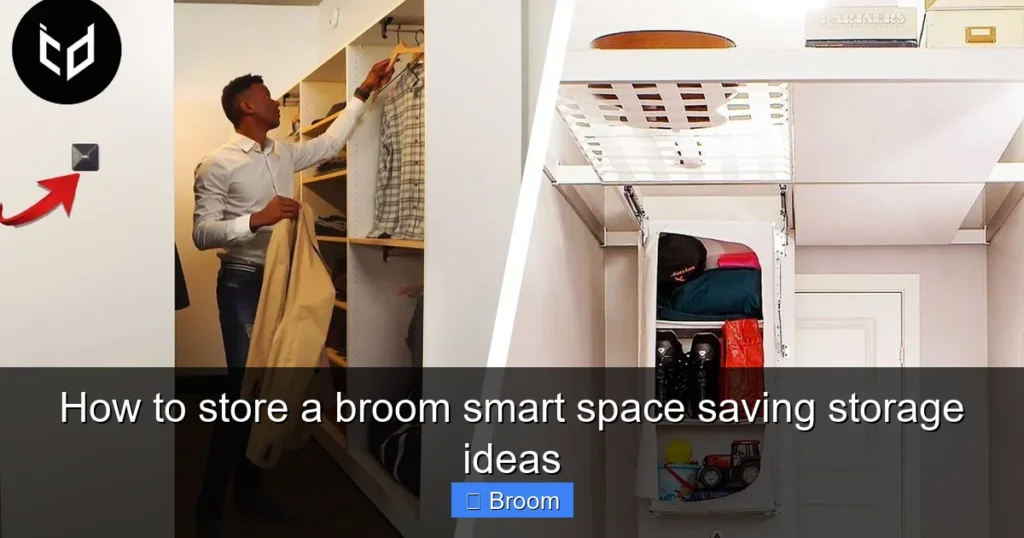
Visual guide about How to store a broom smart space saving storage ideas
Image source: images.suite101.com
Protecting the bristles
The bristles are the working part of your broom. If they bend or crush, the broom will not sweep well. When you leave a broom resting on its bristles, the weight of the handle pushes down. Over time, the bristles can spread out, curve, or break. When you store a broom upright, off the floor, you keep the bristles straight and strong.
Saving space in small homes
A broom is tall and awkward. It does not fit well in drawers or on shelves. If you live in a small home, learning how to store a broom in unused spaces can make a big difference. Smart storage helps keep your floors and corners clear. That makes your home feel bigger and less messy.
Keeping your home safer and cleaner
A broom that slides to the floor can be a tripping hazard. It can also collect dust, hair, and dirt when it lies on the ground. When you store a broom properly, it stays clean, dry, and out of the way. This is extra important if you have kids, pets, or elderly people in the home.
Step 1: Prepare Your Broom Before Storing
Before you think about where or how to store a broom, you should make sure the broom itself is clean and dry. This simple step helps prevent smells, mold, and damage.

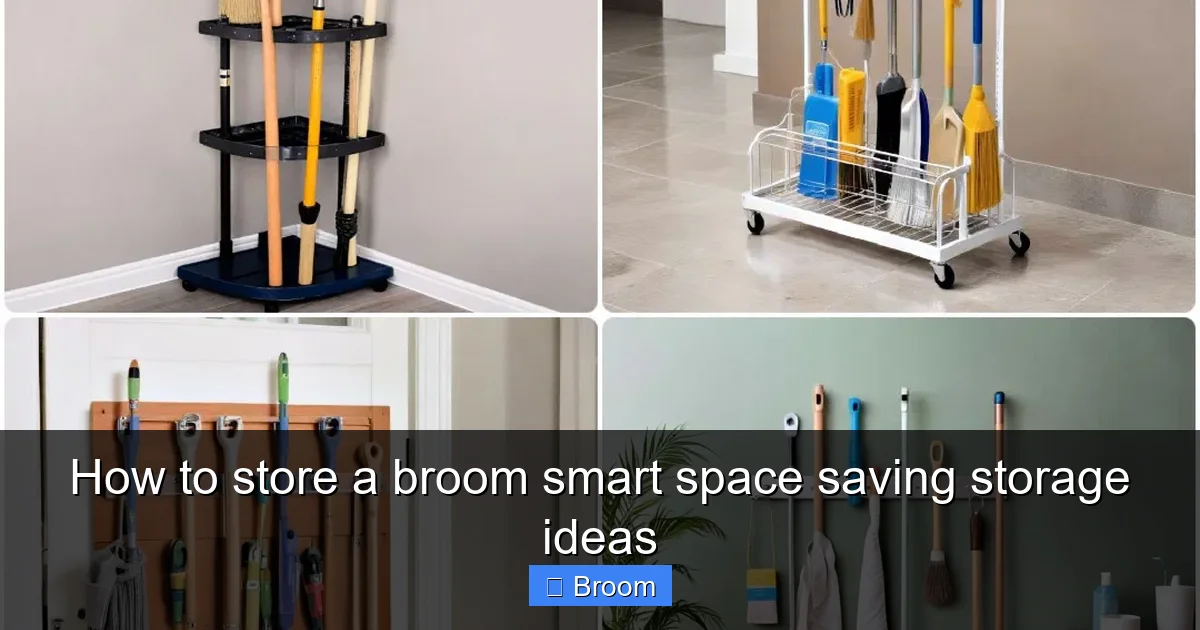
Visual guide about How to store a broom smart space saving storage ideas
Image source: images.suite101.com
Clean the bristles
- Take the broom outside or over a trash can.
- Tap the broom gently to shake out dust and crumbs.
- Use your hand or a gloved hand to pull out hair and lint.
- For very dirty brooms, rinse the bristles in warm soapy water, then rinse with clean water.
After washing, always let the broom dry completely before storing. Wet bristles can grow mold or mildew. They can also warp or clump together.
Dry the broom fully
- Hang the broom upside down by the handle.
- Or lay it flat across two chairs so air can flow around the bristles.
- Let it dry for several hours or overnight.
Once your broom is clean and dry, you are ready to decide how to store a broom in the best place for your home.
Step 2: Choose the Best Location to Store a Broom
The right place to store a broom depends on your space and how often you use it. Here are some common locations and the pros and cons of each.

Visual guide about How to store a broom smart space saving storage ideas
Image source: i.ytimg.com
Utility or laundry room
This is one of the most popular places to store a broom. It keeps your cleaning tools together and out of sight.
- Pros: Easy to add wall racks or hooks. Often close to other cleaning supplies.
- Cons: Not everyone has a laundry room. Some laundry rooms are small and crowded.
Hall or coat closet
A hall closet can be a great place to store a broom if you use smart vertical storage.
- Pros: Central location. Easy to grab the broom for quick cleanups.
- Cons: Can feel cramped if you also store coats, shoes, and bags.
Kitchen or pantry
If you sweep often in the kitchen, you may want to store a broom close by.
- Pros: Very convenient. Great for quick daily sweeping.
- Cons: Space is often tight. You need tidy, space saving storage ideas.
Garage or entryway
If your floors get dusty from outside, an entry area or garage can be a smart spot.
- Pros: Keeps dirt near the door. Plenty of wall space in most garages.
- Cons: Can be damp or dirty. You need to keep the broom off the ground.
Pick the location where you use the broom most. Then you can plan how to store a broom in that area using the right hardware and layout.
Step 3: Use Vertical Wall Space for Broom Storage
One of the best ways to store a broom in a small space is to go vertical. Walls are often empty and unused. With a few simple tools, you can turn a bare wall into a neat broom station.
Install a broom holder rack
A broom holder rack is a bar with clips or slots that grip the handle. You push the handle into the clip, and it holds the broom in place.
- Mount the rack on a wall in your chosen location.
- Place it high enough so the bristles do not touch the floor.
- Leave space for the handle above if you have a tall broom.
Many broom holders have room for several tools, like mops, dusters, and a dustpan. This makes them a great space saving storage idea if you have more than one long-handled tool.
Use simple hooks or pegboard
If you prefer a budget option, hooks work very well. Most brooms have a hole or loop at the end of the handle.
- Screw one or two strong hooks into the wall.
- Hang the broom by the handle loop.
- If your broom has no loop, you can tie a cord to the handle to create one.
You can also use a pegboard. Attach the pegboard to the wall, then add hooks wherever you need them. This is very flexible, and it lets you move your broom and other tools around easily.
Make use of narrow wall slivers
Look for small wall spaces between a fridge and a wall, beside a washer, or behind a door. These narrow spots are perfect for a broom.
- Measure the width of the space.
- Choose a slim broom holder or a single hook.
- Mount it so the broom fits without hitting nearby appliances or doors.
When you think vertically, it becomes much easier to decide how to store a broom in a tight home.
Step 4: Store a Broom Behind Doors and Inside Cabinets
Another smart space saving storage idea is to use the back of doors and the inside of cabinets. These areas are often empty and hidden, which makes them perfect for broom storage.
Over-the-door broom organizers
Over-the-door racks hang over the top of a door and provide hooks or clips on the inside.
- Use them on closet, pantry, or laundry room doors.
- Hang your broom by the handle or in a clip.
- Store dustpans, brushes, and small items on extra hooks.
This is a great option if you rent and cannot drill into walls. It also lets you move the storage easily if you change your mind about where to store a broom.
Inside cabinet or closet doors
If you have a tall pantry or cleaning cabinet, use the inside of the door.
- Attach adhesive hooks or a mini broom holder.
- Hang the broom so it does not hit shelves when the door closes.
- Use extra hooks for a dustpan or hand broom.
Adhesive hooks are easy to remove and do not damage the surface if you follow the instructions. They are ideal for renters and for lightweight brooms.
Sliding or pull-out broom storage
If you are planning a remodel, you can add a pull-out broom cabinet. It is like a narrow, tall drawer that slides out from between cabinets.
- Store a broom, mop, and other tall tools inside.
- Push it back in to hide everything when you are done.
This built-in solution is one of the most elegant ways to store a broom, but it does require planning and carpentry or a custom cabinet.
Step 5: Creative Small-Space Ideas for Storing a Broom
If you live in a studio or a very small home, you may not have a closet or a spare wall. You can still find smart ways to store a broom with a bit of creativity.
Use corners and nooks
Look for unused corners behind furniture, next to the fridge, or beside a bookcase.
- Add a hook high up in the corner.
- Hang the broom so the handle blends into the corner line.
- Use a neutral-colored broom to make it less noticeable.
This keeps the broom out of the way but still easy to reach. It is a simple answer to how to store a broom when you have almost no storage.
Under-shelf and under-counter storage
Some brooms have telescoping or collapsible handles. These are perfect for under-shelf storage.
- Shorten the handle after use.
- Lay the broom on brackets mounted under a shelf.
- Or hang it from hooks under a counter or table.
This idea works well in small kitchens and laundry areas where floor space is limited but you have some open space under surfaces.
Use furniture that doubles as storage
Think about furniture that can hide a broom.
- A tall wardrobe or armoire can hold a broom behind clothes.
- A storage bench near the entry can hide a small broom and dustpan inside.
- A narrow cabinet beside the fridge can be turned into a broom space.
When you are thinking about how to store a broom in a tiny apartment, look for vertical furniture pieces that can share space with your cleaning tools.
Step 6: Group and Organize All Cleaning Tools
Storing a broom is easier when you think about all your cleaning tools together. A small cleaning station saves time and keeps your home neater.
Create a cleaning zone
Pick one area in your home as your cleaning zone. This might be a closet, a laundry corner, or part of the garage.
- Hang the broom on a wall or door in that zone.
- Add hooks or racks for your mop, duster, and vacuum attachments.
- Use a shelf or caddy for sprays, cloths, and gloves.
Now you have one spot for everything. When you know how to store a broom in this zone, you also know where all your other tools live.
Label and separate tools
To keep things tidy, label shelves or bins.
- Use one bin for floor tools, like dustpans and extra broom heads.
- Use another bin for cleaning products.
- Keep outdoor brooms separate from indoor brooms.
This not only keeps your broom area neat, it also helps prevent cross-contamination from outdoor dirt.
How to Store a Broom for Long-Term or Seasonal Use
Sometimes you do not use a broom every day. You might have a special outdoor broom or a holiday-only cleaning tool. In that case, you need to know how to store a broom for the long term.
Deep clean before long storage
- Wash the bristles with warm soapy water.
- Rinse well and let them dry completely.
- Wipe down the handle with a mild cleaner.
Clean tools last longer and will be ready to use when you take them out again.
Protect the bristles
- Wrap the bristles loosely in a breathable cloth or old pillowcase.
- Do not wrap in plastic, as it can trap moisture.
- Store the broom hanging or upside down so the bristles do not carry weight.
Choose a dry, cool place
For long-term storage, avoid damp basements or hot attics.
- Pick a dry closet, a clean section of the garage, or a storage room.
- Hang the broom on a wall rack or hook.
- Check it every few months for dust or pests if stored in a garage or shed.
With these steps, you know exactly how to store a broom that you will not use for a while without damaging it.
Troubleshooting Common Broom Storage Problems
Even with good plans, you might run into a few problems when you decide how to store a broom. Here are simple fixes for common issues.
Problem: Broom keeps falling over
If your broom keeps sliding to the floor, you need a more secure holder.
- Use a clip-style broom holder that grips the handle tightly.
- Make sure the rack is level and firmly attached.
- If using adhesive hooks, clean the surface first and press firmly for the full time suggested.
Problem: Bristles are already bent
If your broom bristles are bent from poor storage in the past, you may still be able to improve them.
- Soak the bristles in warm (not hot) water for 10–15 minutes.
- Gently straighten them with your hands.
- Let the broom dry hanging upside down so the bristles stay straight.
Then, follow the tips in this guide on how to store a broom upright and off the floor to prevent the problem from returning.
Problem: No wall space for a broom holder
If every wall seems full, look again at doors, corners, and furniture.
- Use over-the-door organizers on closets or pantry doors.
- Hang the broom inside a cabinet door.
- Consider a collapsible broom that fits in a drawer or under a bed.
Problem: Rental rules limit drilling
Many renters worry about drilling into walls. You still have options.
- Use strong adhesive hooks or broom clips rated for the broom’s weight.
- Choose tension rods or over-the-door racks that require no screws.
- Store a broom in a corner using a free-standing broom stand.
With a bit of creativity, you can always find a way how to store a broom without breaking rental rules.
Simple DIY Broom Storage Ideas
If you like DIY projects, you can build your own custom broom storage. This can be cheap, fun, and tailored to your space.
DIY wooden broom rack
- Cut a strip of wood to the length you need.
- Sand the edges and paint or stain if you like.
- Screw in several heavy-duty hooks along the strip.
- Mount the strip to the wall using wall anchors.
Now you have a custom rack where you can store a broom, mop, and other tools in a neat row.
DIY PVC pipe holders
- Cut short pieces of PVC pipe big enough for your broom handles.
- Screw the pipe pieces to a board or directly to the wall.
- Slide the broom handle into the pipe to hold it upright.
This is a low-cost and sturdy way to store a broom, especially in garages and sheds.
Conclusion: Make Broom Storage Simple and Smart
Learning how to store a broom does not have to be hard. With a few smart space saving storage ideas, you can keep your broom off the floor, protect the bristles, and clear clutter from your home. Use walls, doors, and small corners to your advantage. Choose hooks, racks, or over-the-door organizers based on your space and whether you rent or own.
Clean and dry your broom before storing it, and keep all your cleaning tools together in a simple cleaning zone. Whether you live in a tiny studio or a large house, these tips show exactly how to store a broom in a way that is neat, safe, and easy to use. A well-stored broom lasts longer, works better, and helps keep your home feeling calm and organized.
🎥 Related Video: Let’s organize the cleaning closet 🧹🤍 #organizedhome #homeorganization #amazonfinds #amazon
📺 Teresa Laura