Stop wasting hours on dusty blinds! This guide reveals proven techniques to clean them in minutes using microfiber dusters. Discover the right tools, simple steps, and maintenance secrets for sparkling results every time.
Key Takeaways
- Microfiber is magic: Its tiny fibers trap dust instead of spreading it, making it perfect for blinds.
- No chemicals needed: Just dry microfiber works best for most dust; avoid sprays that leave residue.
- Right tool matters: Choose extendable, flexible microfiber dusters designed specifically for blind slats.
- Clean top-to-bottom: Always start at the highest slat and work down to catch falling dust.
- Wash regularly: Rinse or machine wash your duster weekly to keep it effective and hygienic.
- Gentle pressure wins: Let the microfiber do the work; pressing hard can damage slats or push dust deeper.
Why Your Blinds Deserve a Microfiber Duster (And Why It’s Faster!)
Hey there! Tired of wrestling with dusty blinds? You know the drill: grabbing a rag, maybe spraying some cleaner, and spending way too long trying to get between those slats. It’s frustrating, messy, and honestly, kinda gross. What if we told you there’s a faster, easier, and far more effective way? Enter the microfiber duster for blinds. This isn’t just another cleaning tool; it’s a game-changer designed specifically for the unique challenge of blind slats.
Forget feather dusters that just flick dust around or damp cloths that leave streaks and take forever to dry. Microfiber dusters work differently. Their super-fine fibers create a static charge that actually grabs and holds dust, lifting it away from surfaces instead of scattering it into the air. For blinds – with their narrow, hard-to-reach slats – this is pure magic. You’ll clean faster, breathe easier, and get results that actually last. In this guide, you’ll learn exactly how to pick the best microfiber duster for blinds, master the simple cleaning technique, and keep your blinds looking pristine with minimal effort. Get ready to clean fast – now!
Why Microfiber Beats Every Other Blind Cleaning Method
Let’s be real: cleaning blinds is nobody’s favorite chore. But why is microfiber so much better than the alternatives? Here’s the breakdown:

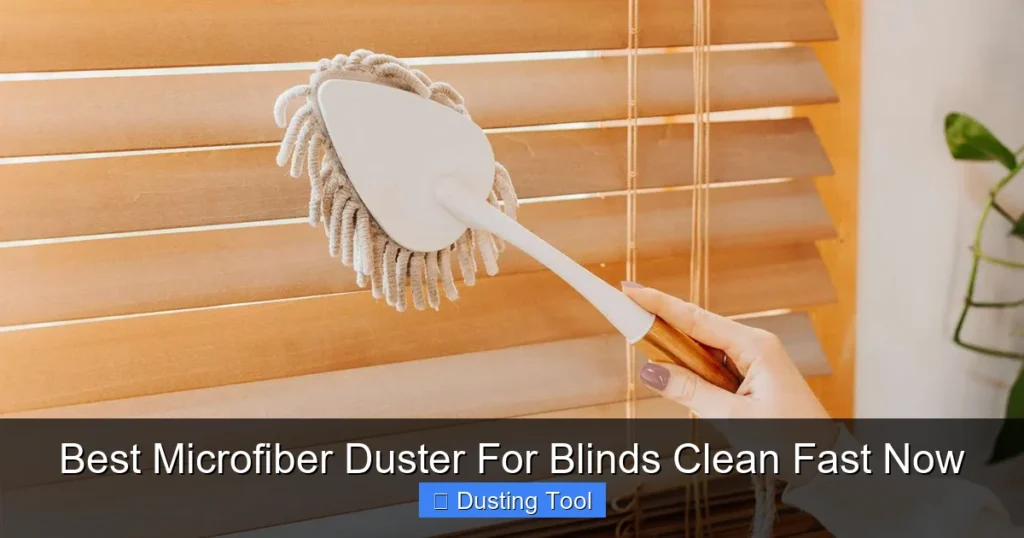
Visual guide about Best Microfiber Duster For Blinds Clean Fast Now
Image source: freshhomeguide.com
- Feather Dusters: They look fancy but mostly just redistribute dust. You end up breathing it in and making surfaces dirtier. Not ideal!
- Regular Rags or Paper Towels: These often just push dust deeper into slat crevices or leave lint behind. They require constant repositioning and multiple passes.
- Spray Cleaners & Damp Cloths: While sometimes necessary for grime, they’re overkill for dust. They leave residue, take ages to dry (risking warping on wood blinds), and require wiping *and* drying steps. Way too slow for routine dusting.
- Vacuum Attachments: Can be bulky and ineffective on vertical blinds. Often misses fine dust and can snag delicate slats.
Microfiber’s secret? Those microscopic fibers (thinner than a human hair!) create a massive surface area that traps dust particles through static electricity and mechanical action. It’s like a magnet for dust. For routine blind cleaning – which is mostly about dust – a dry microfiber duster is simply the fastest, most efficient tool. No sprays, no drying time, no mess. Just grab, glide, and go. That’s the power of a proper microfiber duster for blinds.
Choosing Your Perfect Microfiber Duster for Blinds
Not all microfiber dusters are created equal, especially for blinds. Picking the right one makes all the difference between a quick win and a frustrating struggle. Here’s what to look for:
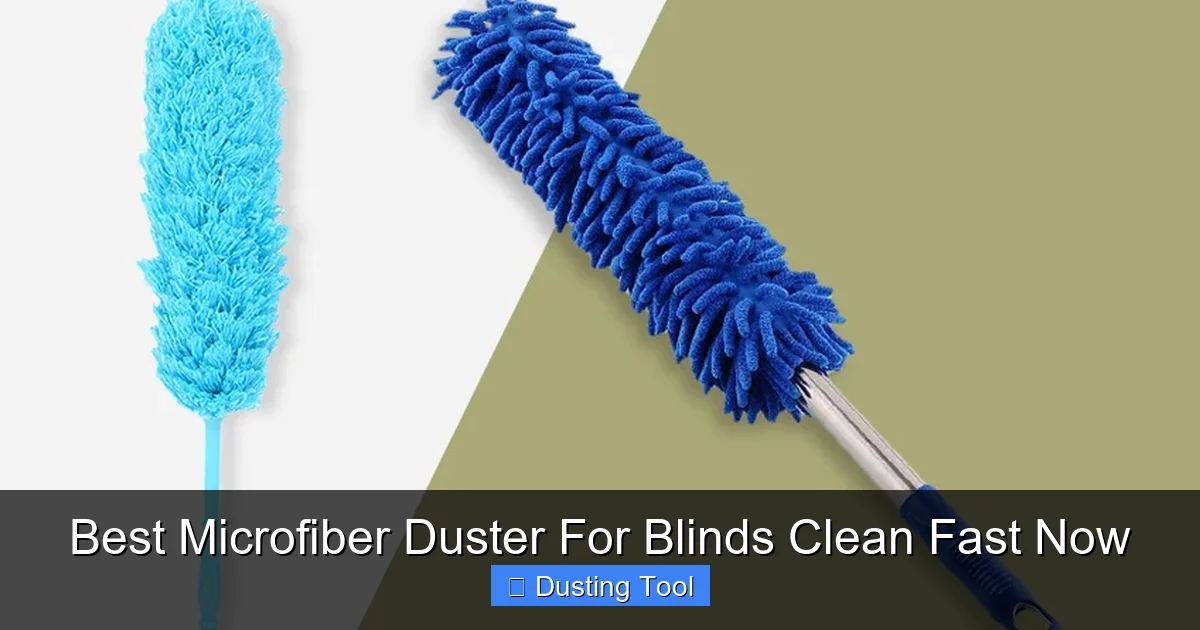
Visual guide about Best Microfiber Duster For Blinds Clean Fast Now
Image source: thehomexprt.com
Essential Features for Blind Cleaning
- Flexible Head: This is non-negotiable! Blinds have slats at angles. A stiff head won’t conform, leaving dust behind. Look for heads that bend easily to hug each slat perfectly.
- Extendable Handle: High blinds? No problem. An adjustable handle (usually telescopic) lets you clean comfortably from the floor, saving your back and ladder time. Aim for at least 3 feet of extension.
- Slat-Specific Design: The best blind dusters have narrow, tapered heads or even dual-sided designs (one side for wide slats, one for narrow). Avoid wide, flat heads meant for shelves.
- Quality Microfiber: Thicker, denser microfiber (look for terms like “high-pile” or “chenille”) traps more dust. Cheap microfiber sheds lint and loses effectiveness fast. Check reviews!
- Washable & Reusable: Your duster will get dirty. Ensure it’s machine washable (gentle cycle, air dry) for long-term use and cost savings.
Top Types of Microfiber Blind Dusters
- Extendable Flexible Head Dusters: The gold standard. Features a long, bendy head on a telescopic pole. Perfect for vertical blinds, mini-blinds, and most horizontal styles. (e.g., common brands like O-Cedar or generic “blind duster” models).
- Dual-Sided Blind Dusters: One side has wider fibers for larger slats (like faux wood), the other side has narrow fibers for mini-blinds or cellular shades. Very versatile.
- Handheld Microfiber Mitts: Great for spot cleaning or smaller blinds (like in bathrooms). Less efficient for large windows but super maneuverable. Best paired with an extendable duster.
Pro Tip: Avoid dusters with plastic “fingers” or hard edges – they can scratch vinyl or painted wood blinds. Pure microfiber is safest.
Your Step-by-Step Guide to Cleaning Blinds FAST with Microfiber
Ready to ditch the hassle? This method takes minutes, not hours. Follow these steps for sparkling clean blinds:

Visual guide about Best Microfiber Duster For Blinds Clean Fast Now
Image source: images.whywelikethis.com
Step 1: Prep Like a Pro (2 Minutes)
- Gather Your Gear: Grab your microfiber duster for blinds (extend the handle fully), a small trash bag (optional, for shaking out dust), and maybe a step stool if needed for very high blinds.
- Close the Blinds: Fully close the blinds so all slats are stacked together. This gives you a solid surface to work on and prevents dust from falling *between* slats onto the clean ones below.
- Start High: Position yourself so the highest slat is at a comfortable height. This is crucial for the top-to-bottom method.
Step 2: The Magic Glide Technique (The Fast Part!)
- Top Slat First: Place the flexible head of your duster firmly against the TOP slat. Don’t press hard – let the microfiber do the work.
- Glide Downward: In one smooth, steady motion, glide the duster DOWN the entire slat. The static charge will pull dust off the surface and into the fibers. This is the key! No back-and-forth scrubbing needed.
- Move to the Next Slat: Lift the duster slightly, move it down to the next slat, and repeat the downward glide. Keep going slat by slat.
- Work Top to Bottom: This is vital! Dust knocked loose from higher slats will fall onto lower ones. By cleaning top-down, you catch that falling dust on your next pass. If you went bottom-up, you’d just re-dust the lower slats.
Why this is FAST: One smooth downward motion per slat. No wiping, no drying, no repositioning a rag constantly. The microfiber grabs dust instantly. A standard window blind takes 2-3 minutes max!
Step 3: Tackling Tricky Spots & Vertical Blinds
- Inside Slat Edges: For horizontal blinds, flip the duster over and use the edge of the flexible head to gently clean the top *and* bottom edges of each slat as you glide down. The flexibility helps.
- Vertical Blinds: Close the vanes so they stack. Use the same top-to-bottom glide technique on the stacked vanes. For individual vanes, hold the duster vertically and glide down each one.
- Stubborn Dust or Pet Hair: If you see clumps, gently shake the duster over a trash bag *before* moving to the next slat. For pet hair, a slightly dampened microfiber mitt (just a *tiny* bit of water) can help grab it, but dry is usually best for routine dust.
Step 4: The Final Flourish
- Check for Missed Spots: Run your hand lightly over a slat. If it feels dusty, give it another quick downward glide.
- Open the Blinds: Once completely clean, open the blinds fully. Enjoy that fresh, dust-free view!
- Quick Duster Refresh: Give your duster a firm shake outside to dislodge loose dust. Do this after every use.
Keeping Your Microfiber Duster Working Like New
Your duster is an investment. Treat it right, and it will keep cleaning blinds fast for years:
Cleaning Your Duster
- After Every Use: Shake it vigorously outside to remove loose dust. This prevents buildup.
- Weekly Rinse: Hold the head under cool running water, gently squeezing to flush out dust. Avoid soap – it can coat fibers and reduce effectiveness.
- Monthly Deep Clean: Machine wash on a gentle cycle with mild detergent (no fabric softener – it ruins microfiber!). Air dry completely. Never use heat!
Storage Tips
- Store your duster hanging up or lying flat. Avoid cramming it into tight spaces where the fibers get crushed.
- Keep it away from direct sunlight for long periods, which can degrade fibers over time.
When to Replace: If the duster stops picking up dust well, feels stiff, or starts shedding lint, it’s time for a new one. Good quality microfiber lasts 6-12 months with regular use.
Troubleshooting Common Microfiber Duster Issues
Even the best tools can have hiccups. Here’s how to fix common problems:
Problem: Duster Isn’t Picking Up Dust Well
- Cause: Duster is saturated with dust or needs washing. Fibers might be coated with residue.
- Solution: Shake it out thoroughly. Rinse under cool water. If still poor, machine wash (no softener!). Ensure you’re using a downward glide motion – pressing sideways won’t work as well.
Problem: Duster Leaves Streaks or Lint
- Cause: Usually low-quality microfiber shedding lint, or using a duster that’s too damp.
- Solution: Invest in a higher-quality microfiber duster specifically for blinds. Always use it DRY for routine dusting. If streaks happen, wipe the slat *very* lightly with a separate dry microfiber cloth.
Problem: Dust Seems to Fly Around
- Cause: Using a feather duster or low-quality microfiber that doesn’t trap dust. Shaking the duster too hard indoors.
- Solution: Stick with a proper microfiber duster for blinds – its fibers hold dust. Always shake it OUTSIDE after use. Clean top-to-bottom to catch falling dust.
Problem: Duster Head is Hard to Maneuver
- Cause: Head isn’t flexible enough for your blind type, or handle isn’t extended properly.
- Solution: Ensure you have a flexible-head duster. Extend the handle fully for better control. For very tight spaces, a handheld microfiber mitt might be better for spot cleaning.
Conclusion: Clean Blinds in Minutes, Not Hours
There you have it! Cleaning your blinds doesn’t have to be a dreaded, time-consuming chore. By using the right tool – a quality microfiber duster for blinds – and mastering the simple top-to-bottom glide technique, you can have sparkling clean blinds in just a few minutes. No more wrestling with rags, dealing with chemical sprays, or breathing in dust clouds.
Remember the key: flexible head, extendable handle, dry use, and top-to-bottom motion. Keep your duster clean and well-maintained, and it will reward you with effortless cleaning sessions for months. The best part? You’ll actually enjoy the process because it’s so quick and effective. So, grab your microfiber duster, put these steps into action, and experience the joy of clean blinds – fast. Your home (and your lungs) will thank you!