Properly cleaning your soccer gear is the best way to ensure high performance on the field. Regularly washing your gloves removes dirt and sweat that destroy the delicate latex foam. Use our guide to extend the life of your gear and keep your grip sticky and game-ready for every match.
Every goalkeeper knows the feeling of a new pair of gloves. They are sticky, soft, and they help you make amazing saves. But after one game in the mud or a hot day on the turf, that grip starts to fade. If you want your gear to last, you must learn how to wash keeper gloves the right way. Most keepers think they can just throw them in a bag and forget about them. That is a big mistake. Dirt is the enemy of latex. It acts like tiny pieces of sandpaper that grind away at your palms. If you do not clean them, your expensive gloves will turn into slippery trash in just a few weeks.
In this guide, we will show you the exact steps to keep your gear in top shape. You will learn how to wash keeper gloves to keep the foam soft and the grip like glue. We will cover everything from the very first wash to the daily routine after training. Whether you are a pro or a beginner, these tips will save you money and help you play better. Let us dive into the world of glove care.
Key Takeaways
- Pre-wash new gloves: Always wash new gloves before use to remove factory chemicals and activate the grip.
- Use lukewarm water: Never use hot water, as it can melt or damage the sensitive latex foam.
- Avoid harsh soaps: Only use specialized glove wash or very mild natural soaps to protect the material.
- Never use a machine: Washing machines and dryers will ruin the stitching and the latex surface instantly.
- Air dry only: Keep gloves away from direct sunlight and radiators to prevent the latex from cracking.
- Wash after every use: Frequent cleaning prevents sweat and dirt from building up and rotting the gloves.
Why You Need to Know How to Wash Keeper Gloves
The palm of a goalkeeper glove is made of latex. Latex is a natural material that is very porous. This means it has tiny holes that you cannot see. These holes help the glove “breathe” and create suction on the ball. When you play, dirt, sand, and sweat get trapped in these holes. This makes the latex dry out and become hard. Once the latex is hard, it will crack and peel. This is why learning how to wash keeper gloves is so important for your wallet and your game.
Sweat is another big problem. Your hands sweat a lot during a game. Sweat contains salt and oils. These chemicals eat away at the foam from the inside out. If you leave sweat in your gloves, they will start to smell very bad. More importantly, the salt will make the latex brittle. A brittle glove has zero grip. By knowing how to wash keeper gloves, you remove these harmful substances before they can do permanent damage.
The Supplies You Will Need
Before you start, you need the right tools. Do not just grab whatever is under the kitchen sink. Some soaps have harsh chemicals that will destroy the latex foam. To learn how to wash keeper gloves properly, you should have these items ready:
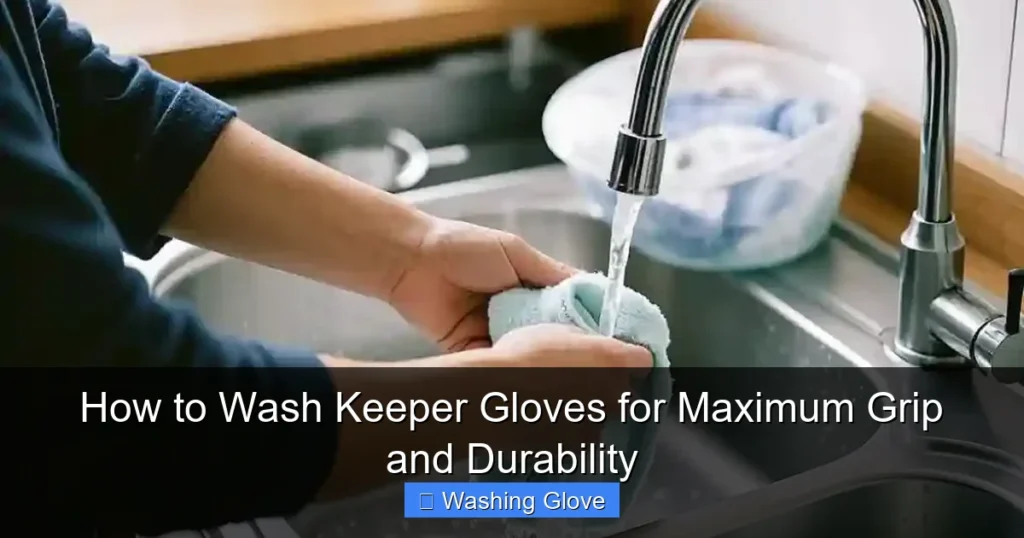
Visual guide about How to Wash Keeper Gloves for Maximum Grip and Durability
Image source: thumblr.uniid.it
- Lukewarm water: Not hot and not freezing cold. Room temperature is perfect.
- Glove wash: A specialized soap made for goalkeeper latex. If you do not have this, use a very mild, fragrance-free hand soap.
- A clean sink or basin: Make sure it is free of any oily residues.
- A soft towel: This is for patting the gloves dry, not for scrubbing them.
- A drying rack: To allow air to move around the gloves as they dry.
Why Specialized Soap Matters
You might wonder why you cannot use dish soap. Dish soap is designed to strip away grease. It is very strong. If you use it on your gloves, it will strip away the natural oils in the latex. This makes the palm feel like plastic. When you learn how to wash keeper gloves, you learn that gentle is always better. Specialized glove wash is pH-balanced. It cleans the dirt but leaves the grip intact.
How to Wash Keeper Gloves for the First Time (Pre-Washing)
Did you know you should wash your gloves before you ever wear them? Most new gloves come from the factory with a light coating of silicone or preservatives. This keeps the latex from sticking to the packaging. However, this coating makes the gloves feel slippery. If you go straight to a game with new gloves, you might drop the ball. Learning how to wash keeper gloves includes this vital “pre-wash” step.

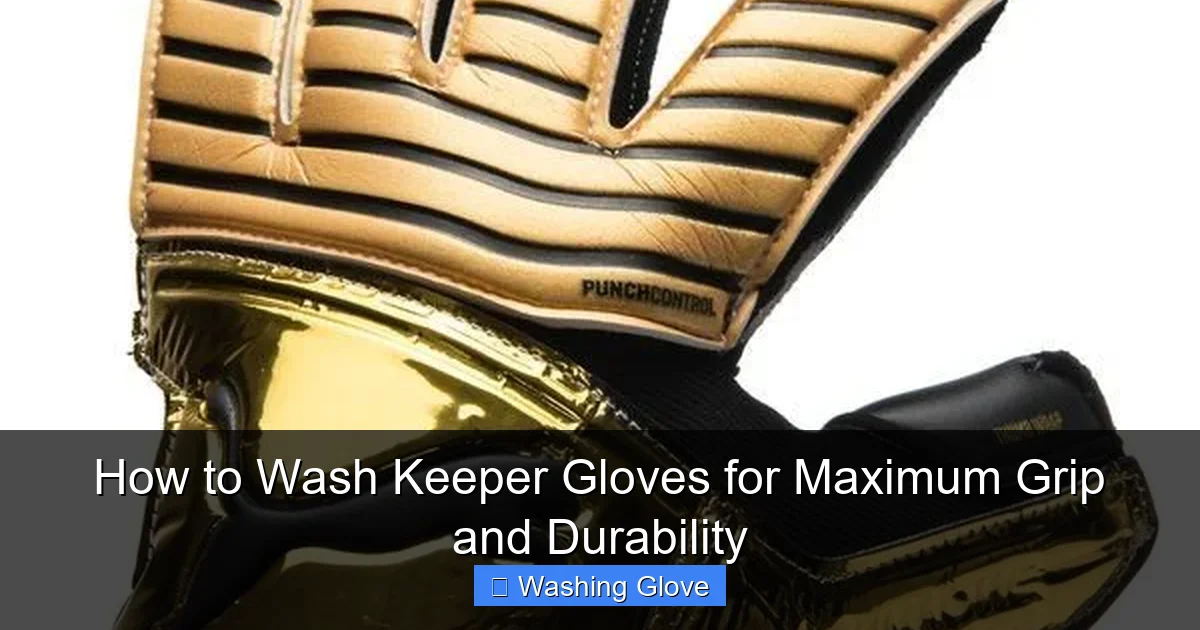
Visual guide about How to Wash Keeper Gloves for Maximum Grip and Durability
Image source: icompressionsocks.com
Step 1: Rinse the New Gloves
Put your new gloves under lukewarm running water. Let the water soak into the palms. You will notice the water might bead off at first. This is the factory coating. Keep rinsing until the foam feels heavy with water.
Step 2: Gentle Massage
Apply a tiny drop of glove wash. Use your thumbs to gently massage the foam. You are trying to lift that factory chemicals out of the pores. Do not scrub too hard. You just want to wake up the latex.
Step 3: Final Rinse and Dry
Rinse them thoroughly until all the bubbles are gone. Then, follow the drying steps we will talk about later. Once they are dry, you will notice the “tack” or stickiness is much stronger. This is the secret to getting the best performance from day one.
The Step-by-Step Guide to Washing Your Gloves After a Game
Now let’s talk about the regular routine. You should do this after every single time you wear them. Even if they don’t look dirty, they have sweat in them. Here is how to wash keeper gloves after a long match.

Visual guide about How to Wash Keeper Gloves for Maximum Grip and Durability
Image source: icompressionsocks.com
Step 1: Prepare the Basin
Fill your sink with lukewarm water. Do not make it too deep. You just need enough to submerge the gloves. Add a small amount of your cleaning solution to the water and mix it around with your hand.
Step 2: Submerge and Soak
Put both gloves into the water. Let them soak for about five to ten minutes. This helps loosen the mud and dirt that has dried on the surface. If the gloves are very dirty, the water might turn brown quickly. That is a good sign that the dirt is coming out.
Step 3: Clean the Palms
Put one glove on your hand. Use your other hand to gently rub the palm. Use your thumb to work in circular motions. Focus on the areas that touch the ball the most. These are usually the fingertips and the base of the palm. When you learn how to wash keeper gloves, remember: never use a brush. Even a soft brush can tear the foam. Use only your hands.
Step 4: Clean the Backhand
The back of the glove is often made of different materials like latex, mesh, or neoprene. Use the same gentle motion to clean the backhand. This is where most of the “stink” lives, so make sure you get into the fabric parts between the fingers.
Step 5: Rinse Thoroughly
Hold the gloves under a running tap of cool water. Squeeze them gently to get the soapy water out. Keep doing this until the water running off the gloves is crystal clear. If you leave soap inside, it will make the gloves slippery the next time you play.
How to Dry Your Keeper Gloves Safely
This is the part where most people mess up. If you dry them too fast, they will ruin. If you dry them too slow, they will smell like mold. Knowing how to wash keeper gloves is only half the battle; drying is the other half.
The Towel Roll Technique
Once you finish rinsing, place the gloves flat on a clean, dry towel. Do not wring or twist the gloves. Wringing them can snap the internal threads and tear the latex. Instead, fold the towel over the gloves and press down firmly. This allows the towel to soak up the bulk of the water. You can even roll the towel up like a sleeping bag with the gloves inside and press on it. This is the safest way to remove excess moisture.
Air Drying Tips
After the towel roll, hang your gloves up or lay them on a drying rack. Here are the golden rules for drying:
- No Sun: Never leave them in the sun. UV rays kill latex.
- No Heat: Never put them on a radiator or use a hair dryer. Heat makes the foam brittle and causes it to flake off.
- Good Airflow: Put them in a cool, shaded room with a window open or a fan nearby.
- Finger Spacers: You can put a small piece of rolled-up paper towel inside the wrist entry to keep the glove open. This helps the inside dry faster.
It usually takes 12 to 24 hours for gloves to dry completely. Do not rush it. Patience is a key part of how to wash keeper gloves.
How to Restore Grip on Old Gloves
If your gloves are starting to feel slick, you might think they are dead. But you can often bring them back to life. This is a special part of how to wash keeper gloves for older gear. Sometimes, the pores are just clogged with deep-set dust. A deep clean can fix this.
Try soaking the gloves in warm water for 30 minutes. This opens the pores more than a quick wash. Use a bit more glove wash than usual and really work it into the foam. After they dry, the grip often returns. Also, remember that some gloves need to be slightly damp to work best. If your old gloves feel dry, try spraying them with a little water during your warm-up. This “activates” the remaining latex.
What to Avoid When Cleaning Your Gear
There are many “hacks” on the internet that tell you how to wash keeper gloves. Be careful. Some of these can destroy your gear in one go. Here is a list of things you should never do:
- No Washing Machines: The spinning and heat will tear the stitching. The detergents are too strong.
- No Bleach: Bleach will turn your latex into a hard, yellow mess.
- No Tumble Dryers: This is the fastest way to melt your gloves.
- No Scrubbing Brushes: Your fingers are all you need. Brushes are too abrasive for soft foam.
- Don’t Store Them Wet: If you put wet gloves in a plastic bag, they will grow mold. This smells terrible and rots the material.
Troubleshooting Common Issues
Sometimes things go wrong even when you try your best. Here is some advice on common problems.
Why do my gloves still smell?
If they still smell after a wash, you might not be getting the inside clean. When you learn how to wash keeper gloves, make sure you let soapy water flow into the inside of the glove. Bacteria grows where the sweat stays trapped. You can also use a specialized glove deodorizer spray that kills bacteria without hurting the latex.
The latex is peeling after only two washes. Why?
This usually happens for two reasons. One, you might be using water that is too hot. Two, you might be using your palms to push yourself up off the ground. If the latex is peeling, check your technique. Also, make sure you are not scrubbing the foam too hard when you wash them.
My gloves are too stiff after drying. What do I do?
If they are stiff, they are too dry. This happens if they were near a heat source. To fix this, simply dampen them slightly. The latex should soften up again. In the future, make sure you dry them in a cooler spot.
Conclusion
Learning how to wash keeper gloves is a skill every soccer player needs. Your gloves are your most important tool. If you take care of them, they will take care of you. Remember to always pre-wash new pairs to get that factory film off. After every game, give them a gentle bath in lukewarm water with the right soap. Never use heat to dry them, and never throw them in the washing machine.
It might seem like a lot of work, but it only takes a few minutes. Clean gloves give you more confidence on the pitch. You won’t have to worry about the ball slipping through your hands. Plus, you will save a lot of money because your gloves will last much longer. Now that you know how to wash keeper gloves, go grab your gear and give it the cleaning it deserves. Your next clean sheet starts with clean gloves!
🎥 Related Video: How to wash your gloves 🧼🧴
📺 Goalkeepers Anonymous