Keep your hands safe and your gear fresh by learning how to wash garden gloves properly. Regular cleaning prevents bacteria buildup and extends the life of your favorite pair. Whether you use leather, cotton, or nitrile, this guide provides the perfect cleaning routine for every material.
Gardening is a therapeutic hobby. It connects you with nature. However, it is also a messy business. After a long day of digging, planting, and pruning, your garden gloves often look like they have been through a war zone. They get covered in mud, sap, and dust. Many gardeners simply toss their dirty gloves in a corner. This is a mistake. Learning how to wash garden gloves is the best way to protect your investment and your skin.
When you keep your gloves clean, they last much longer. Dirt and grit act like sandpaper. They wear down the fibers of your gloves over time. Furthermore, damp and dirty gloves are a breeding ground for bacteria and fungi. This can lead to skin irritation or even infections. In this guide, we will show you easy, step-by-step methods to clean every type of garden glove. You will learn how to keep them looking and feeling like new.
Key Takeaways
- Material Matters: Always identify the glove material (leather, cotton, or rubber) before you start cleaning.
- Pre-Cleaning is Vital: Shake off loose dirt and debris before using water or soap to prevent mud from staining the fabric.
- Avoid High Heat: Never put garden gloves in a high-heat dryer, as this can shrink cotton or crack leather and rubber.
- Condition Leather: Use a specialized leather conditioner after washing leather gloves to keep them supple and prevent stiffness.
- Air Dry Thoroughly: Ensure your gloves are completely dry inside and out to prevent mold, mildew, and unpleasant odors.
- Regular Maintenance: Washing your gloves after every heavy use prevents the buildup of harmful pathogens and garden chemicals.
Why You Should Wash Your Garden Gloves Regularly
You might think that garden gloves are meant to be dirty. While they are designed for rugged work, neglect leads to problems. First, clean gloves are more flexible. Dried mud makes fabric and leather stiff. This can cause blisters on your hands. Second, washing removes chemicals. If you use fertilizers or pesticides, these substances can linger on the material. Finally, regular cleaning helps you spot holes or wear early. This allows you to repair them before they become unusable.
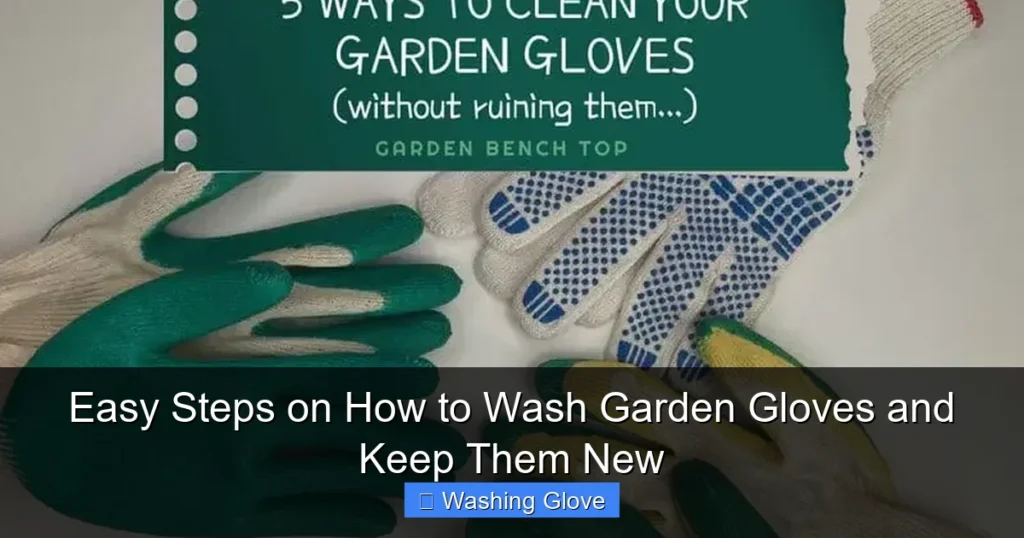
Step 1: Preparation and Initial Cleaning
Before you introduce water, you need to do some prep work. This makes the actual washing process much more effective.
Visual guide about Easy Steps on How to Wash Garden Gloves and Keep Them New
Image source: growingthings.co.nz
Remove Loose Debris
Take your gloves outside. Clap them together several times. This knocks off large clumps of dried mud and loose dirt. If the mud is very thick, you can use a soft-bristled brush or an old toothbrush. Gently scrub the surface. Do not press too hard on delicate fabrics. The goal is to get as much dry dirt off as possible. This prevents you from creating a muddy mess in your sink or washing machine.
Check the Care Label
Most modern garden gloves have a small tag inside. This tag provides specific instructions from the manufacturer. If the tag says “Hand Wash Only,” follow that rule. If it says “Machine Washable,” you have an easier task ahead. If the tag is missing, don’t worry. You can usually determine the best method based on the material of the glove.
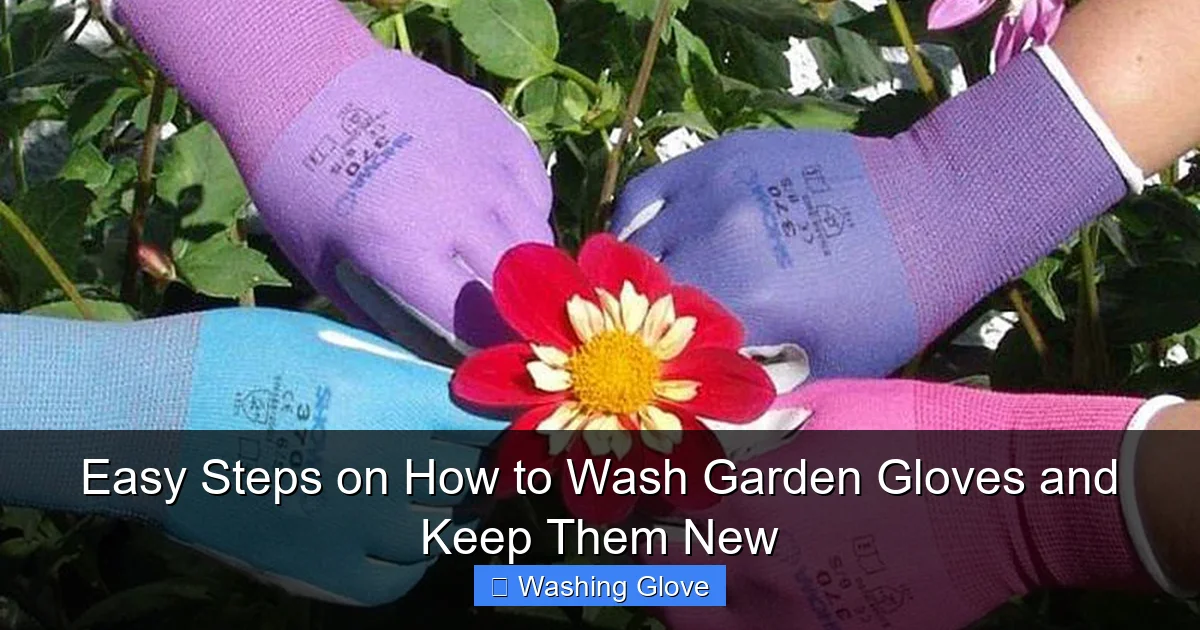
How to Wash Cotton and Fabric Garden Gloves
Cotton gloves are very common. They are breathable and comfortable for light gardening. They are also the easiest to clean because most are machine-friendly.

Visual guide about Easy Steps on How to Wash Garden Gloves and Keep Them New
Image source: i.pinimg.com
Machine Washing Cotton Gloves
If your cotton gloves are heavily soiled, you can toss them in the washing machine. Use a cold or warm water setting. Avoid hot water, as it can shrink the cotton fibers. Use a mild laundry detergent. It is a good idea to wash them with other heavy items like towels or work jeans. This provides extra agitation to scrub the dirt away.
Hand Washing Fabric Gloves
If you prefer to be gentle, hand washing is a great option. Fill a basin with lukewarm water. Add a teaspoon of mild dish soap or laundry liquid. Submerge the gloves and let them soak for ten minutes. Use your fingers to rub the fabric together, focusing on the fingertips and palms. Rinse them thoroughly under cool running water until the soap is gone.
Drying Fabric Gloves
Never put cotton gloves in the dryer on high heat. This will cause them to shrink and lose their shape. Instead, squeeze out the excess water gently. Do not wring them too hard, as this can stretch the seams. Lay them flat on a clean towel or hang them on a clothesline in the shade. Drying them in direct sunlight can sometimes cause the colors to fade, so a breezy, shaded spot is best.
How to Wash Rubber, Nitrile, and Latex Coated Gloves
These gloves are excellent for wet tasks or handling thorny plants. They have a protective coating on the palms and fingers. Cleaning them requires a slightly different approach to protect the rubberized coating.
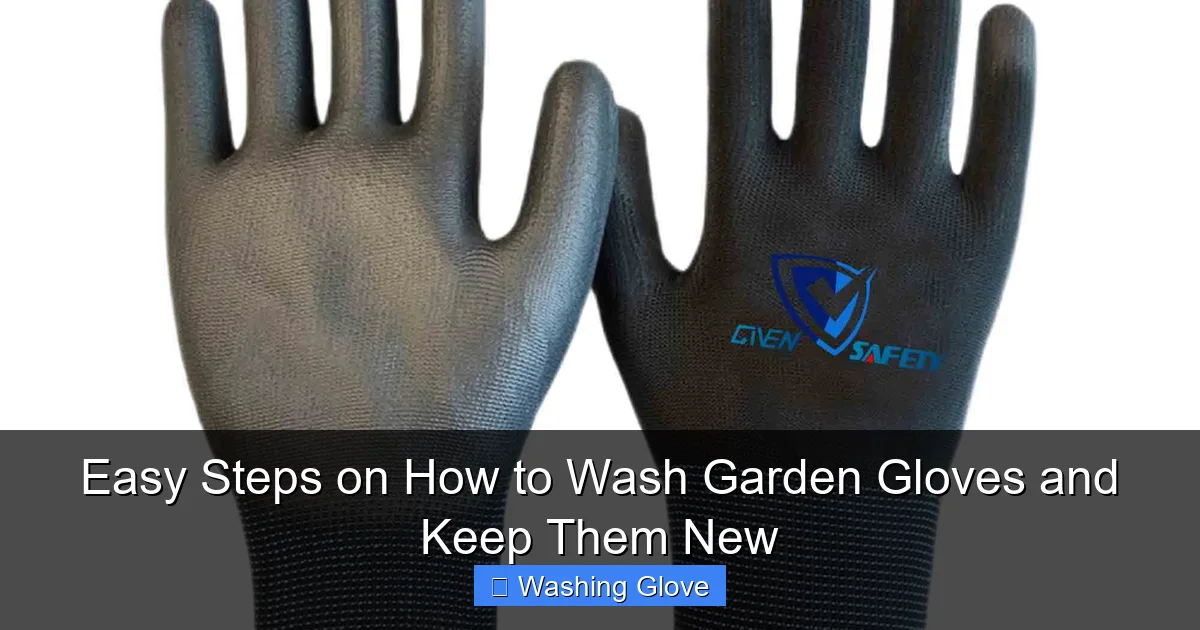
Visual guide about Easy Steps on How to Wash Garden Gloves and Keep Them New
Image source: givensafety.com
The “Wash While Wearing” Method
One of the easiest ways to clean rubber-coated gloves is to wash them while you are still wearing them. This helps maintain the shape of the glove. Head to an outdoor tap or a sink. Apply a bit of mild dish soap to your gloved hands. Rub your hands together just like you are washing your bare skin. Pay attention to the crevices between the fingers. Once they look clean, rinse them under the tap. Slide them off carefully once you are done.
Cleaning the Interior
The inside of these gloves can get sweaty and smelly. To clean the interior, turn the gloves inside out if possible. Use a mixture of water and a drop of tea tree oil or white vinegar. These act as natural disinfectants. Wipe the inside with a damp cloth. This kills bacteria and removes odors. Allow them to dry completely before turning them right-side out again.
Safe Drying Practices
Rubber and nitrile can crack if they get too hot. Keep them away from radiators or heaters. Air drying is the only way to go for these materials. Hang them by the fingertips using a clothespin. This allows any water trapped inside to drip out of the wrist opening.
How to Wash Leather Garden Gloves
Leather gloves are durable and offer great protection. However, they are sensitive to water. If you soak them completely, they can become brittle and crack. Cleaning leather requires a bit more patience and specialized care.
Dry Brushing First
For leather, dry cleaning is always the first step. Use a soft brush to remove every bit of dust. If there are stubborn spots, use a slightly damp cloth to blot the area. Do not rub vigorously, as this can push the dirt deeper into the leather pores.
Using Saddle Soap
If your leather gloves are very dirty, you should use saddle soap. This is a special cleaner designed for leather. Dampen a clean sponge and rub it on the saddle soap to create a light lather. Apply the lather to the gloves in a circular motion. Wipe away the excess soap with a clean, dry cloth. Do not rinse leather gloves under a running tap.
The Secret to Soft Leather: Conditioning
Once the leather is clean and dry, it might feel a bit stiff. To keep them new, you must use a leather conditioner. Apply a small amount of conditioner or neatsfoot oil to a soft rag. Rub it into the leather. This restores the natural oils that water and dirt take away. It keeps the gloves supple and prevents them from cracking over time. Let the conditioner soak in for an hour before using the gloves again.
How to Wash Suede Garden Gloves
Suede is a type of leather with a fuzzy finish. It is very beautiful but also very delicate. You should never use a lot of water on suede.
Use a Suede Brush
To clean suede, you need a specialized suede brush. These brushes have wire or stiff plastic bristles. Brush the gloves in one direction to lift the “nap” and remove dirt. For stains, you can use a suede eraser. Simply rub the eraser over the stain until it disappears.
Dealing with Stains on Suede
If you have an oily stain on suede, try sprinkling a little bit of cornstarch or talcum powder on the spot. Let it sit overnight. The powder will absorb the oil. In the morning, brush the powder away. If the gloves get wet by accident, stuff them with paper towels to hold their shape and let them dry slowly away from heat.
Removing Stubborn Stains: Sap, Grease, and Mildew
Sometimes, normal washing isn’t enough. Gardeners often deal with specific, tough stains.
Removing Tree Sap
Tree sap is sticky and annoying. If you get sap on your gloves, do not try to wash it off with water immediately. For fabric gloves, apply a bit of rubbing alcohol or hand sanitizer to the spot. Let it sit for a minute, then blot it away. For leather, you can use a tiny bit of peanut butter or olive oil. The oils in these products help break down the sticky resins of the sap. Once the sap is gone, clean the area with soap and water (for fabric) or saddle soap (for leather).
Getting Rid of Mildew Smells
If your gloves have a musty smell, it means mold or mildew is present. For fabric gloves, add half a cup of white vinegar to the rinse cycle. For leather or rubber, wipe the surfaces with a mixture of equal parts water and isopropyl alcohol. This kills the spores. Always make sure your gloves dry in a well-ventilated area to prevent the smell from coming back.
How to Dry Your Gloves Correctly
Drying is the most critical stage of “how to wash garden gloves.” If you dry them too fast, they get stiff. If you dry them too slow, they get moldy.
The Best Method: Air Drying
Always choose air drying. Find a spot with good air circulation. You can hang gloves on a pegboard or a clothesline. If you are drying fabric gloves, you can stuff them with clean, dry rags to help them keep their shape. This also helps absorb moisture from the inside, which is often the hardest part to dry.
Avoiding the Sun and Heat
Direct sunlight can be harsh. It can bleach the fabric and dry out the natural oils in leather. Similarly, putting gloves on a radiator is a recipe for disaster. The intense heat makes the materials brittle. Patience is key. It might take 24 to 48 hours for leather gloves to dry completely. Do not rush the process.
Storing Your Garden Gloves
Once your gloves are clean and dry, where you put them matters. Do not leave them in a pile on the floor of the garage. This attracts spiders and dust.
Use a Cool, Dry Place
Store your gloves in a cool, dry area. A dedicated drawer or a hanging hook in your mudroom is perfect. Some gardeners like to use a “clothespin system.” They clip their gloves to a string in the potting shed. This keeps them organized and allows air to reach them from all sides.
Seasonal Storage
If you are putting your gloves away for the winter, make sure they are 100% dry. Moisture trapped in a storage bin will lead to rot. You can place a silica gel packet in the storage container to keep the air dry. This ensures that when spring arrives, your gloves are ready for action.
Troubleshooting Common Problems
Even with careful washing, things can go wrong. Here is how to fix common issues.
My Leather Gloves Are Stiff After Washing
This usually happens because the leather lost its natural oils. To fix this, put the gloves on your hands. Massage a high-quality leather balm into the surface. The heat from your hands will help the balm penetrate the leather. Move your fingers around to “work” the leather and restore its flexibility.
My Gloves Still Smell Bad
If the smell persists, the bacteria are likely deep in the fibers. For fabric gloves, try a longer soak in an enzyme-based cleaner. For rubber or leather, sprinkle baking soda inside the gloves. Let it sit for 24 hours, then shake it out. Baking soda is a powerful odor neutralizer.
The Coating Is Peeling
If the nitrile or rubber coating is peeling, it might be due to age or exposure to harsh chemicals. Unfortunately, this cannot be fixed. If the peeling is minor, you can still use them for dry tasks. However, if the waterproof barrier is gone, it is time to invest in a new pair.
Conclusion
Knowing how to wash garden gloves is a skill every green thumb should master. It is not just about aesthetics; it is about hygiene and durability. By identifying your glove material and using the right cleaning techniques, you can enjoy your favorite pair for many seasons. Remember to be gentle with leather, avoid high heat with cotton, and always disinfect the interiors of rubber gloves. With just a little bit of effort, your garden gloves will remain soft, protective, and ready for your next backyard project. Happy gardening!
🎥 Related Video: How To Wash Gardening Gloves? – LearnToDIY360.com
📺 LearnToDIY360
How To Wash Gardening Gloves? Have you ever struggled with keeping your gardening gloves clean and fresh? In this essential …