
Using a spin mop bucket correctly transforms floor cleaning from a chore into a quick, efficient task. This guide provides a complete walkthrough, from unboxing your new mop to achieving a streak-free shine. You’ll learn the proper spinning technique, essential maintenance, and pro tips to extend the life of your tool and get the best clean possible.
Key Takeaways
- Proper Assembly is Key: Correctly setting up the bucket’s spin mechanism ensures it works smoothly and lasts longer.
- The Spin-Dry Technique is Essential: A sufficiently dry mop head prevents over-wetting floors, leading to faster drying and no streaks.
- Preparation Saves Time: Sweeping or vacuuming before mopping removes abrasive debris and allows the mop to focus on dirt and grime.
- Use the Right Cleaner: Always follow the manufacturer’s guidelines for cleaning solutions to avoid damaging the mop mechanism or your floors.
- Clean & Maintain Your Mop: Rinsing the mop head after each use and regularly cleaning the bucket prevents odors and bacterial growth.
- Let the Mop Do the Work: Use a gentle, gliding motion instead of pressing down hard for the most effective clean and to protect your floors.
- Air Dry Everything: Always remove the mop head and let both it and the bucket air dry completely to prevent mildew.
How to Use Spin Mop Bucket for Sparkling Clean Floors
Are you tired of heavy, messy mop buckets and wringing out mops by hand? Welcome to the modern solution. A spin mop bucket is a game-changer for cleaning hard floors. It combines a dual-chamber bucket with a foot-pedal or hand-operated spinning mechanism. This setup lets you wring out your mop head almost completely dry in seconds.
But just having this clever tool isn’t enough. To unlock its full potential and get those truly sparkling clean floors, you need to know how to use it correctly. This guide will walk you through every step. From unboxing to advanced techniques, you’ll learn how to make your cleaning faster, easier, and more effective. Let’s dive in and turn that chore into a simple routine!
Step 1: Unboxing and Setting Up Your Spin Mop
First things first, you need to get your new tool ready for action. Most spin mop buckets come with a few key parts.
Visual guide about How to Use Spin Mop Bucket for Sparkling Clean Floors
Image source: m.media-amazon.com
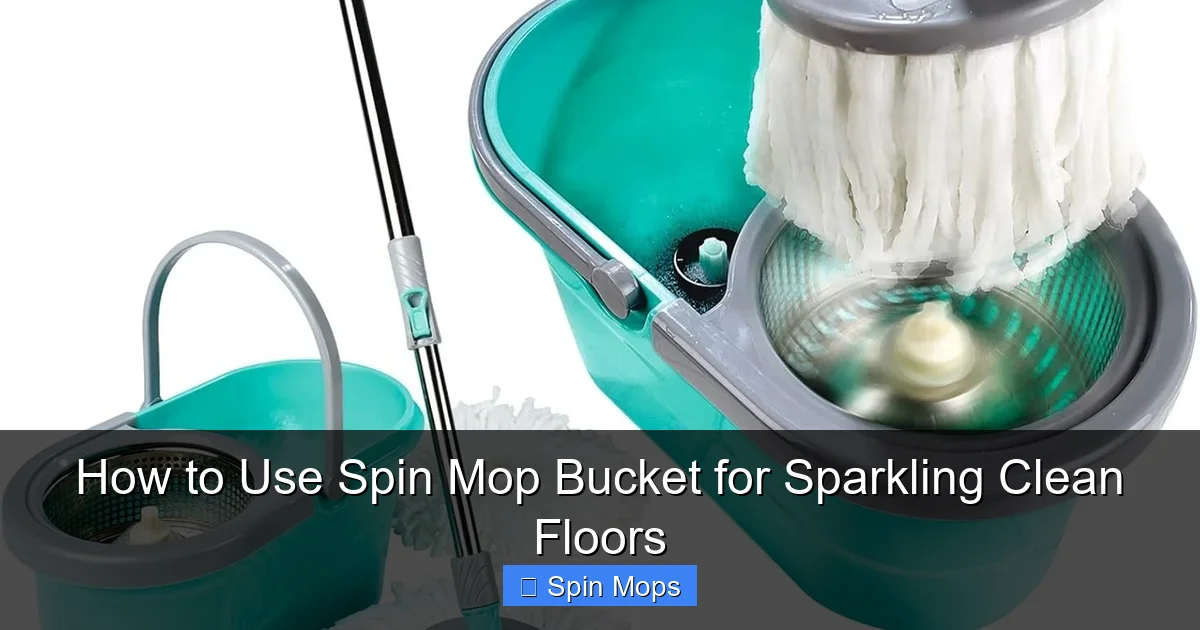
Identify the Parts
- The Bucket: This usually has two sections – a larger washing chamber and a smaller spinning basket.
- The Spin Mechanism: This could be a foot pedal on the side or a handle on top of the bucket’s lid.
- The Mop Handle: A long, telescopic pole that often adjusts to your height.
- The Mop Head: A removable, microfiber pad that attaches to the end of the handle.
Assembly Instructions
Assembly is usually very simple. Insert the mop handle into its slot on the mop head until you hear a firm click. Then, extend the pole to a comfortable height and tighten the locking mechanism. Place the bucket on a stable, flat surface. Now you’re ready for the next step.
Step 2: Preparing Your Bucket and Solution
What you put in your bucket matters as much as the bucket itself. Using the wrong cleaner can damage your floors or the mop.

Visual guide about How to Use Spin Mop Bucket for Sparkling Clean Floors
Image source: i.ytimg.com
Choosing the Right Cleaner
Always check your floor manufacturer’s recommendations first. For most sealed hard floors (vinyl, laminate, tile, sealed wood), a pH-neutral cleaner is best. You can use a dedicated floor cleaner, a few drops of mild dish soap, or a vinegar-water solution (1 part vinegar to 4 parts water). Avoid using bleach, ammonia, or abrasive cleaners unless specified, as they can break down the microfiber and damage floor finishes.
Filling the Bucket
Fill the larger washing chamber with warm water and your chosen cleaner. Only fill it about 2/3 of the way. You need space to slosh the mop around without overflowing. The smaller spinning basket should remain dry unless your model’s instructions say otherwise. This is key for creating the centrifugal force needed to wring out the mop.
Step 3: Preparing Your Floors
Mopping is not a substitute for sweeping. For the best results, you must prepare the area.
Visual guide about How to Use Spin Mop Bucket for Sparkling Clean Floors
Image source: images-na.ssl-images-amazon.com
- Sweep or Vacuum Thoroughly: Remove all loose dirt, dust, pet hair, and crumbs. Mopping over debris will just spread grit around and can scratch your floors.
- Spot Clean Sticky Spills: Use a damp cloth to wipe up any obvious, sticky messes before you start mopping the whole floor.
- Move Small Furniture: If possible, move lightweight chairs, rugs, and wastebaskets out of the way to ensure you can mop the entire floor space.
Step 4: The Mopping Process – A Step-by-Step Walkthrough
This is the core of using your spin mop bucket. The right technique makes all the difference.
Wetting and Wringing the Mop Head
Submerge the mop head in the soapy water of the washing chamber. Swirl it around to saturate it completely. Then, lift the mop and place it into the spinning basket (the dry chamber).
Here’s the magic part: If you have a foot-pedal model, step on the pedal firmly and repeatedly. If you have a top-handle model, push down on the handle to engage the spin. Do this for 10-15 seconds. The centrifugal force will force water out of the mop head, leaving it damp but not dripping wet. This is the perfect state for cleaning.
Mopping Your Floor Efficiently
Start in the corner of the room farthest from the door and work your way backwards. This way, you won’t step on your freshly cleaned floor. Use a gentle, gliding “S” or figure-eight motion. Don’t press down hard! The weight of the mop head is enough. The microfiber will grab and trap dirt.
Rinsing and Re-Spinning
After cleaning a section (about 4×4 feet), the mop head will be dirty. Return to the bucket. First, swirl the mop head in the soapy water to rinse out the dirt. Then, place it in the spin basket and wring it out again. You are now ready with a fresh, clean, damp mop head for the next section. Repeat this process—mop a section, rinse, spin—until the entire floor is clean.
Step 5: Drying and Final Touches
A good mopping job ends with proper drying.
- Air is Your Friend: Open windows or turn on fans to help your floors air dry quickly. This prevents water spots and discourages streaks.
- No Second Rinse Needed: For most cleanings, using a cleaning solution is sufficient. You only need a clear-water “rinse mop” if you’ve used a very soapy solution that might leave a residue. If so, empty, refill the wash chamber with clean water, and go over the floor with the water-dampened mop.
Step 6: Cleaning and Maintaining Your Spin Mop
Taking care of your tool ensures it lasts for years and never gets smelly.
Post-Use Mop Head Care
After mopping, detach the mop head from the handle. Rinse it thoroughly under warm running water until the water runs clear. Wring it out by hand or give it a final spin in the dry basket. Hang it up or lay it flat to air dry completely before storing. Never store a damp mop head!
Bucket Maintenance
Empty and rinse both chambers of the bucket. Wipe it down with a damp cloth to remove any soap scum or dirt. Let it dry upside down. Every few uses, clean it with a mild disinfectant to prevent mildew or bacteria buildup.
Troubleshooting Common Spin Mop Problems
Even the best tools can have hiccups. Here’s how to fix common issues.
- Mop Head Won’t Spin / Pedal is Stiff: Check that the spinning basket is dry and not clogged with hair or debris. Ensure the mop head is centered in the basket. Lubricate the moving parts of the pedal mechanism with a silicone spray if the manual allows.
- Floors Are Streaky: This is usually caused by a mop head that is too wet or a cleaning solution that is too concentrated. Spin the mop head longer to make it damper, not wetter. Dilute your cleaning solution more. Also, ensure you rinsed the mop head thoroughly during the cleaning cycle.
- Mop Smells Musty: This is a sign of improper drying. Always rinse the mop head clean and let it dry fully. Soak a smelly mop head in a solution of hot water and baking soda or white vinegar for an hour, then rinse and dry thoroughly.
- Water is Leaking from the Bucket: Check for cracks. Also, ensure you are not overfilling the wash chamber past its fill line.
Conclusion: Enjoy Your Sparkling Clean Floors
Mastering your spin mop bucket is a simple yet powerful upgrade to your cleaning routine. By following these steps—proper setup, using the right solution, perfecting the spin-dry technique, and maintaining your equipment—you’ll achieve cleaner floors with less effort and time. Your spin mop isn’t just a tool; it’s your partner in creating a healthier, more beautiful home. So grab your bucket, put on some music, and enjoy the satisfying process of creating truly sparkling clean floors.
🎥 Related Video: Try the deep-cleaning Tismine spin mop and bucket system with machine washable microfiber mop head
📺 Senior working
Try the deep-cleaning Tismine spin mop and bucket system with machine washable microfiber mop head #seniorworking …