
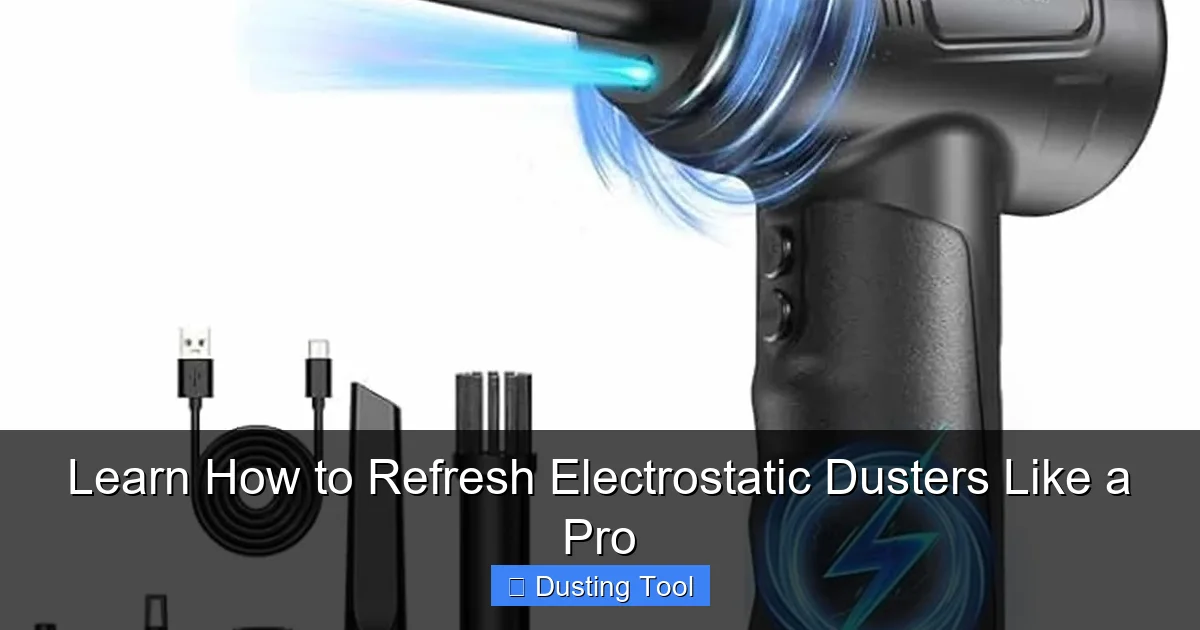
Refreshing your electrostatic duster is a simple process that restores its static charge and dust-grabbing ability. This guide walks you through multiple safe methods, from hand washing to air fluffing, ensuring your tool works like new for years. You’ll save money and reduce waste by mastering this essential maintenance skill.
Key Takeaways
- Refresh to Restore Charge: The primary goal is to revive the electrostatic properties that attract dust, which diminish with use and dirt buildup.
- Gentle Cleaning is Key: Always use mild, soap-free cleaners like dish soap or a vinegar solution to avoid coating the fibers and killing the static.
- Air Dry Completely: Never wring or heat-dry your duster; thorough air drying is crucial for the static charge to regenerate effectively.
- Regular Maintenance Extends Life: Incorporating a refresh routine every few months or when performance drops significantly prolongs your duster’s usability.
- Know When to Retire: If refreshing doesn’t restore performance after multiple attempts, it’s time to replace the duster for optimal cleaning.
- Safety First: Always check the manufacturer’s instructions, as some dusters may have specific care requirements or non-washable components.
Learn How to Refresh Electrostatic Dusters Like a Pro: Your Complete Guide
Hello, cleaning enthusiast! If you love that satisfying swipe of an electrostatic duster grabbing dust from every nook, you know the frustration when it starts to lose its magic. That superpower comes from a static charge, and over time, dirt and oils can dampen it. But don’t toss it out! Learning how to refresh electrostatic dusters is a game-changer. It’s easy, eco-friendly, and saves you cash. This guide will turn you into a pro. You’ll learn why it works, step-by-step methods, and smart tips. Let’s bring that dusting champ back to life!
Why Your Electrostatic Duster Needs a Refresh
Think of your duster like a battery. New, it’s fully charged with static electricity. This charge makes dust particles stick to the fibers like magnets. But as you use it, dust builds up. Oils from your hands or surfaces coat the fibers. This layer insulates the charge. The duster can’t attract dust well. It just pushes it around. Refreshing cleans off this layer. It lets the static charge come back. You get peak performance again. Plus, you reduce waste. A good duster can last years with care.

Visual guide about Learn How to Refresh Electrostatic Dusters Like a Pro
Image source: cdn.mos.cms.futurecdn.net
What You’ll Need to Refresh Your Duster
Gathering your supplies first makes the process smooth. You likely have most at home.

Visual guide about Learn How to Refresh Electrostatic Dusters Like a Pro
Image source: kingdomcomecards.com
- Your electrostatic duster: The star of the show!
- Mild liquid dish soap: A few drops are enough. Avoid detergents with moisturizers or heavy fragrances.
- White vinegar: A natural cleaner and deodorizer.
- Lukewarm water: Never use hot water, as it can damage fibers.
- A clean sink or basin: For washing.
- Clean towels: For patting dry.
- A well-ventilated drying area: Like a laundry rack or shower rod.
- Optional: A hair dryer on a cool, air-only setting for fluffing.
Method 1: The Gentle Hand Wash (Recommended)
This is the safest and most effective way to refresh electrostatic dusters. It gives you control over the cleaning.
Visual guide about Learn How to Refresh Electrostatic Dusters Like a Pro
Image source: bestbuypick.com
Step 1: Prepare the Cleaning Solution
Fill your sink with lukewarm water. Add just a teaspoon of mild dish soap. Swirl it to create mild suds. If your duster has odors, add a tablespoon of white vinegar. The vinegar helps break down grease without soap residue.
Step 2: Submerge and Swish
Fully submerge the duster head in the water. Gently swish it around for 1-2 minutes. Don’t scrub, twist, or wring it. Aggressive motion can break the fibers and ruin the static potential. Let the soapy water do the work.
Step 3: Rinse Thoroughly
Drain the soapy water. Rinse the duster under cool, running water. This step is crucial. You must remove all soap residue. Soap film can block the static charge. Rinse until the water runs completely clear.
Step 4: Remove Excess Water
Gently press the duster head against the side of the sink. Let the water drip out. You can also lay it on a clean towel and roll it up lightly to absorb moisture. Never twist or wring it dry.
Step 5: Air Dry Completely
This is the most important part for refreshing electrostatic dusters. Hang the duster by its handle in a well-ventilated area. Ensure the head isn’t touching anything. Let it air dry for 24-48 hours. It must be bone-dry. The static charge regenerates as it dries.
Method 2: The Quick Vinegar Rinse (For Light Dirt)
If your duster isn’t very dirty but lost its stick, this fast method can help.
Step 1: Mix Vinegar and Water
In a bowl, mix one part white vinegar with two parts cool water.
Step 2: Dip and Shake
Dip the duster head into the solution. Swirl it gently. Then, take it out and give it a few firm shakes to remove excess liquid.
Step 3: Air Dry
Hang it to dry completely. The vinegar evaporates cleanly, often helping restore charge.
Method 3: The Air Fluff Technique (For Maintenance Between Washes)
Between deep refreshes, this keeps your duster performing.
Step 1: Shake It Out
Take your duster outside and give it several firm flicks to dislodge loose dust.
Step 2: Use Cool Air
Use a hair dryer on the cool, air-only setting. Hold it a few inches from the fibers and blow air through them. This helps separate fibers and can boost static. Do this for 1-2 minutes.
Pro Tips for Refreshing Electrostatic Dusters
These insider tips will make you a true pro.
- Frequency Matters: Refresh your duster every 2-3 months with regular use, or whenever it feels less “sticky” to dust.
- Check the Handle: Some dusters have removable heads. If so, wash only the head to protect the handle mechanism.
- Dry Away from Sunlight: Direct sun can degrade fibers. Dry in a shaded, airy spot.
- Fluff After Drying: Once dry, gently run your fingers through the fibers to fluff them up. This increases surface area for dust attraction.
- Store Properly: Keep your refreshed duster in a dry place, not squished in a closet. Hanging is best.
Troubleshooting Common Issues
Ran into a problem? Here’s how to fix it.
My Duster Still Isn’t Picking Up Dust After Refreshing
First, ensure it’s 100% dry. If it is, try the vinegar rinse method again. Sometimes, oil buildup needs a second gentle wash. If performance doesn’t return, the fibers may be permanently damaged, and it’s time for a new one.
My Duster Has a Funny Smell
Odors often mean mildew. Next time, ensure thorough drying. For now, soak the head in a solution of 1 cup vinegar to 2 cups water for 30 minutes. Then rinse and air dry completely in a breezy area.
The Fibers Look Matted or Flat
After drying, use the cool air from a hair dryer to fluff them. You can also gently “tease” the fibers with a wide-tooth comb. Avoid doing this when wet.
I Washed It and Now the Head is Loose
Some adhesives can weaken with washing. If the head is detachable, you might need to reattach it with a strong, non-toxic glue after it’s dry. Consider hand-washing only to prevent this.
Conclusion: Embrace the Refresh, Master Your Dusting
And there you have it! You now know how to refresh electrostatic dusters like a true professional. It’s a simple habit that makes a huge difference. You’ll extend the life of your favorite tool, save money, and keep your home dust-free with ease. Remember, the core steps are gentle cleaning, thorough rinsing, and complete air drying. Make refreshing part of your cleaning routine. Your electrostatic duster will thank you with years of reliable, powerful service. Happy dusting!
🎥 Related Video: How to clean your PC #pc
📺 TheAsianJC