Absolutely, a good monitor stand is a game-changer for serious gaming. It unlocks perfect ergonomics, frees up desk space, and enhances immersion. This guide will show you how to choose the right stand and set it up to reduce strain and improve your competitive edge.
Key Takeaways
- Ergonomics Are a Performance Feature: Proper screen height and distance reduce neck and eye strain, letting you play longer with more comfort and focus.
- Desk Space is Battlefield Space: Freeing your desk from a bulky stock base creates crucial room for your keyboard, mouse, and other gear.
- Immersive Adjustability Wins: The ability to tilt, swivel, and adjust height allows you to create the perfect, consistent viewing angle for any game genre.
- Not All Stands Are Created Equal: You must match the stand’s weight capacity and VESA pattern to your monitor’s specs, and consider your desk type (clamp vs. grommet).
- Cable Management is a Clean Mindset: A tidy setup with routed cables reduces distraction and helps maintain a focused, professional gaming environment.
- A Stand is an Investment in Your Health: Beyond gaming, a properly positioned monitor benefits your posture during all computer use, preventing long-term issues.
Are Monitor Stands Good for Gaming? Learn the Truth
You’ve built your gaming rig. Fast CPU. Powerful GPU. A high-refresh-rate monitor. But are you missing a key component that boosts comfort, performance, and style? Let’s talk about monitor stands. Are monitor stands good for gaming, or just a fancy desk ornament? The truth is, a quality monitor arm or stand is one of the smartest upgrades you can make. It’s not about looks. It’s about unlocking your full potential. This guide will walk you through everything. You’ll learn the real benefits, how to choose the perfect stand, and how to set it up like a pro. Let’s dive in.
The Gamer’s Guide to Choosing and Using a Monitor Stand
Think of this as your mission briefing. We’ll go step-by-step. First, we’ll confirm why this is a critical piece of gear. Then, we’ll get you ready to buy the right one. Finally, we’ll set it up for maximum effect.
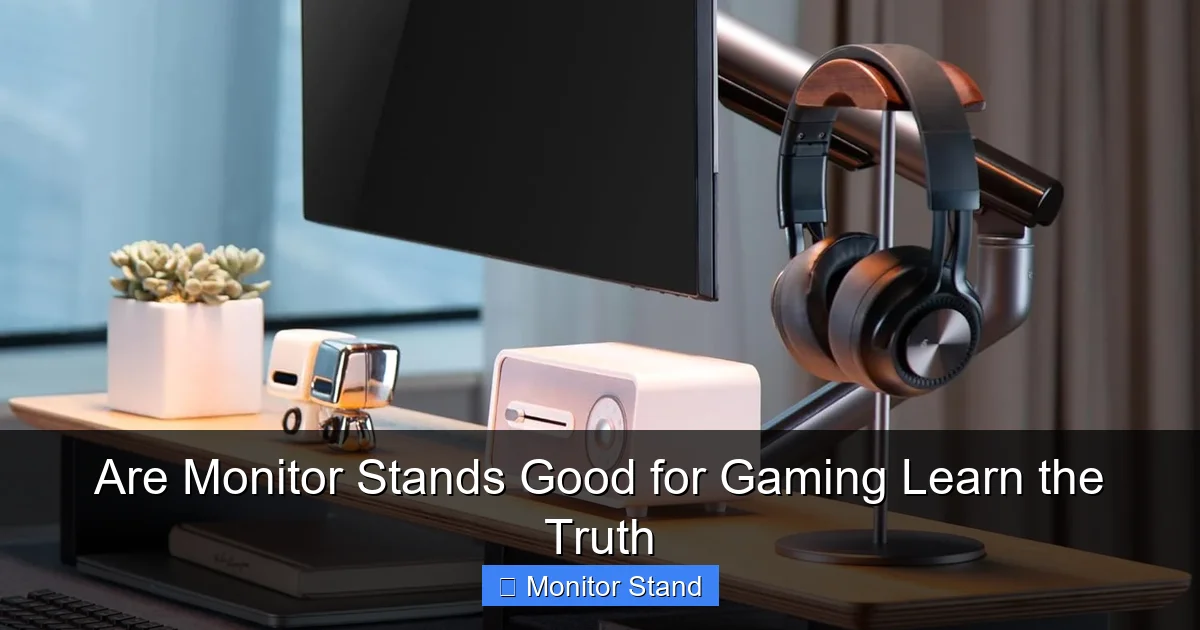
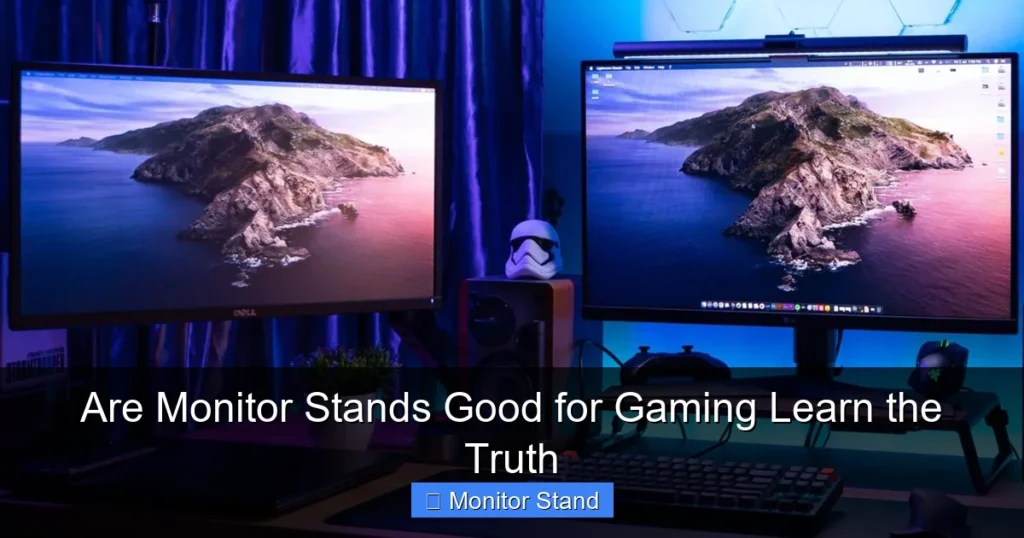
Visual guide about Are Monitor Stands Good for Gaming Learn the Truth
Image source: m.media-amazon.com
Step 1: Understand Why a Stand is a Game-Changer
Before you spend a dime, know what you’re gaining. A monitor stand does more than hold a screen.
Benefit 1: Win the Ergonomics Game
Your health is your most important stat. The top of your screen should be at or slightly below eye level. Most stock monitor stands are too low. This causes “gamer’s neck.” You hunch forward. Your shoulders ache. A stand lets you lift the monitor to the perfect height. It also lets you pull it closer or push it back. This reduces eye strain. Good posture means better blood flow. Better blood flow means a sharper mind. You’ll game longer and feel better.
Benefit 2: Claim Your Desk Real Estate
Your mousepad is your battlefield. That giant triangular base from your monitor? It’s stealing valuable land. A monitor arm clamps to the back of your desk or mounts through a hole. It lifts the screen off the desk entirely. This frees up space for your keyboard, a full-size mousepad, a stream deck, or a drink. A clean desk is a focused mind.
Benefit 3: Adjust for Any Gaming Genre
Different games need different setups. Playing a fast-paced FPS? You might want the monitor closer and tilted slightly up. Diving into a cinematic RPG? Push it back for a wider view. A good stand offers full articulation: height, tilt, swivel, and even rotation (for vertical coding or reading). You dial in the perfect angle every time.
Benefit 4: Boost Your Immersion and Multi-Tasking
Want a truly immersive sim racing or flight setup? You can pull the monitor right up to the edge of your wheel or stick. Using multiple monitors? Arms make it easy to align them perfectly. No more wobbly stands. You can create a seamless, curved visual wall. This is a huge advantage for strategy games or streamers.
Step 2: Choose the Right Stand for Your Setup
Not every stand fits every monitor or desk. Follow these sub-steps to pick the perfect one.
Check Your Monitor’s VESA Pattern
This is the most important step. Look at the back of your monitor. You’ll see four screw holes in a square pattern. This is the VESA mount. Measure the distance between these holes (in millimeters), both horizontally and vertically. Common sizes are 75x75mm and 100x100mm. Some large gaming monitors use 200x200mm. Your new stand must be compatible. The product page will list compatible VESA patterns.
Know Your Monitor’s Weight
Find your monitor’s weight in the manual or online spec sheet. Now, look at the stand’s “maximum weight capacity.” You must choose a stand that can support more than your monitor weighs. A good rule is to have at least 2-3 lbs (1-1.5 kg) of headroom. This ensures smooth, stable movement.
Decide on the Mount Type
- Clamp Mount: Attaches to the back edge of your desk with a C-clamp. It’s very secure and the most popular choice. Ensure your desk has a lip for it to grip and that the clamp can fit (check thickness).
- Grommet Mount: Uses a hole already in your desk (or one you drill). This is even more stable and doesn’t require a lip. Great for thicker desks.
- Stand Base: A heavy foot that sits on your desk. Only get this if you cannot clamp or drill. It uses desk space but is often very adjustable.
Consider Articulation and Range of Motion
Do you want to move your monitor a lot? Look for a stand with “full motion” or “articulating” arms. They have multiple joints. Need simple up-and-down? A “gas spring” or “counterbalance” pole stand might be better. They are sleek and great for single-monitor height adjustment.
Step 3: Install Your Gaming Monitor Stand
You’ve got your stand. Time to set it up. Set aside 30-45 minutes. Don’t rush.
Assemble the Arm
Lay out all parts. Follow the instructions. Usually, you’ll attach the arm segments together first. Don’t fully tighten all the bolts yet. You’ll fine-tune the tension later for smooth movement. Attach the VESA plate to your monitor using the provided screws (ensure they are not too long to damage your monitor’s internals).
Secure the Mount to Your Desk
For a clamp mount: Position the clamp on the rear edge of your desk where you want the monitor. Place a piece of scrap wood or the included protective pad between the clamp and the desk underside to prevent damage. Tighten the clamp firmly by hand with the provided tool. Do not over-tighten with excessive force.
For a grommet mount: Place the mounting bolt through the desk hole and secure it from underneath with the large washer and nut.
Attach the Monitor and Route Cables
With help or by carefully balancing, hook the monitor (with the VESA plate attached) onto the arm’s mount. You’ll hear a click or secure it with a safety screw. This is the key moment: immediately use the cable management channels on the arm. Run your power, DisplayPort/HDMI, and USB cables through the arm before you position the monitor. This keeps everything tidy and prevents strain on the ports.
Adjust the Tension and Position
Now, adjust the tension knobs (usually located at the joints). The goal is to have the monitor stay firmly where you put it, but still be easy to move with one hand. Start with low tension, then increase until it holds position without sagging. Position the monitor so the top is at eye level when you sit up straight. Your eyes should look slightly downward at the center of the screen.
Troubleshooting Common Monitor Stand Issues
Ran into a problem? Here are quick fixes.
Issue: Monitor sags or won’t stay up.
Solution: Increase the tension on the main lifting arm. Consult the manual for the specific adjustment bolt. Turn it clockwise in small increments.
Issue: Stand feels wobbly or shakes when I type.
Solution: Ensure the desk clamp or grommet nut is extremely tight. Check that your desk itself is stable. For very heavy monitors on long arms, some minimal vibration is normal.
Issue: My monitor doesn’t have VESA holes.
Solution: You can buy a universal VESA adapter plate. It typically attaches to where your monitor’s original stand connected. Make sure to find one compatible with your specific monitor model.
Issue: Cables are pulling or look messy.
Solution: You didn’t use the cable management. Loosen the arm joints, reroute the cables through the dedicated channels, and re-tighten. Use Velcro straps for excess cable length.
Conclusion: Level Up Your Gaming Station
So, are monitor stands good for gaming? The evidence is overwhelming. Yes, they are a fantastic investment. They transform your gaming experience from the ground up. You gain better posture, more desk space, and total control over your view. This isn’t just about comfort. It’s about performance. Less strain means longer, more focused gaming sessions. A clean desk means less distraction. The perfect angle means better reaction times and immersion. Follow the steps in this guide. Choose a stand that fits your gear. Install it with care. Your neck, your eyes, and your gameplay will thank you. It’s time to see your games in a whole new light—from the perfect height.