
Discover essential dusting tool maintenance steps to prevent damage and maximize cleaning power. Avoid costly mistakes that shorten tool life and spread allergens. Proper care ensures healthier air and sparkling surfaces for years.
Key Takeaways
- Clean tools after EVERY use to prevent dust buildup that reduces effectiveness and breeds bacteria.
- Never soak microfiber or natural fiber dusters – hand wash gently or use low-heat dryer cycles to avoid damage.
- Store tools completely dry in breathable containers to prevent mold, mildew, and musty odors.
- Replace worn-out tools immediately when fibers fray, lose static charge, or no longer pick up dust effectively.
- Avoid harsh chemicals and high heat which degrade fibers and destroy the electrostatic properties of microfiber.
- Use the right tool for the surface – delicate fabrics for electronics, sturdier brushes for baseboards – to prevent scratches.
Why Dusting Tool Maintenance Matters More Than You Think
That trusty microfiber duster or feather duster seems simple, right? Just grab it and go. But neglecting dusting tool maintenance is a silent home health hazard. Dirty tools don’t just clean poorly – they redistribute dust, pollen, and allergens instead of removing them. Worse, damp or soiled tools become breeding grounds for mold and bacteria, turning your cleaning routine into a pollution source. Proper care isn’t about perfection; it’s about effectiveness and health. In this guide, you’ll learn exactly how to maintain dusting tools to avoid common mistakes that shorten their life and compromise your home’s cleanliness. You’ll discover simple routines that take minutes but deliver years of reliable service and truly cleaner air.
Step 1: The Critical First Step – Cleaning After Every Single Use
Skipping this step is the #1 mistake people make. Dusting tools trap particles, but they don’t magically disappear. Leaving dust embedded guarantees your next cleaning session just stirs it back into the air. Here’s how to do it right:

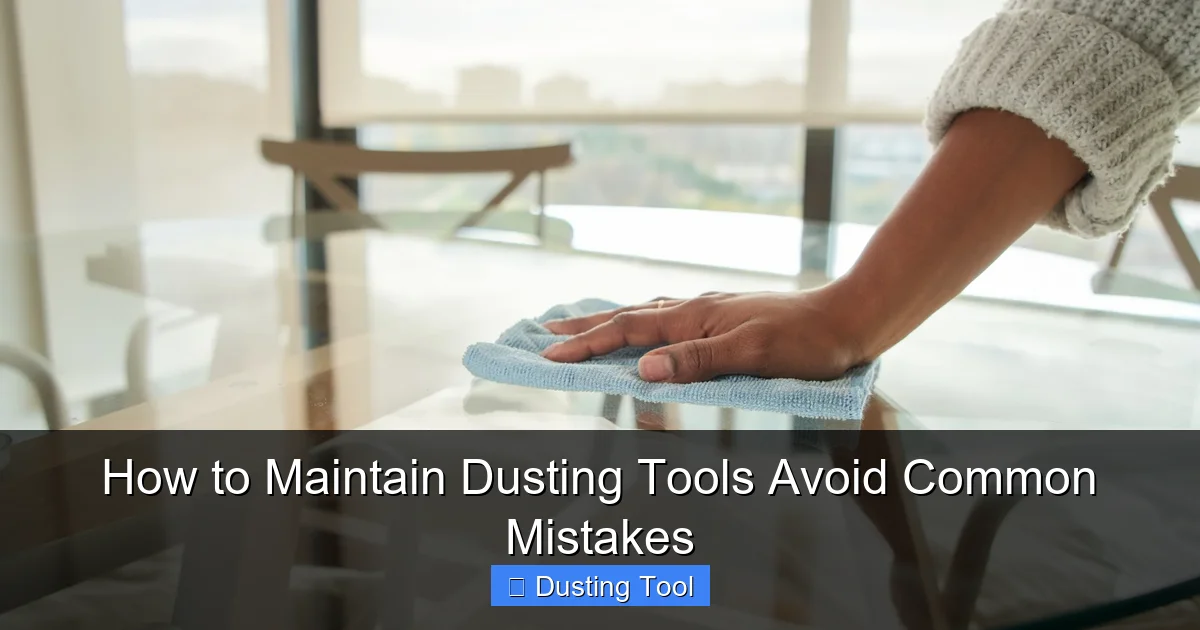
Visual guide about How to Maintain Dusting Tools Avoid Common Mistakes
Image source: cdn.mos.cms.futurecdn.net
For Microfiber Cloths and Dusters
- Rinse immediately: Hold under cool running water, gently rubbing fibers together. Never use hot water – it sets stains and damages fibers.
- Use mild soap sparingly: A tiny drop of dish soap is enough. Avoid bleach or fabric softener – they coat fibers and destroy their dust-grabbing static charge.
- Air dry flat: Lay cloths on a clean towel or drying rack. Never wring them out – this stretches and weakens fibers. Avoid direct sunlight for long periods.
For Feather Dusters and Natural Fiber Brushes
- Shake vigorously outdoors: Do this away from windows to avoid redistributing dust inside.
- Spot clean stains: Dampen a corner of a clean microfiber cloth with water and mild soap. Gently dab stained areas. Never soak the entire duster.
- Air dry completely: Hang upside down in a well-ventilated area. Ensure no moisture remains in the handle or base to prevent mold.
For Extendable Poles and Handles
- Wipe down with disinfectant: Use a cloth dampened with a 70% isopropyl alcohol solution. This kills germs without damaging metal or plastic.
- Check for grit: Dust can accumulate in telescoping sections. Disassemble if possible and rinse poles under water.
Step 2: Deep Cleaning – When and How to Refresh Your Tools
Even with after-use cleaning, tools need deeper attention weekly or bi-weekly, depending on use frequency. This removes embedded grime and restores performance.
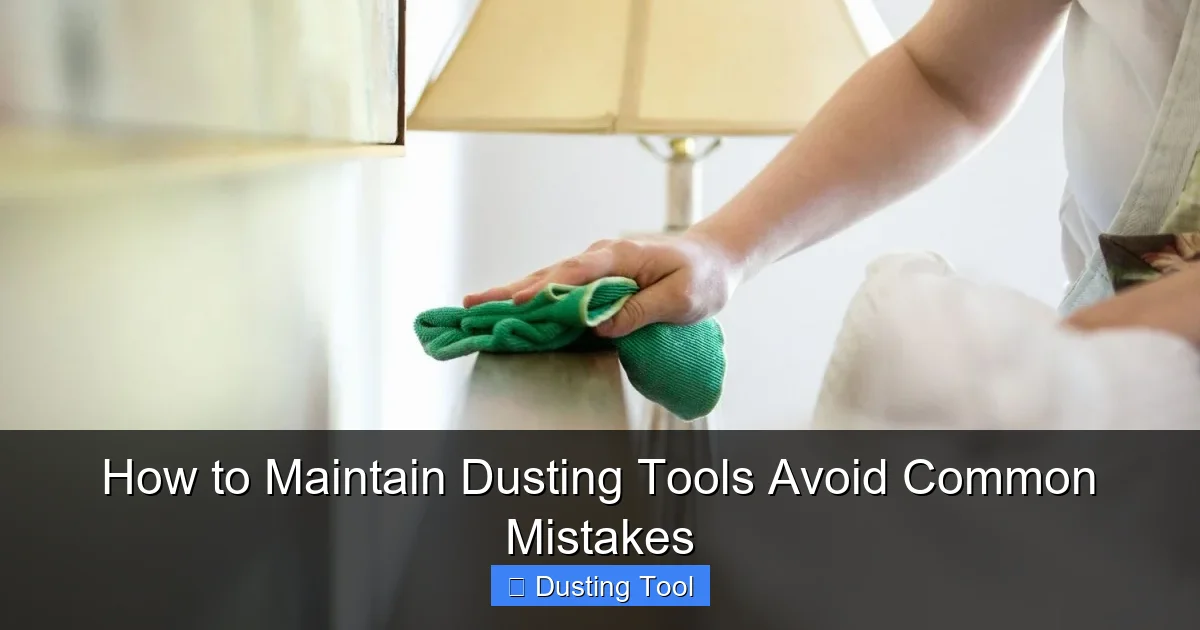
Visual guide about How to Maintain Dusting Tools Avoid Common Mistakes
Image source: cdn.mos.cms.futurecdn.net
Microfiber Deep Clean (Weekly)
- Machine wash (if label allows): Use a small load with similar items. Cold water only. Mild detergent. NO fabric softener or bleach.
- Dry properly: Tumble dry on LOW heat for 15-20 minutes, then air dry completely. High heat melts fibers. Never use dryer sheets.
- Alternative hand wash: Fill a basin with cool water and 1/4 cup white vinegar. Soak for 10 minutes, then rinse thoroughly. Vinegar removes residue without damaging fibers.
Feather/Natural Fiber Refresh (Bi-Weekly)
- Freeze method: Place duster in a sealed plastic bag. Freeze for 24 hours. The cold kills dust mites and loosens debris. Shake outdoors afterward.
- Gentle brush cleaning: Use a soft nail brush or toothbrush under cool running water to dislodge stubborn dust from bristles. Air dry completely.
Electrostatic Dusters (e.g., Swiffer)
- Remove and wash pads: Most are machine washable (cold water, no softener). Air dry pads – never machine dry.
- Clean the handle: Wipe with disinfectant wipe. Check for dust buildup in crevices.
Step 3: Smart Storage – The Secret to Long-Term Tool Health
How you store tools after cleaning is just as important as cleaning itself. Damp storage = mold city. Cluttered storage = damaged fibers.
Visual guide about How to Maintain Dusting Tools Avoid Common Mistakes
Image source: archziner.com
Best Storage Practices
- Ensure COMPLETE dryness: Never store a slightly damp tool. This takes 24-48 hours for thick microfiber or feathers. Use a fan to speed drying if needed.
- Use breathable containers: Store clean cloths in cotton bags or open baskets – NOT sealed plastic bins. Plastic traps moisture.
- Hang dusters vertically: Use hooks for feather dusters or extendable poles. This prevents bent bristles and allows air circulation.
- Keep tools separated: Store different types (microfiber, feather, electrostatic) apart to avoid cross-contamination of fibers.
What NOT to Do
- Never stuff tools in drawers: This crushes fibers and traps moisture.
- Avoid damp basements or garages: High humidity promotes mold growth.
- Don’t store near cleaning chemicals: Fumes can degrade fibers over time.
Step 4: Recognizing When to Replace Your Dusting Tools
Even with perfect care, tools wear out. Using degraded tools is ineffective and unhygienic. Know these signs:
Microfiber Cloths/Dusters
- Fibers feel rough or scratchy: Indicates fiber breakdown.
- No longer picks up dust: Static charge is gone – it just smears dust instead of trapping it.
- Persistent musty smell: Even after washing, signals deep mold growth.
- Visible holes or thinning areas: Time for replacement.
Feather/Natural Fiber Dusters
- Feathers/b bristles are bent, broken, or falling out: Loses cleaning surface area.
- Handle is cracked or loose: Compromises control and safety.
- Strong odor that won’t fade: Indicates bacterial growth deep in the base.
General Rule of Thumb
Replace microfiber cloths every 6-12 months with regular use. Feather dusters last 1-2 years. Electrostatic pads are disposable – replace when torn or ineffective. When in doubt, replace it. Your health is worth it.
Troubleshooting Common Dusting Tool Problems
Encountered an issue? Here’s how to fix it:
Problem: Microfiber cloth leaves streaks or lint
Cause: Residue from fabric softener, detergent buildup, or using a worn-out cloth.
Solution: Wash cloth with vinegar (1/4 cup per load) to strip residue. If streaking continues, replace the cloth.
Problem: Feather duster smells musty
Cause: Incomplete drying before storage.
Solution: Hang duster in a sunny, breezy spot for 48 hours. If smell persists, freeze for 24 hours. If still present, replace it – mold is likely embedded.
Problem: Electrostatic duster isn’t attracting dust
Cause: Pad is saturated, damaged, or the handle’s static mechanism is faulty.
Solution: Replace the pad. If new pads don’t work, the handle may need replacement.
Problem: Extendable pole sticks or won’t lock
Cause: Dust and grime in telescoping sections.
Solution: Disassemble poles. Clean each section with a damp cloth and dry thoroughly. Apply a tiny bit of silicone spray to moving parts if needed.
Conclusion: Clean Tools for a Truly Clean Home
Maintaining your dusting tools isn’t a chore – it’s the foundation of effective cleaning. By cleaning after every use, performing regular deep cleans, storing tools properly, and replacing them when needed, you avoid the common mistakes that turn your dusters into dust spreaders. You’ll breathe easier knowing you’re removing allergens, not circulating them. Your tools will last significantly longer, saving you money. Most importantly, you’ll achieve the truly clean, healthy home you deserve. Start implementing these simple steps today. Your future self (and your dusters) will thank you. Remember: a well-maintained dusting tool is your secret weapon for a sparkling, healthy living space.
🎥 Related Video: Try This Baseboard Cleaning Hack #howto #cleaning #cleaningtips
📺 Clean That Up