This guide provides clear, step-by-step instructions to safely detach your LG monitor stand. You’ll learn to identify your monitor’s mounting type, gather the right tools, and execute the removal without damaging your screen. Following these steps ensures a smooth transition to wall mounting or a new monitor arm.
Key Takeaways
- Preparation is Paramount: A clean, soft workspace and the correct tools (like a Phillips screwdriver) prevent damage and frustration.
- Identify Your Mount Type: Most LG monitors use a hassle-free “Quick Release” button or tab, while some require you to remove VESA mounting screws.
- Disconnect All Cables First: Always power off the monitor and unplug every cable (power, HDMI, USB) to ensure safety and allow for easy maneuvering.
- Handle with Care, Especially the Screen: When lifting the monitor, grip from the sides or base frame—never push directly on the LCD panel.
- Keep All Hardware Organized: Store the removed stand and screws in the monitor’s original box if possible, for future use or resale.
- Troubleshoot Common Snags: If the stand feels stuck, don’t force it. Double-check for a secondary release latch or gently wiggle it while lifting.
- Explore New Mounting Options: Removing the factory stand unlocks the potential for ergonomic VESA mounts, arms, or wall brackets.
A Quick Guide to Removing Your LG Monitor Stand
So, you’ve got a new monitor arm, a sleek wall mount, or maybe you’re just packing up your LG monitor for a move. The first task? Removing that sturdy factory stand. It might seem a bit daunting at first. You don’t want to break anything. Don’t worry! This guide will walk you through the entire process, step-by-step. We’ll cover all the common LG stand types. You’ll learn how to do this safely, quickly, and without any guesswork. Let’s free your screen from its base!
Getting Ready: Your Pre-Removal Checklist
Before you touch a single screw or tab, let’s get set up for success. Rushing this part is the most common cause of accidents.
Visual guide about A Quick Guide to Removing Your LG Monitor Stand
Image source: i.ytimg.com
1. Create a Safe Workspace
Clear a large, flat surface. A kitchen table or a clean desk is perfect. Lay down a soft towel, blanket, or the monitor’s original foam pad. This cushioned area is where you’ll place the monitor screen face-down. It prevents scratches on your beautiful display.
2. Gather Your Tools
You likely won’t need much. Here’s the typical list:
- Phillips Head Screwdriver (Size #0 or #1): The most common tool for VESA screw removal.
- Soft Cloth or Towel: For handling the monitor and cleaning.
- A Friend (Optional but Recommended): For larger monitors (27-inch and above), an extra pair of hands is very helpful.
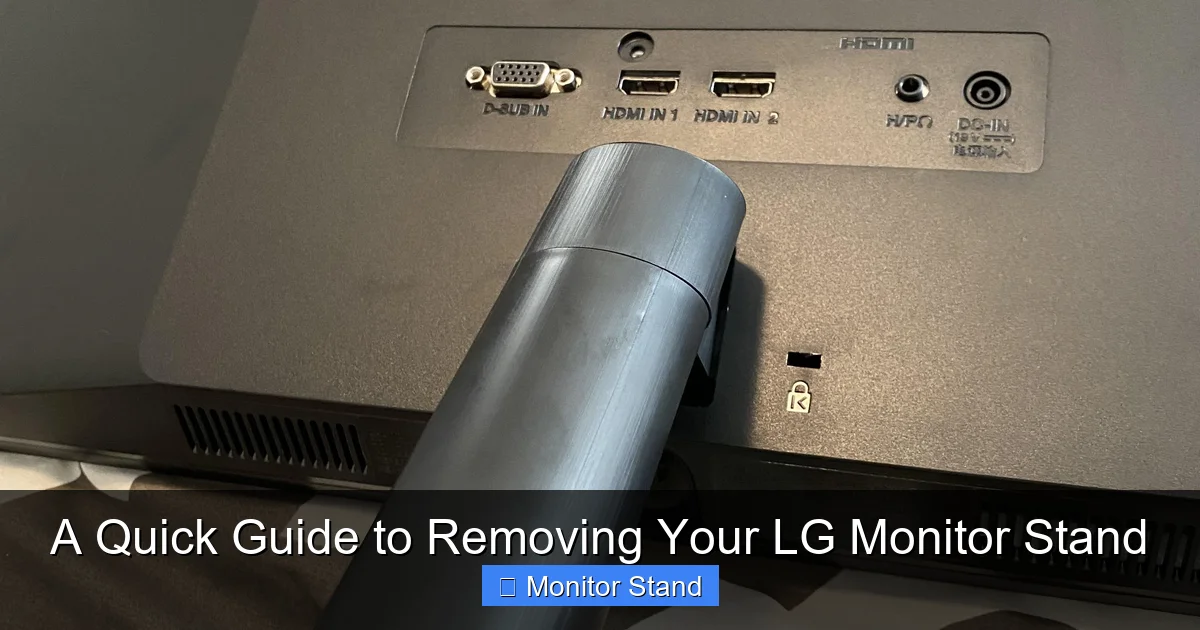
3. Power Down and Disconnect
This is a non-negotiable safety step. Turn the monitor off. Then, gently unplug all cables from the back. This includes the power cable, HDMI, DisplayPort, USB upstream cable, and any audio cables. Neatly coil them and set them aside. A tangle-free workspace is a safe workspace.
Identifying Your LG Monitor Stand Type
LG uses two primary methods to attach stands. Finding yours is the key to the right removal method.
Visual guide about A Quick Guide to Removing Your LG Monitor Stand
Image source: robots.net
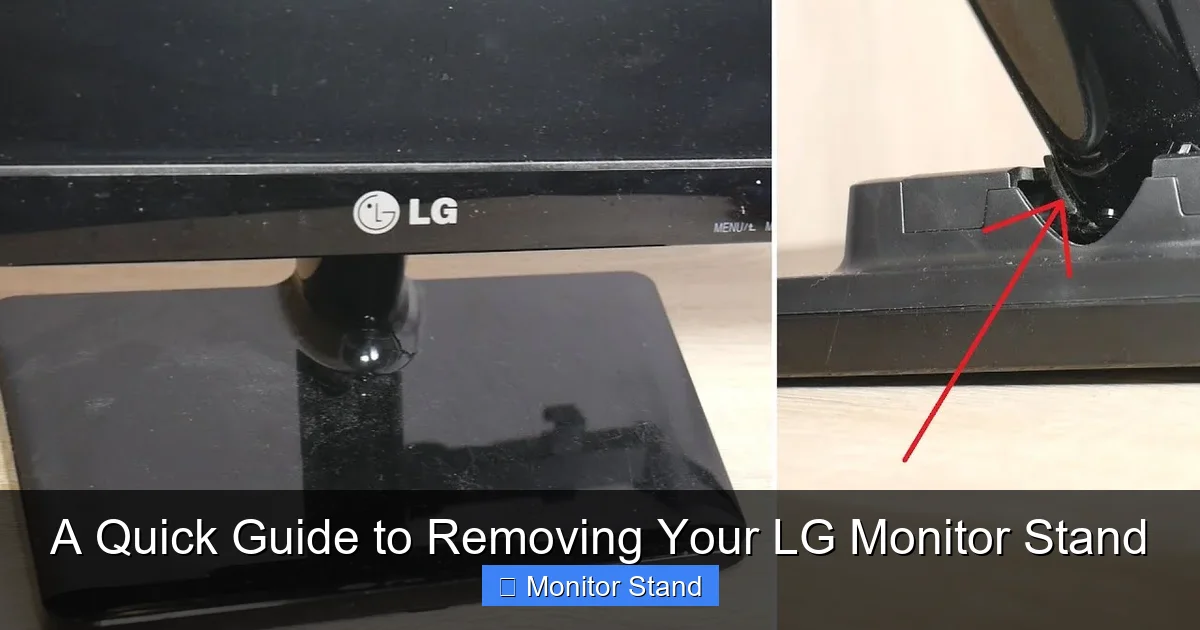
Method 1: The Quick Release Stand (Most Common)
Most modern LG monitors, especially UltraGear and UltraFine models, feature this user-friendly design. Look for a prominent button, lever, or tab on the back of the monitor where the stand neck meets the body. It’s often labeled or has a small icon of a stand with an arrow.
Method 2: The VESA Screw Mount (Less Common)
Some simpler or older LG models have a stand that is directly bolted to the monitor through the standard 75×75 or 100×100 VESA mount pattern (a square of four screw holes). You won’t see a release button. Instead, you’ll see four screws holding a metal bracket or the stand neck directly to the monitor’s back.
Step-by-Step: Removing a Quick Release Stand
If you found a button or tab, follow these steps.
Visual guide about A Quick Guide to Removing Your LG Monitor Stand
Image source: i.redd.it
Step 1: Position the Monitor
With all cables removed, carefully lay the monitor face-down on your soft, prepared surface. Ensure the stand is hanging freely off the edge of the table, or that there’s enough clearance for it to detach and fall away.
Step 2: Locate and Engage the Release Mechanism
Find the Quick Release button or tab. It’s usually centered at the top of the stand’s neck where it inserts into the monitor. You may need to press it, pull it, or slide it. The direction is often indicated by an arrow.
Step 3: Detach the Stand
While holding the release mechanism in the “open” position (keep that button pressed!), use your other hand to firmly grip the stand’s neck. Gently but decisively pull the stand straight downward, away from the monitor body. It should disengage with a soft click or pop. If it resists, don’t force it. Re-check that you’re fully engaging the release mechanism.
Step 4: Set the Stand Aside
Once free, place the stand to the side. Your monitor is now just a sleek, flat panel. Handle it with care, gripping only the robust side edges or the back casing.
Step-by-Step: Removing a VESA Screw Mount Stand
If your monitor has four visible screws holding the stand on, this is your method.
Step 1: Secure the Monitor for Access
You have two options here. You can carefully lay the monitor screen-down on your soft surface, letting the stand extend into the air. Or, if the stand provides a stable base, you can leave the monitor upright but tilted back slightly so you can access the screws on the back.
Step 2: Remove the Screws
Using your Phillips screwdriver, begin unscrewing the four screws that secure the stand bracket to the monitor. Turn them counter-clockwise. Pro Tip: Loosen each screw a little bit at a time in a cross pattern (like loosening lug nuts on a car tire). This prevents any tension or binding. Once all are loose, you can remove them completely.
Step 3: Separate the Components
After the last screw is out, the stand or its mounting bracket will simply separate from the monitor. You may need to hold the monitor with one hand and gently wiggle the stand free with the other if it’s snug. Lift the stand straight away.
Step 4: Organize the Hardware
This is crucial! Immediately place the four screws in a small bag or tape them to the stand itself. These are your VESA mount screws, and you will likely need them to attach a new arm or wall bracket.
What to Do After the Stand is Off
Congratulations! The main task is done. Now, let’s finish strong.
1. Inspect and Clean
Take a moment to look at the back of your monitor. You should now see the bare VESA mounting pattern (four screw holes in a square). Use your soft cloth to gently wipe away any dust from this area and the screen.
2. Store the Stand Safely
If you think you might use the original stand again (for resale, or as a backup), store it properly. The original monitor box is the best place. If not, pack it in a sturdy box with the screws taped securely to it.
3. Prepare for Your New Mount
If you’re installing a monitor arm or wall mount, gather its instructions and hardware. Your new mount will attach using those same four VESA holes. It will likely come with its own set of screws, but your original LG screws are often the perfect fit.
Troubleshooting Common Issues
Stuck? Here are solutions to common problems.
The Quick Release Button Won’t Budge
Don’t use excessive force. Ensure you’re pressing or sliding it in the correct direction. Sometimes these mechanisms have a safety lock. Look for a secondary, smaller tab nearby that needs to be disengaged first. Consult your monitor’s specific manual (you can find it online with your model number).
The Stand Feels “Stuck” Even With the Button Pressed
The plastic guides might be slightly misaligned. While holding the release, try gently wiggling the stand from side to side (not forcefully) as you pull it down. Have a friend help by stabilizing the monitor body.
I Can’t Find the Right Screwdriver for VESA Screws
Using a screwdriver that is too small can strip the screw head, creating a huge problem. Ensure you have a properly sized Phillips head. The bit should fit snugly into the cross of the screw without any play. Hardware stores sell inexpensive precision screwdriver sets that are perfect for this.
I Lost the Original Screws
Don’t panic. Your new monitor arm will include screws. Alternatively, you can purchase a standard VESA screw kit from any computer store or online. The most common thread for LG monitors is M4 (4mm), but lengths vary. Measure the depth of the screw hole (without forcing anything into it!) to determine the correct screw length, usually between 8mm and 12mm.
Conclusion
Removing your LG monitor stand is a straightforward DIY task that unlocks a world of ergonomic and aesthetic possibilities. By taking five minutes to prepare your workspace, identifying your stand type (Quick Release or VESA Screw), and following the gentle, step-by-step instructions, you’ve done it safely and correctly. You’ve not only protected your investment but also gained the freedom to mount your screen exactly how you want it. Whether it’s now floating on a monitor arm or ready to be packed securely, you’re in control. Enjoy your newly liberated display!