This guide provides clear, step-by-step instructions to safely detach the stand from your Samsung monitor. You will learn the universal principles that apply to most models, the specific tools you’ll need, and crucial safety tips to prevent damage to your screen. By the end, you’ll be ready to mount your monitor on a wall or arm, or pack it securely for travel.
Key Takeaways
- Safety is Paramount: Always power off and unplug the monitor. Handle the screen on a soft, stable surface to prevent scratches and cracks.
- Gather Tools First: Most removals require only a Phillips-head screwdriver. Some newer models use a quick-release lever with no tools needed.
- The Process is Universal: While designs vary, the core steps are consistent: detach the base, remove the neck/arm, and safely separate the stand bracket from the monitor.
- Know Your Model: Check your monitor’s manual or the label on the back for the exact model number (e.g., S27A800U, Odyssey G9). This helps identify the specific attachment mechanism.
- No Force Required: If a part isn’t coming loose, stop. Re-check for hidden screws or locking tabs. Forcing it can break plastic clips or the monitor casing.
- Prepare for VESA Mounting: Removing the stand exposes the VESA mount pattern (usually 75x75mm or 100x100mm). Keep the provided mounting screws in a safe place.
- Keep All Parts: Store the removed stand, screws, and cable management clips together in the original box if possible, for future use or resale.
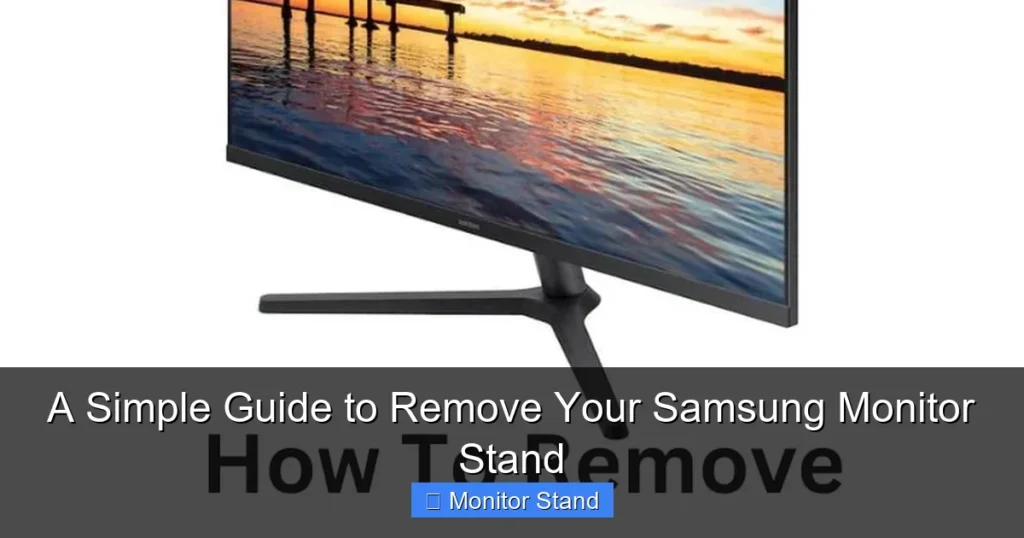
A Simple Guide to Remove Your Samsung Monitor Stand
So, you’ve got a new monitor arm, a sleek wall mount, or you’re packing up your Samsung monitor for a move. The first task is always the same: how to remove your Samsung monitor stand. It might seem a bit daunting at first. You’re dealing with a precious piece of tech, after all. But don’t worry! With the right guidance, it’s a straightforward, 5-to-10-minute job. This comprehensive guide will walk you through the entire process, from preparation to completion, for almost any Samsung monitor model. We’ll cover tool-free quick-release designs and the more common screw-based stands. By the end, you’ll have a free monitor ready for its next adventure, and you’ll have done it all safely and correctly.
Why Remove Your Monitor Stand?
Before we get our hands busy, let’s talk about the “why.” Knowing your goal can help you be more careful during the process. The most common reason people look up how to remove a Samsung monitor stand is for VESA mounting. VESA is a standard bracket pattern on the back of most monitors that allows you to attach it to arms, wall mounts, or desk clamps. This saves huge amounts of desk space and allows for perfect ergonomic positioning. Other reasons include making the monitor lighter and flatter for secure travel or storage, or simply because you prefer the clean look of a mounted display. Whatever your reason, the removal steps are fundamentally the same.
Visual guide about A Simple Guide to Remove Your Samsung Monitor Stand
Image source: i.ytimg.com
Essential Tools and Preparation
Great results start with great preparation. Taking a few minutes to set up will make the job smooth and risk-free.
Visual guide about A Simple Guide to Remove Your Samsung Monitor Stand
Image source: i.ytimg.com
What You’ll Need
- A Phillips-head Screwdriver (#1 or #2): This is the most common tool needed. A magnetic tip is very helpful.
- A Clean, Soft Workspace: Use a blanket, towel, or the monitor’s original box foam on a sturdy table or desk. The screen will face down on this surface.
- Small Container or Bowl: For holding screws and small parts. You don’t want to lose them!
- Your Monitor’s User Manual (Optional but Helpful): If you have it, it’s the definitive guide for your specific model.
Critical Safety Steps
- Power Down & Unplug: Turn the monitor off using the power button. Then, unplug the power cable and all other cables (HDMI, DisplayPort, USB) from the monitor itself.
- Clear Your Workspace: Ensure you have plenty of room to maneuver. Remove any coffee cups or clutter.
- Get a Helper (For Larger Monitors): If your monitor is 32 inches or larger, or is an ultra-wide like the Odyssey series, having a second person to help lift and steady it is highly recommended.
Universal First Steps: Getting Ready
No matter what Samsung monitor you have, these initial steps are always the same.
Visual guide about A Simple Guide to Remove Your Samsung Monitor Stand
Image source: i.ytimg.com
Step 1: Identify Your Monitor Model
Look at the back of your monitor. There will be a label with the model number (e.g., S24R350, C27G5, Odyssey G7). Jot this down. If you need to search for help later, this is the key piece of information. The design of the stand often correlates with the series (e.g., “S” series, “Odyssey” gaming series).
Step 2: Position the Monitor Safely
Gently lay the monitor face down onto your prepared soft surface. Position it so the stand is hanging off the edge of the table, giving you clear access to the attachment area. Place a soft item under the top edge of the monitor frame to prevent it from rocking. Never put pressure on the center of the screen.
Step-by-Step Removal: The Two Main Types
Samsung uses two primary stand attachment methods. We’ll cover both in detail.
Type 1: Removing a Screw-Based Stand (Most Common)
This is the classic design used on many monitors. It involves a neck that slides into a bracket and is secured by screws.
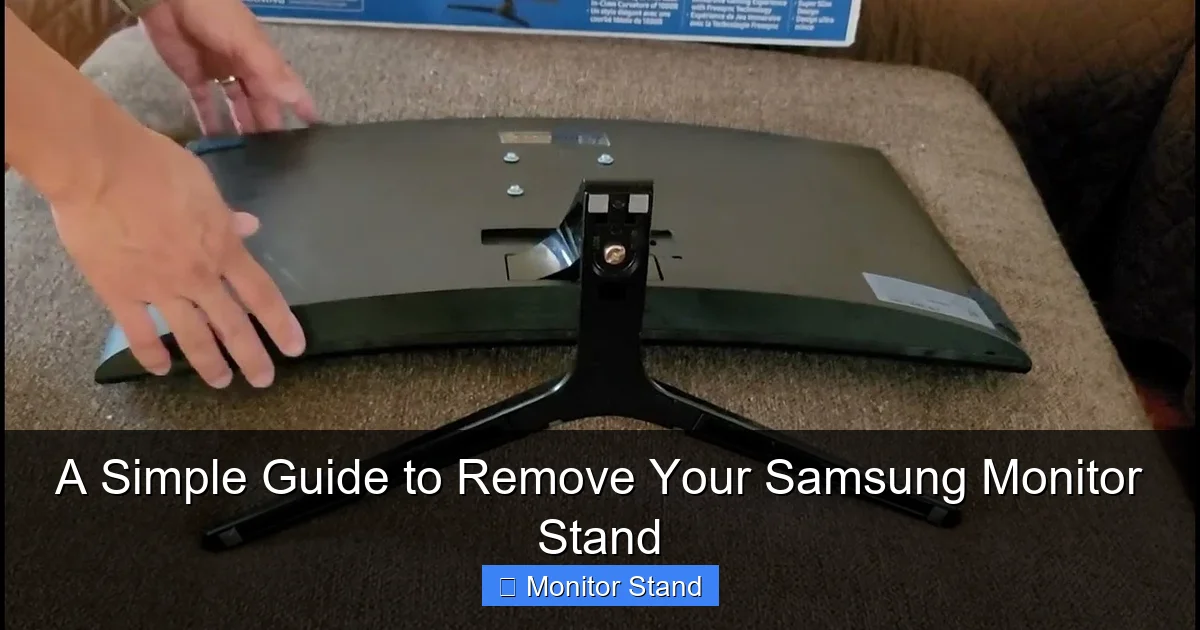
Step 1: Detach the Base (If Separate)
Look at the bottom of the stand’s neck, where it meets the base. Some models have a single, large screw here. Insert your Phillips screwdriver and turn it counter-clockwise to loosen and remove it. Once the screw is out, the base should lift or slide away from the neck. Place the base and screw in your parts container.
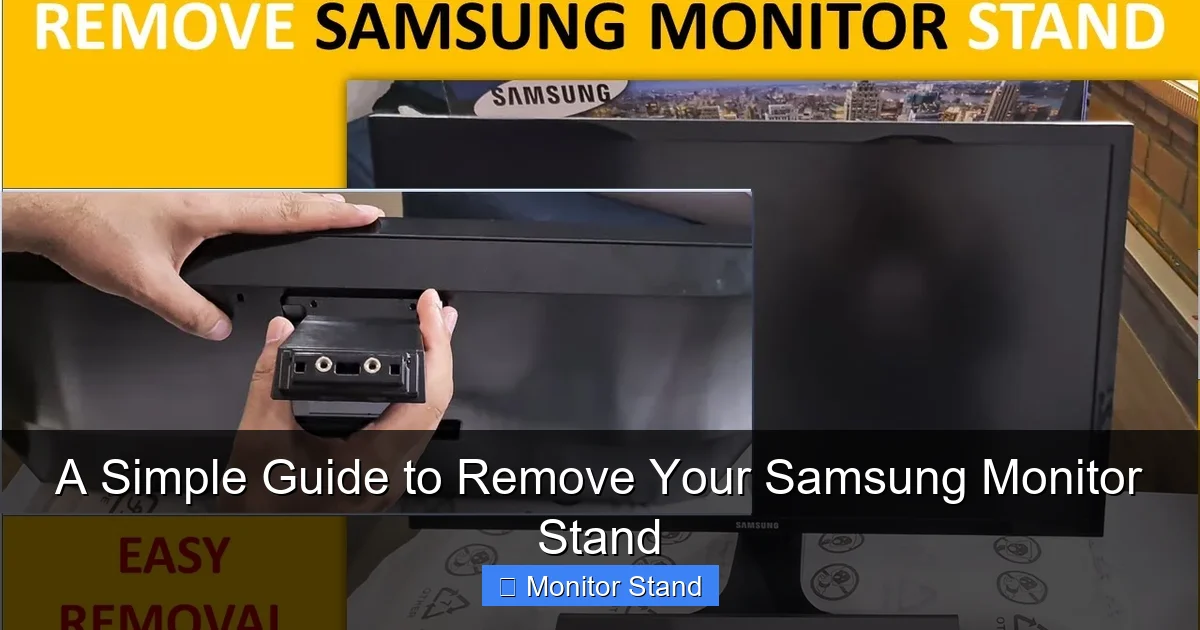
Step 2: Locate the Neck Screws
With the monitor face down and the neck pointing up, look at the “collar” where the neck connects to the monitor’s back bracket. You will typically see two or four screws securing the neck to the bracket. These are often covered by small plastic caps. Gently pry these caps off with a fingernail or a plastic opening tool.
Step 3: Remove the Neck Screws
Use your Phillips screwdriver to remove each of these screws. Place them immediately in your container. Once all screws are removed, the neck should be completely loose.
Step 4: Separate the Neck from the Bracket
Firmly grip the neck and pull it straight back, away from the monitor. It may be snug. A slight wiggling motion (up/down or left/right) can help free it. Do not twist or yank forcefully. Once free, set the neck aside.
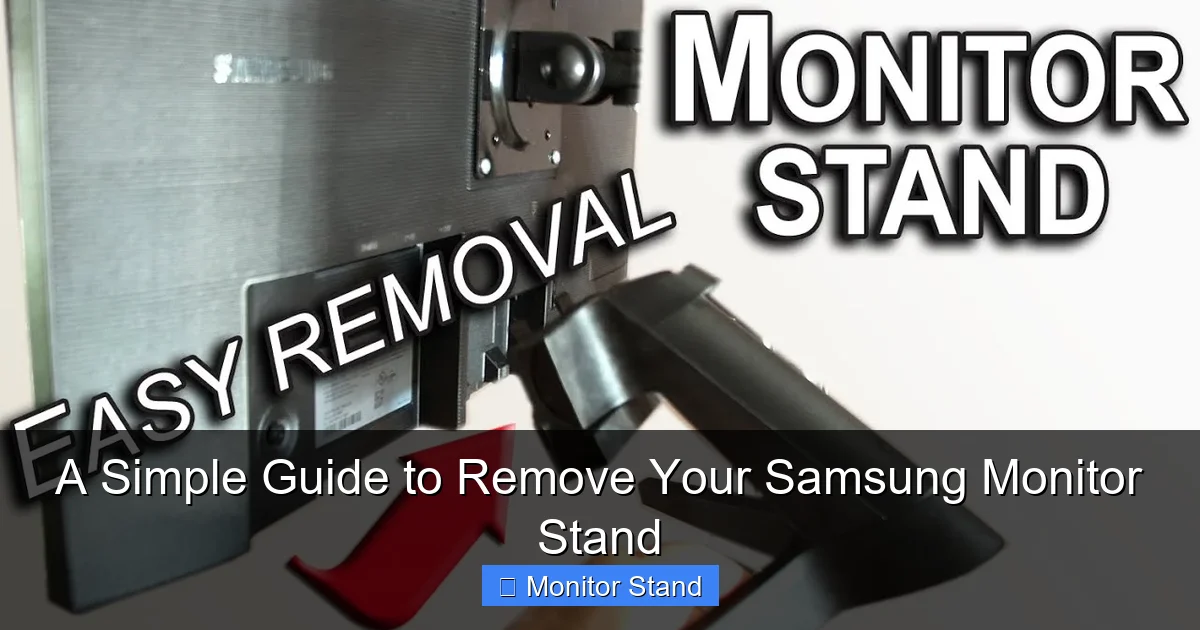
Step 5: Remove the Stand Bracket from the Monitor
You will now see a metal or plastic bracket still attached to the monitor’s back. This bracket is usually secured by four screws in a square pattern. This is the VESA mount pattern. Remove these four screws with your screwdriver. The bracket can now be lifted away. Important: Keep these four screws! They are often the exact screws you need to attach a VESA mount arm.
Congratulations! Your monitor stand is now fully removed.
Type 2: Removing a Quick-Release, Tool-Free Stand
Newer Samsung monitors, especially sleek design models, often feature a tool-free removal system. It’s even easier!
Step 1: Locate the Release Lever or Button
With the monitor upright, look at the back where the neck meets the monitor. You should see a clearly marked button or lever. It is often labeled with an icon or the word “PUSH” or “RELEASE.”
Step 2: Activate the Release Mechanism
Press the button or slide the lever in the direction indicated. You will usually need to hold it in the “release” position.
Step 3: Lift the Monitor Off the Stand
While holding the release, gently lift the monitor vertically, straight up. The monitor will detach from the stand’s neck. You may hear a slight click. The base and neck usually remain as one piece. There are no screws to deal with at this stage.
Step 4: Check for a VESA Cover Plate
On the back of your now-stand-free monitor, you might see a rectangular plastic cover over the VESA screw holes. The edges of this cover should have small indents. Use your fingernail or a plastic tool to pry it off. Underneath, you’ll find the four VESA screw holes. Store this cover plate safely if you plan to reattach the original stand later.
What to Do After Removal
The job isn’t quite finished. A little organization now saves a headache later.
- Inspect the Monitor Back: You should now see a clean, flat surface with four screw holes in a square pattern. This is your VESA interface (typically 75x75mm or 100x100mm).
- Organize All Parts: Put all screws, plastic caps, the bracket, the neck, the base, and any covers into a zip-lock bag. Label it “Samsung [Your Model] Stand Parts.”
- Store in the Original Box: If you still have the monitor’s box and foam inserts, this is the perfect place to store the stand assembly. It protects the parts and keeps everything together.
Troubleshooting Common Issues
Ran into a snag? Here are solutions to common problems.
The Screws Are Stuck or Stripped
If a screw won’t turn, don’t force it and risk stripping the head. Ensure you’re using the correct size Phillips screwdriver. Apply firm, steady pressure straight into the screw as you turn. If it’s slightly stripped, try placing a wide rubber band between the screwdriver tip and the screw head for extra grip.
The Neck Won’t Pull Out After Removing Screws
It’s likely still held by plastic clips or friction. Double-check that you removed all screws, including any potentially hidden under labels or stickers. Gently wiggle the neck from side to side while pulling straight back. Avoid using excessive leverage against the monitor casing.
I Can’t Find Any Screws or a Release Lever!
Some very slim Samsung monitors have a different design. The stand might be one solid piece that attaches via a single, large mechanism in the center. In this case, your best resource is the official Samsung website. Search for your specific model number and “manual” to find a PDF with exact instructions.
I Lost the VESA Mounting Screws
Don’t panic. The screws needed for a VESA arm are standard metric machine screws. The most common sizes are M4 (for 75x75mm) and M6 (for 100x100mm), with lengths between 8mm and 12mm. You can find them at any hardware store. When buying, bring your monitor’s bracket to test the fit.
Conclusion
Learning how to remove your Samsung monitor stand is a simple yet empowering skill. Whether you’re mounting your screen for a cleaner battlestation, improving your posture with an adjustable arm, or safely packing it away, the process is quick and safe when you follow the steps. Remember the golden rules: always work on a soft surface, unplug everything, never force components, and keep all the parts organized. With your stand now successfully removed, your monitor is ready for its next chapter—enjoy your newly liberated screen and the extra space on your desk!