This guide teaches you how to choose, install, and optimize a monitor stand for gaming. You will learn the benefits for ergonomics and desk space, how to select the perfect model for your setup, and step-by-step installation. Transform your gaming station into a more comfortable and immersive command center.
(128 words)
Key Takeaways
- Ergonomics is King: A proper gaming monitor stand positions your screen at eye level to prevent neck and back strain during long sessions.
- Desk Space is Prime Real Estate: Freeing up your desk surface from bulky monitor bases allows for better mouse movement and a cleaner setup.
- Not All Stands Are Equal: Choose between fixed, height-adjustable, and premium gas-spring arms based on your need for flexibility and budget.
- Compatibility is Crucial: Always check your monitor’s weight and VESA mount pattern (e.g., 75x75mm, 100x100mm) before purchasing any stand.
- Cable Management is a Game-Changer: Using built-in channels or clips to route cables creates a clean, professional look and reduces clutter.
- Calibration Enhances Experience: Fine-tuning the height, tilt, and distance of your monitor reduces glare and optimizes your viewing angle for immersion.
- Invest in Your Health and Performance: A good monitor stand is a long-term upgrade that improves both your physical comfort and gaming focus.
Enhance Your Gaming Setup with a Monitor Stand for Gaming: The Complete Guide
Welcome, gamer! Is your desk a cluttered mess of wires and monitor bases? Do you end a long session with a sore neck? You are not alone. The right gear can make all the difference. Often overlooked, a monitor stand for gaming is a secret weapon for a superior setup.
This guide will walk you through everything. We will explore why you need one, how to pick the perfect model, and how to install it like a pro. By the end, you will have a cleaner, more comfortable, and immersive gaming station. Let’s dive in and level up your desk.
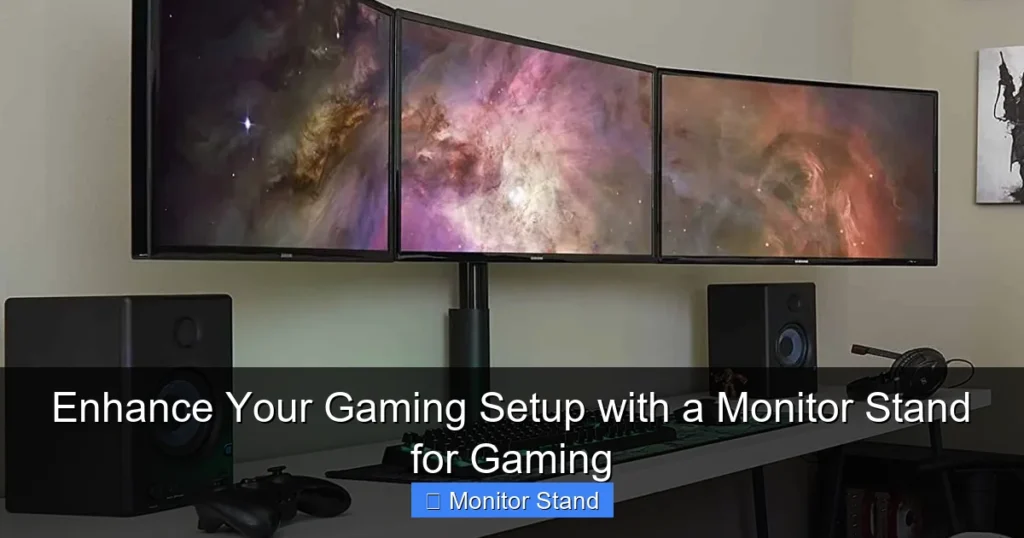
Why Your Gaming Rig Needs a Dedicated Monitor Stand
Think beyond just lifting your screen. A gaming monitor stand offers tangible benefits that affect your health, performance, and desk aesthetics.
Visual guide about Enhance Your Gaming Setup with a Monitor Stand for Gaming
Image source: storage-asset.msi.com
Win the Ergonomics Game
Most monitor bases sit too low. This forces you to look down. Over hours, this strains your neck and shoulders. A good stand lets you position the top third of your screen at eye level. Your spine stays neutral. You feel better and can game longer.
Reclaim Your Battlefield (Desk Space)
Monitor bases are huge. A stand replaces that bulky footprint with a single clamp or grommet mount. This frees up precious space for your keyboard, mousepad, and gear. You get wider, smoother mouse sweeps for those crucial flick shots.
Immersion and Viewing Comfort
You can pull the screen closer for a more enveloping view in racing or flight sims. Or, you can tilt it to avoid glare from lights. This adjustability reduces eye strain. It keeps you focused on the game, not on discomfort.
A Clean, Professional Look
Let’s be honest: a tidy setup looks awesome. Stands often include cable management. Wires are hidden in arms or channels. Your space looks sleek and organized, just like a pro streamer’s desk.
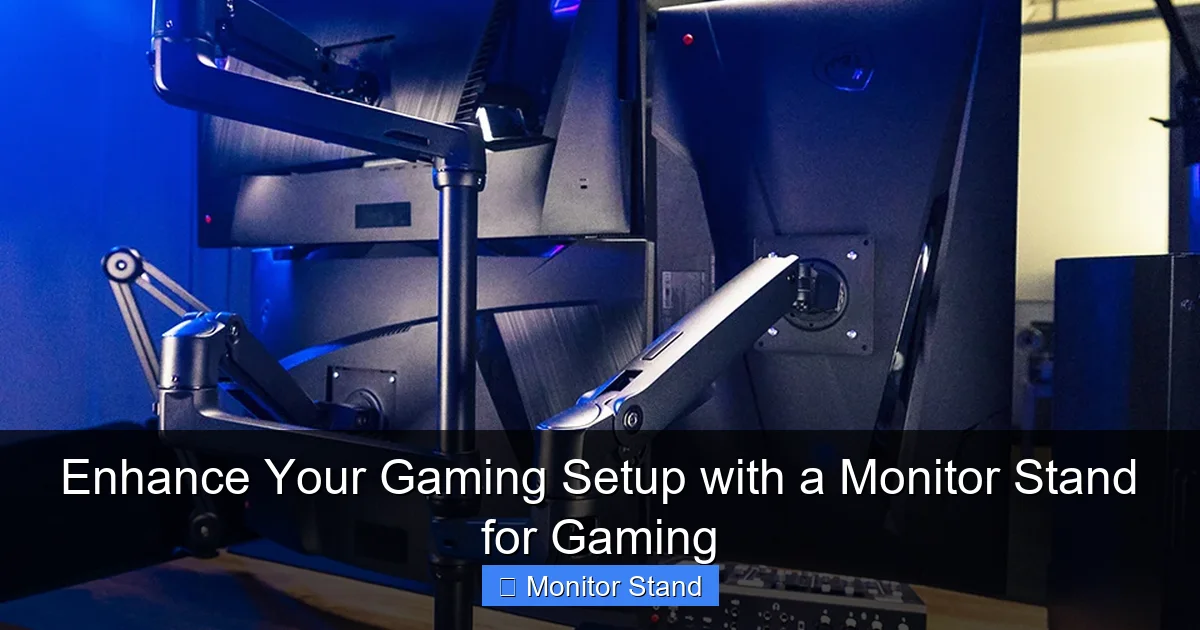
Step 1: Choosing Your Perfect Monitor Stand for Gaming
Not all stands are the same. Your choice depends on your needs, monitor, and budget. Here are the main types.
Visual guide about Enhance Your Gaming Setup with a Monitor Stand for Gaming
Image source: bigcreative.education
Fixed or Tilting Stands
These are simple risers or stands with basic tilt. They are affordable and stable. They lift your monitor but offer little adjustment. Choose this if you are on a tight budget and know your ideal height.
Height-Adjustable Stands (Manual)
These let you crank or slide the monitor up and down. They offer great ergonomic flexibility. You can share the desk or switch between sitting and standing. They are a fantastic middle-ground option.
Gas Spring Monitor Arms (Premium)
These are the elite choice. Gas springs make the monitor weightless. You can move it with one finger. Adjust height, tilt, swivel, and even rotate to portrait mode. Perfect for multi-monitor setups or maximum flexibility. They are the ultimate monitor stand for gaming.
Key Features to Check Before You Buy
Keep this checklist in mind when shopping:
- VESA Compatibility: This is non-negotiable. Check your monitor’s back for four screw holes in a square pattern. Common sizes are 75x75mm and 100x100mm. Your stand must match.
- Weight Capacity: Every stand has a max weight limit. You must know your monitor’s weight (with all its parts). Choose a stand that can hold a bit more for safety.
- Desk Attachment: How does it mount?
- Clamp: Attaches to the back edge of your desk. Most common and secure.
- Grommet Mount: Goes through a hole in your desk (if you have one). Very stable.
- Standalone Base: Sits on your desk. Use only if your desk cannot be clamped or drilled.
- Range of Motion: Consider how much you want to adjust. Height range, tilt, swivel (side-to-side), and rotation (portrait/landscape).
- Cable Management: Look for built-in channels, clips, or hooks to route cables neatly through the arm.
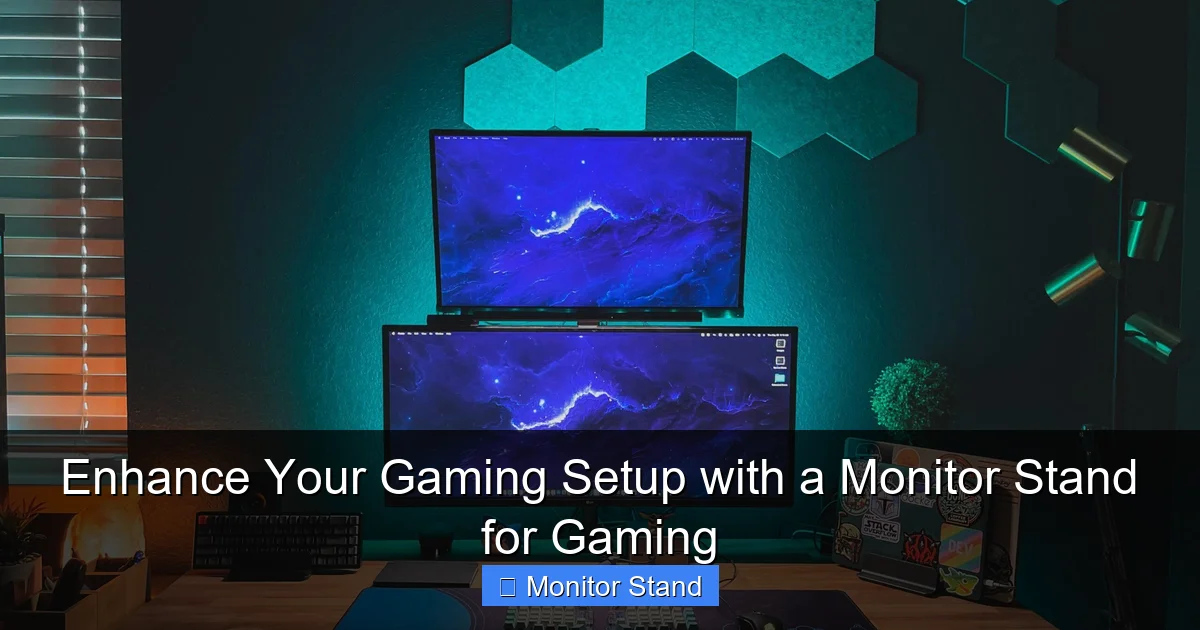
Step 2: How to Install Your Gaming Monitor Stand
Time for the fun part! Installation is straightforward. Here is a step-by-step guide.
Visual guide about Enhance Your Gaming Setup with a Monitor Stand for Gaming
Image source: storage-asset.msi.com
Gather Your Tools and Prep
You will usually need just the provided tools (allen keys). Clear your desk. Lay the stand parts on a soft surface. Read the manual! Identify all parts: the arm, mounting plates, clamp, and screws.
Attach the VESA Plate to Your Monitor
Remove your monitor’s original stand. This usually involves pressing a button or removing a few screws. Line up the stand’s VESA plate with the holes on your monitor. Secure it tightly with the provided screws. Do not overtighten.
Secure the Mount to Your Desk
Decide where you want the arm. For a clamp, position it at the rear center or side. Place a cloth or padding if your desk is delicate. Tighten the clamp firmly until it does not move. For a grommet mount, insert it through the hole and secure it with the large washer and nut underneath.
Assemble and Attach the Arm
Connect the main arm to the desk mount. Tighten all pivot points, but not fully. You will adjust tension later. Then, carefully hook the monitor (with the VESA plate attached) onto the arm. You may need a second pair of hands here for larger screens.
Step 3: Optimizing and Adjusting Your Setup
Installation is done. Now, let’s dial it in for perfect comfort.
Finding the Ideal Ergonomic Position
Sit in your normal gaming posture. Adjust the monitor so the top of the screen is at or slightly below eye level. Your eyes should look slightly downward at the center. Your neck should be straight.
Fine-Tuning Tension and Movement
On gas spring arms, you adjust tension. There is usually a knob or screw. Turn it until the monitor stays put where you place it. It should not drift down or be too hard to move.
Mastering Cable Management
Run your monitor’s power and video cables through the arm’s built-in channels. Use zip ties or velcro straps to bundle excess cable. A clean setup is a happy setup.
Troubleshooting Common Monitor Stand Issues
Ran into a problem? Let’s fix it.
- Monitor is Too Heavy / Sags: The stand’s weight capacity is too low. You must get a stand with a higher capacity. For arms, try increasing the tilt or swivel tension.
- Monitor is Wobbly or Shakes: Tighten all connection points, especially the desk clamp. Ensure your desk is sturdy. If using a thin or glass desk, extra padding can help.
- Unable to Achieve Level Position: Some arms allow you to adjust the leveling of the VESA plate itself. Check the manual for a small screw to adjust the “roll” of the monitor.
- Cables are Visible or Pulling: You did not leave enough slack inside the arm. Loosen the cable management, give the cables more room to move, and re-secure them.
Conclusion: Game in Comfort and Style
A monitor stand for gaming is more than an accessory. It is an investment in your comfort, health, and gaming performance. You learned how to choose the right type based on your needs. You know how to install it safely. And you can now optimize it for the perfect view.
Say goodbye to clutter and neck strain. Say hello to a clean, commanding desk that puts you in the zone. Your eyes, your posture, and your K/D ratio will thank you. Now, go enjoy your upgraded battlefield!