This guide walks you through the entire process of choosing, installing, and optimizing a monitor stand with an arm to declutter your desk and improve your posture. You’ll learn how to select the right model for your monitor, follow clear installation steps, and adjust it for maximum comfort and productivity. By the end, you’ll transform a cramped desk into an efficient, ergonomic workspace.
Key Takeaways
- Unlock Valuable Desk Real Estate: A monitor arm lifts your screen off the desk base, freeing up space for notebooks, drinks, or other essentials.
- Ergonomics Are Key to Comfort: Proper height, depth, and tilt adjustment can reduce neck, shoulder, and eye strain significantly.
- Compatibility is Crucial: Always check your monitor’s VESA mount pattern and weight against the arm’s specifications before purchasing.
- Installation is a Simple DIY Project: With basic tools and careful measurement, most people can install a monitor arm in under an hour.
- Cable Management is Your Best Friend: Using the arm’s built-in channels or clips creates a clean, professional look and prevents snags.
- Fine-Tuning Makes the Difference: Small adjustments to tension and position over the first few days ensure the arm moves smoothly and stays put where you want it.
- It’s a High-Value Upgrade: A monitor arm improves both your physical well-being and your workspace’s functionality, offering a strong return on investment.
How to Maximize Desk Space Using a Monitor Stand with Arm: A Complete Guide
Is your desk a mess of wires, a monitor base, and barely any room to work? You are not alone. A cluttered desk can hurt your focus and your posture. The good news is there is a simple solution. A monitor stand with an arm can change everything. This guide will show you how. We will walk through picking the right arm, installing it step-by-step, and setting it up for perfect comfort. By the end, you will have a clean, spacious, and ergonomic workspace. Let us get started.
Step 1: Understanding the Benefits and Types
Before you buy anything, it helps to know why this is such a great idea. A monitor arm is more than just a holder. It is a tool for a better work life.
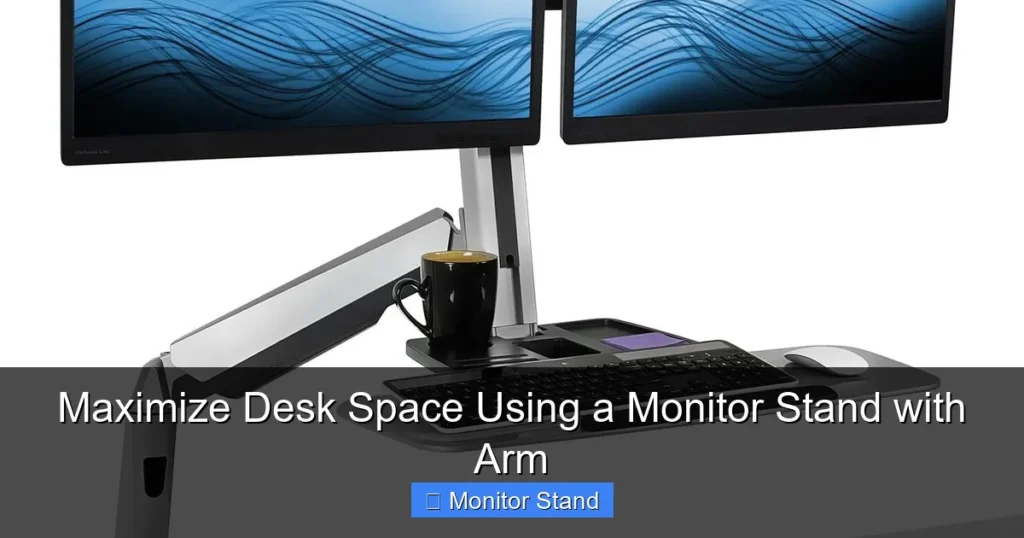
Visual guide about Maximize Desk Space Using a Monitor Stand with Arm
Image source: cdn.autonomous.ai
The Core Benefits
First, you get more desk space. The bulky stand that came with your monitor is gone. This space is now free for your keyboard, notebook, or a cup of coffee. Second, you gain full ergonomic control. You can move your screen to the perfect height, depth, and angle. This helps you sit up straight and look ahead without straining your neck. Third, it just looks clean and professional. With cables tucked away, your setup will feel modern and organized.
Types of Monitor Arms
There are a few main styles to choose from:
- Single Monitor Arm: Holds one screen. This is the most common and a great place to start.
- Dual Monitor Arm: Holds two screens on separate arms. Perfect for multitaskers who use two computers or need extended screen space.
- Articulating vs. Fixed Arms: An articulating arm has multiple joints for maximum movement. A fixed arm may only tilt and swivel. For most people, the flexibility of an articulating arm is best.
- Mounting Styles: Most clamp to the back edge of your desk. Some can also be mounted through a hole in the desk (grommet mount) or onto a wall.
Step 2: Selecting the Perfect Monitor Arm
Choosing the right model is the most important step. Get this wrong, and you could have a wobbly screen or a broken desk.
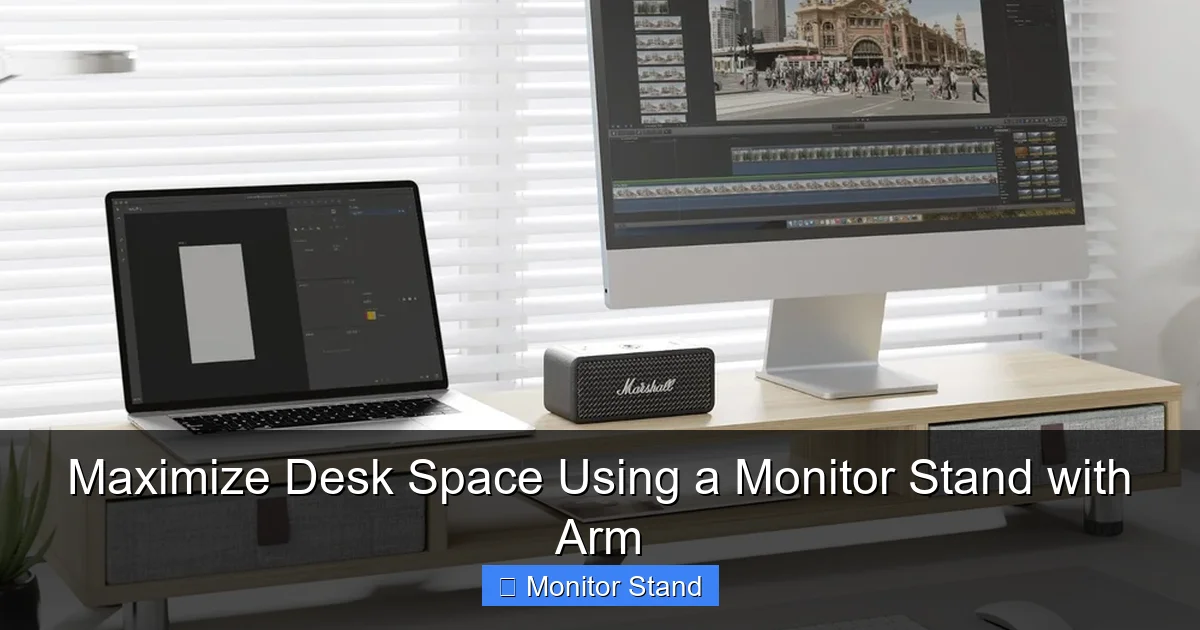
Visual guide about Maximize Desk Space Using a Monitor Stand with Arm
Image source: i.ytimg.com
Check Your Monitor’s Specs
Look at the back of your monitor. You need two key numbers.
- VESA Pattern: This is the square pattern of four screw holes. Common sizes are 75×75 mm or 100×100 mm. Your monitor arm must be compatible.
- Monitor Weight: Find your monitor’s weight without its stand, usually in the manual or online. Write this number down.
Check the Arm’s Specs
Now, look at the specs of any arm you want to buy.
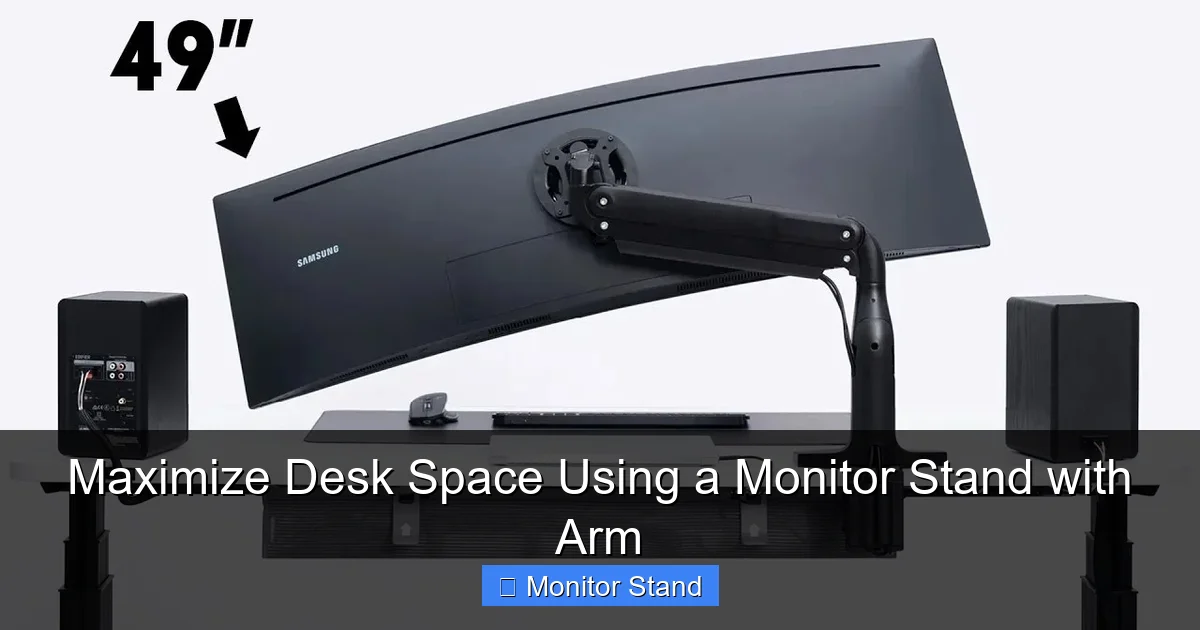
- Weight Capacity: The arm must support your monitor’s weight. Always choose an arm with a capacity higher than your monitor’s weight. This ensures stability.
- VESA Compatibility: Make sure it lists your monitor’s pattern (e.g., 75×75/100×100).
- Desk Thickness: The clamp has a maximum thickness it can grip. Measure your desk’s thickness where you plan to mount it.
Consider Your Needs
Think about how you work. Do you need to swing your monitor to share your screen with someone? Do you want to push it far back when not in use? An arm with a wide range of motion (high degrees of tilt, swivel, and extension) will serve you best.
Step 3: Gathering Tools and Preparing for Installation
Do not just open the box and start screwing. A little prep makes installation smooth.
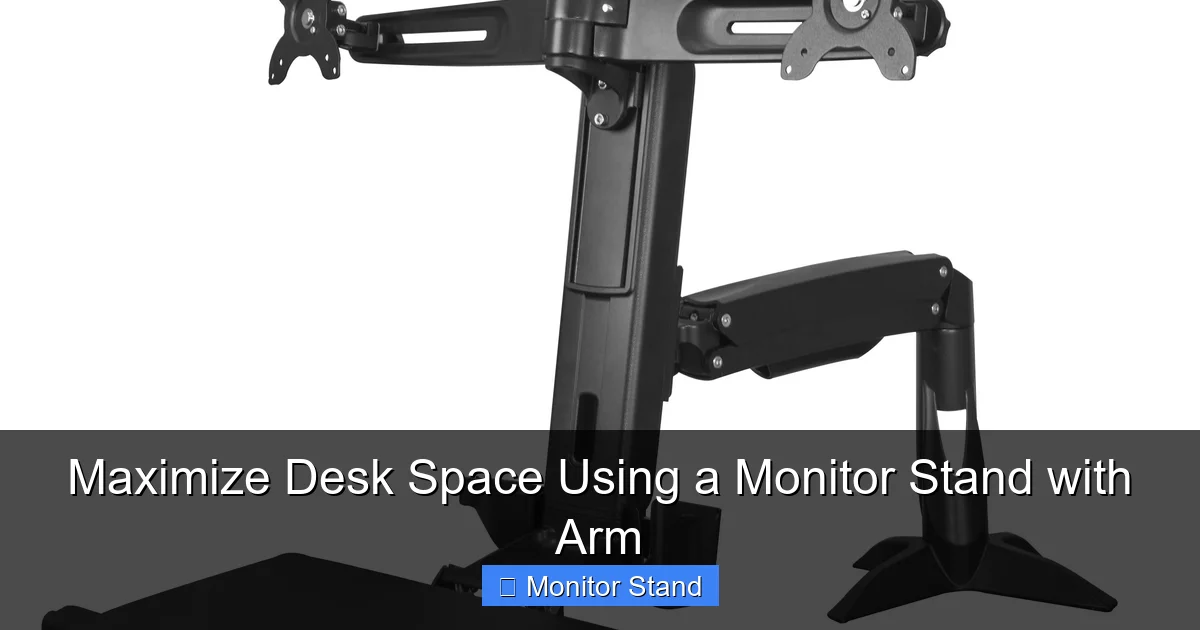
Visual guide about Maximize Desk Space Using a Monitor Stand with Arm
Image source: m.media-amazon.com
What You Will Need
Most monitor arms come with the necessary tools. But it is good to have these on hand:
- The monitor arm and all its parts.
- A screwdriver (usually a Phillips head).
- A measuring tape.
- A friend to help hold the monitor (optional but very helpful).
Clear and Clean Your Desk
Remove everything from your desk, especially near the back edge where the clamp will go. Wipe down the area. This gives you a clean workspace and prevents scratching your desk.
Plan the Position
Think about where you want the monitor to be when you are sitting normally. A good starting point is having the top of the screen at or just below eye level. The screen should be about an arm’s length away. Mark a light pencil line or just remember the spot on the wall behind your desk. This is your target.
Step 4: Step-by-Step Installation
Now for the main event. Follow these steps carefully.
Step 4.1: Assemble the Arm
Lay out all the parts. Attach the mounting plate (the part that screws into your monitor) to the end of the arm if it is not already connected. Do not tighten all the adjustment joints fully yet. Leave them a little loose so you can move the arm easily during setup.
Step 4.2: Attach the Mounting Plate to Your Monitor
Safety First: Lay your monitor face down on a soft, stable surface like a bed or a towel on a table. Find the four VESA screw holes on the back. Use the provided screws to attach the mounting plate firmly to the monitor. Do not overtighten, but make sure it is secure.
Step 4.3: Attach the Clamp to Your Desk
Decide where on the desk you want the arm. Center is common, but some prefer the side for a more angled setup. Place the clamp on the back edge of the desk. If your model has a supporting metal foot or bar that goes under the desk, position that too. Tighten the clamp screw firmly by hand with the included tool. You want it very snug so it does not move or wobble.
Step 4.4: Mount the Monitor
This is the two-person job. Have your friend hold the monitor (with the plate attached) steady. You will lift the arm and hook or slide the mounting plate into the clamp’s receiver. You should hear a click or feel it lock into place. Once it is securely connected, you can let go. Your monitor is now on the arm!
Step 5: Cable Management and Adjustment
Your monitor is up, but the job is not done. This step makes it look and work great.
Taming the Wires
Look for cable channels on the arm. Route your monitor’s power and video cables through these channels. Use the included Velcro straps or clips to bundle the cables together neatly. The goal is to have the cables run down the arm and behind the desk leg, hidden from view.
The Art of Adjustment
Now, sit in your chair. Gently move the monitor to your target position. You may need to adjust the arm’s tension. There is usually a screw or knob on the main joints. Tighten it to make the arm stiffer; loosen it to make it easier to move. Adjust it so the monitor stays firmly in place when you let go but you can still move it with a little force. Play with the tilt and swivel until the screen feels comfortable to look at.
Step 6: Troubleshooting Common Issues
Ran into a problem? Do not worry. Here are quick fixes for common issues.
- Monitor Sag or Droop: The arm cannot hold the screen up. The tension is too loose. Tighten the tension screw on the main vertical joint. If that does not work, your monitor might be too heavy for the arm. Double-check the weight limits.
- Arm is Too Stiff or Won’t Move: You have overtightened the tension. Slightly loosen the tension screws at each joint until motion is smooth but controlled.
- Wobble or Shake: When you type, the screen jiggles. First, ensure the desk clamp is extremely tight. Second, check if your desk itself is wobbly. You may need to stabilize the desk. Third, retighten all screws on the arm assembly.
- Cables are Visible or Pulling: You did not leave enough slack in the cables when you managed them. Loosen the straps, give the cables a little more length for the full range of motion, and re-secure them.
Conclusion: Enjoy Your New Workspace
Congratulations! You have successfully installed your monitor stand with an arm. Take a moment to appreciate the clean, open space on your desk. Enjoy the feeling of sitting up straight without hunching. You did more than just install a piece of hardware. You invested in your comfort, your health, and your productivity. A monitor arm is a small change that makes a huge difference. Now, with your newfound desk space, you can focus on what really matters—your work.