

Elevating your monitor with the right stand is a game-changer for comfort and desk space. This guide walks you through everything from assessing your needs and comparing stand types (fixed, gas spring, wall-mounted) to proper installation and ergonomic adjustment. You’ll finish with a perfectly organized, healthier, and more efficient workstation.
Key Takeaways
- Ergonomics is Essential: Proper monitor height and positioning prevent neck and back strain, boosting long-term comfort and productivity.
- Assess Before You Buy: Check your monitor’s VESA pattern and weight, then evaluate your desk space and cable management needs to find a compatible stand.
- Match the Stand to Your Task: Fixed arms offer stability, gas spring arms provide maximum flexibility, and wall mounts save crucial desk space.
- Installation is Straightforward: Most stands require simple tools and careful steps: attach the clamp or grommet, secure the mounting plate, and connect your monitor.
- Cable Management is a Must: Use built-in channels and clips to route cables neatly, which is crucial for safety and a clean aesthetic.
- Fine-Tune Your Position: The ideal setup has the top of the screen at or just below eye level, about an arm’s length away, with slight negative tilt.
- Future-Proof Your Choice: Consider stands with high weight capacities and multiple VESA patterns to accommodate future monitor upgrades.
Discover the Best Monitor Stand for Desk Setup Perfection
Is your monitor sitting right on your desk? Your neck and your space might be suffering. A great monitor stand can change everything. It lifts your screen to a healthy height. It frees up valuable desk real estate. It can even make your whole setup look sleek and professional.
But with so many options, how do you choose? Don’t worry. This guide is your complete roadmap. We will walk you through every step. You will learn how to pick the perfect stand. You will learn how to install it like a pro. Let’s build your dream desk setup together.
Step 1: Understand Why a Monitor Stand is a Must-Have
First, let’s talk about the “why.” A monitor stand is not just a fancy accessory. It’s a tool for better health and better work.
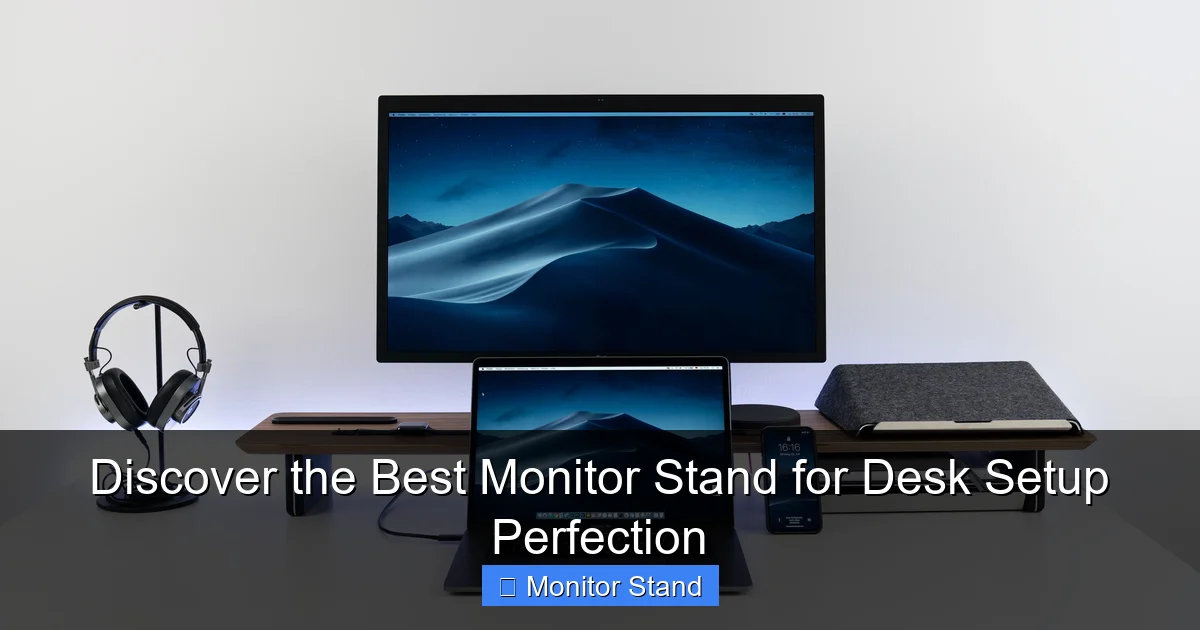
Visual guide about Discover the Best Monitor Stand for Desk Setup Perfection
Image source: cdn.mos.cms.futurecdn.net
The Ergonomic Advantage
Staring down at a low screen strains your neck and shoulders. Over time, this can cause real pain. A monitor stand lifts your screen to eye level. This promotes a neutral posture. Your spine stays straight. Your eyes look forward. You feel better and can focus longer.
Reclaim Your Desk Space
Look at the space under your monitor. It’s probably a no-man’s-land of cables and clutter. A stand lifts the monitor up. This clears the deck. Now you have room for notebooks, your phone, or even a small plant. A tidy desk leads to a tidy mind.
Improved Cable Management
Most good stands have built-in cable channels. You can route all those messy wires neatly. This looks cleaner. It also prevents tripping hazards and keeps cables from getting yanked out.
Flexibility and Movement
Many stands let you tilt, swivel, and adjust your monitor. Need to share your screen with a colleague? Just swivel it. Sunlight causing glare? Tilt it slightly. This flexibility reduces eye strain and adapts to your needs.
Step 2: Assess Your Current Setup and Needs
Before you shop, play detective. Examine your own gear and workspace. This will point you to the right stand.
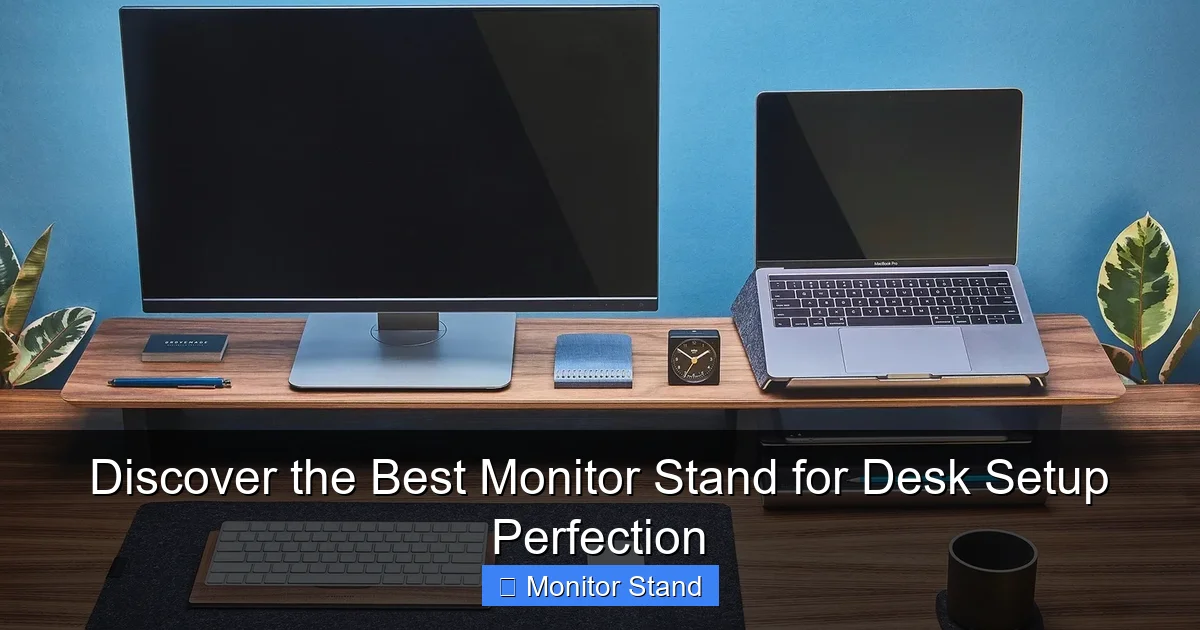
Visual guide about Discover the Best Monitor Stand for Desk Setup Perfection
Image source: rollingstone.com
Check Your Monitor’s Specs
This is the most important step. Find two numbers:
- VESA Mount Pattern: Turn your monitor around. Look for four screw holes in a square or rectangle on the back. This is the VESA mount. Measure the distance between the holes (in millimeters), horizontally and vertically. Common sizes are 75x75mm and 100x100mm.
- Monitor Weight: Check your monitor’s manual or the manufacturer’s website. Find its weight, usually in pounds or kilograms. Your stand must support this weight.
Evaluate Your Desk
Look at your desk material. Is it solid wood, glass, or a thin particle board? This matters for clamping stands. Also, check the desk thickness. Most clamps work on desks up to 3 inches thick. Does your desk have a grommet hole (a round cable hole)? This gives you another mounting option.
Define Your Primary Use
What do you do all day?
- Office Work: You might value height adjustment and a slight tilt for document viewing.
- Gaming: You may want ultra-stable stands with quick adjustments for different viewing angles.
- Creative/Design Work: Precision color work often needs stable, fixed-height stands or arms with fine-tuned tilt.
- Multi-Monitor Setup: You’ll need arms designed for two or more screens, with strong weight capacity.
Step 3: Compare the Different Types of Monitor Stands
Now, let’s explore the main categories. Each has its own superpower.

Visual guide about Discover the Best Monitor Stand for Desk Setup Perfection
Image source: i.etsystatic.com
Fixed Monitor Stands (Monitor Risers)
These are simple platforms. They lift your monitor to a set height. They are very stable and affordable. Some have drawers or shelves for storage. They are perfect if you just need lift and storage, not movement.
Gas Spring Monitor Arms
These are the kings of flexibility. A gas spring inside the arm makes your monitor feel weightless. You can move it up, down, forward, back, tilt, and swivel with just a finger. They are ideal for active users who constantly adjust their screen. They also provide a very modern, floating look.
Single and Dual Monitor Arms
These are mechanical arms, often without a gas spring. They use friction or mechanical tension to hold position. They offer great adjustability at a lower cost than gas spring arms. Dual arms are perfect for a clean two-screen setup.
Wall and Pole Mounts
These mounts attach to your wall or a pole behind the desk. They save every bit of desk space. They are incredibly stable. The trade-off is less flexibility. Once installed, they are harder to move. Make sure your wall can support the weight.
Step 4: Choose the Right Features for You
Beyond the type, look for these features. They make a big difference.
Adjustability Range
How high can it go? How low can it go? Check the product specs for the “height adjustment range.” Make sure it can lift your monitor to your ideal eye level. For arms, check the reach. Can it bring the monitor close enough to you?
Cable Management System
Look for arms with built-in channels or clips. Some have clever hooks or sleeves that hide cables inside the arm itself. Good cable management is non-negotiable for a clean setup.
Clamp vs. Grommet Mount
Most desk stands use a C-clamp that tightens under the desk edge. It’s secure. If your desk is weak or has a lip, you can use a grommet mount. This base goes through the pre-cut cable hole in your desk. It distributes weight more evenly.
Weight Capacity and VISA Compatibility
Always choose a stand with a weight capacity higher than your monitor. A good rule is to add 2-3 pounds as a safety buffer. Also, ensure it lists your monitor’s VESA pattern (e.g., 100x100mm) as compatible.
Build Quality and Materials
Look for stands made of aluminum or heavy-duty steel. They feel solid and last longer. Plastic parts, especially in joints, can wear out and cause sagging over time.
Step 5: How to Install Your New Monitor Stand
You’ve got your stand! Time to set it up. The process is similar for most models.
Gather Your Tools
You usually only need the tools provided: an Allen key (hex key) and sometimes a screwdriver. Have a clean cloth handy to protect your monitor screen.
Step 1: Attach the Mounting Plate to Your Monitor
Lay your monitor face down on a soft, protected surface (like the box foam or a towel). Take the VESA plate from your stand. Use the provided screws to attach it to the four holes on the back of your monitor. Don’t overtighten!
Step 2: Secure the Stand to Your Desk
For a clamp mount: Loosen the clamp. Position it on the edge of your desk where you want it. Often, you’ll place a protective pad on the desk surface first. Tighten the clamp firmly by hand with the provided knob or screw. Do not use excessive force.
For a grommet mount: Insert the mounting pole through the hole in your desk. From underneath, attach the large securing plate and tighten the bolt.
Step 3: Attach the Monitor to the Stand
This varies. For arms, you often slide the monitor’s mounting plate onto the arm’s head until it clicks, then secure it with a safety screw. For risers, you might just place the monitor on top.
Step 4: Route Your Cables
Before you tighten everything, thread your monitor’s power and video cables through the arm’s cable channels. Start from the monitor end and work down to the base. Use the clips or ties to secure them. This is the secret to a pro-looking install.
Step 6: Achieve the Perfect Ergonomic Position
Your stand is up. Now, let’s dial in the perfect posture.
The Ideal Monitor Height
Sit comfortably in your chair. Look straight ahead. The top of your monitor screen should be at or slightly below your eye level. Your gaze should fall on the top third of the screen. This allows your eyes to scan downward naturally.
The Perfect Distance and Angle
Your monitor should be about an arm’s length away from you. You should be able to touch the screen with your fingertips. Tilt the screen back slightly (about 10-20 degrees). This is called a negative tilt. It helps reduce glare from overhead lights.
Fine-Tuning for Comfort
If you wear bifocals or progressive lenses, you might need to lower the monitor a bit more. The goal is to keep your head level and your shoulders relaxed. Make small adjustments over a few days until it feels effortless.
Troubleshooting Common Issues
Ran into a snag? Here are quick fixes.
Monitor Sag or Droop
If your monitor arm won’t stay up, it needs more tension. Look for a tension adjustment knob, usually where the arm bends. Tighten it clockwise with the Allen key while supporting the monitor. Test and repeat until it holds.
Desk Clamp Feels Unstable
Ensure the clamp is centered on a solid part of the desk, not on a weak overhang. The protective pad should be clean and flat. If your desk is very thin, you may need to place a small block of wood between the clamp and the underside of the desk for better distribution.
Cables Are Visible or Snagging
You probably missed a cable channel. Take a moment to reroute them, using every clip provided. For extra clean-up, use velcro cable ties to bundle loose cables near the base.
Monitor Won’t Tilt or Swivel Smoothly
Check for separate tension knobs for tilt and swivel. They are often on the sides of the VESA plate attachment. Loosen them slightly for easier movement, then re-tighten just enough to hold position.
Conclusion: Elevate Your Workspace, Elevate Your Work
Finding the best monitor stand for your desk is a simple upgrade with profound benefits. You’ve learned to assess your gear, choose the right type, and prioritize key features like ergonomics and cable management. Installation is a straightforward process that pays off in a cleaner, more professional workspace.
By taking the time to adjust your monitor to the perfect height and angle, you are investing in your long-term comfort and health. A great monitor stand turns a basic desk into a command center designed for success. Stop hunching over. Start looking forward. Your neck, your eyes, and your productivity will thank you. Go ahead and achieve desk setup perfection today.