A monitor stand is a platform or arm that elevates and supports your computer screen, freeing up valuable desk space and promoting healthier posture. By raising your monitor to eye level, it helps prevent neck and back strain. Modern stands also offer features like adjustable height, tilt, and swivel, along with integrated cable management for a cleaner, more organized workstation.
Key Takeaways
- Ergonomic Essential: A monitor stand raises your screen to a proper viewing height, directly reducing strain on your neck, back, and eyes, which is crucial for long work sessions.
- Space Maximizer: It instantly creates usable space on your desk by lifting the monitor off the surface, providing room for notebooks, peripherals, or simply a cleaner aesthetic.
- Health Investment: Using a stand is a proactive measure against repetitive strain injuries and chronic pain associated with poor desk ergonomics, making it a key component of a healthy workspace.
- Adjustability is Key: Look for stands with height, tilt, and swivel adjustments to achieve the perfect viewing angle for your body, which the monitor’s built-in base rarely provides.
- Cable Control Champion: Most quality stands include built-in channels or clips to route and hide cables, dramatically reducing clutter and simplifying desk cleaning.
- Dual-Monitor Solution: For multi-screen setups, a dedicated dual-monitor arm or stand is invaluable for aligning screens perfectly and reclaiming even more desk real estate.
- Universal Compatibility: The vast majority of monitors use a standard VESA mounting pattern (75x75mm or 100x100mm), making them compatible with a wide range of stands and arms.
What is a Monitor Stand and Why You Need One Today
Do you ever finish a long day at your desk with a stiff neck, sore shoulders, or tired eyes? Is your desk so cluttered with your monitor’s bulky base that you have no room to work? The solution to these common problems is simpler than you might think. It’s called a monitor stand.
In this guide, we will walk you through everything you need to know. You will learn what a monitor stand truly is, the different types available, and the undeniable benefits it brings. We will then guide you step-by-step in choosing, setting up, and optimizing a stand for your unique workspace. Let’s dive in and unlock a more comfortable, productive, and organized way to work.
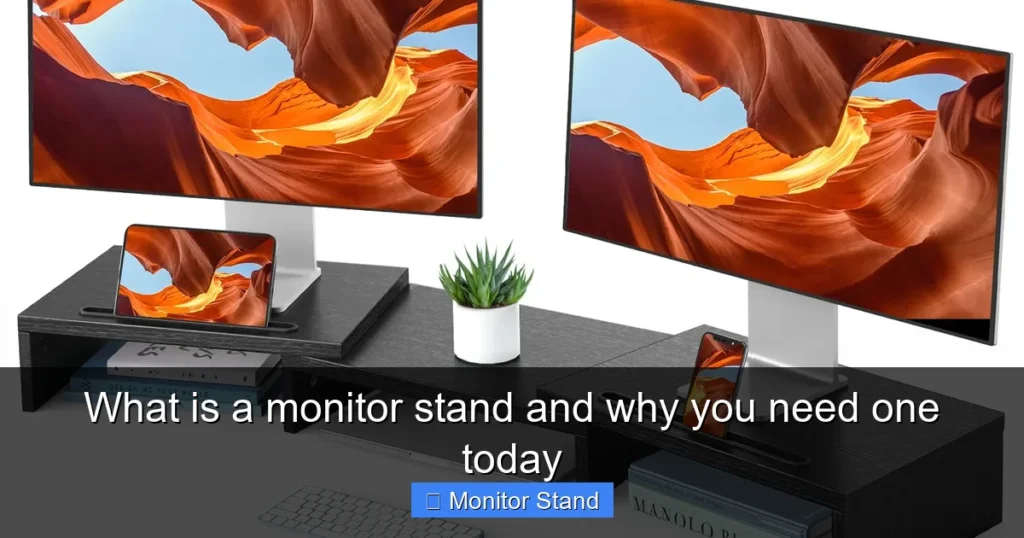
What Exactly is a Monitor Stand?
At its core, a monitor stand is a support structure that holds your computer display. It replaces the standard base that comes with your monitor. But it does so much more than just hold your screen up. Think of it as an upgrade—a tool designed to put you in control of your viewing experience.
Visual guide about What is a monitor stand and why you need one today
Image source: m.media-amazon.com
Unlike the fixed, one-size-fits-all stand from the box, a dedicated monitor stand offers flexibility. It allows you to position your screen at the exact height, angle, and distance that suits your body and your tasks. From simple risers to sophisticated articulated arms, the goal is always the same: to create a healthier and more efficient connection between you and your digital world.
The Two Main Types of Monitor Stands
1. Monitor Risers or Platform Stands: These are the simplest form. They are static platforms, often with a shelf or drawer underneath, that you place directly on your desk. You then set your monitor (on its original base) on top of the riser. They provide fixed height lift and are excellent for creating storage space.
2. Monitor Arms and Mounts: These are more advanced. They typically clamp or grommet-mount to the edge or surface of your desk. They use one or more articulated arms to hold the monitor, often with a VESA plate that attaches directly to the back of your screen, removing its original base entirely. This type offers full adjustability—height, tilt, swivel, and sometimes even rotation into portrait mode.
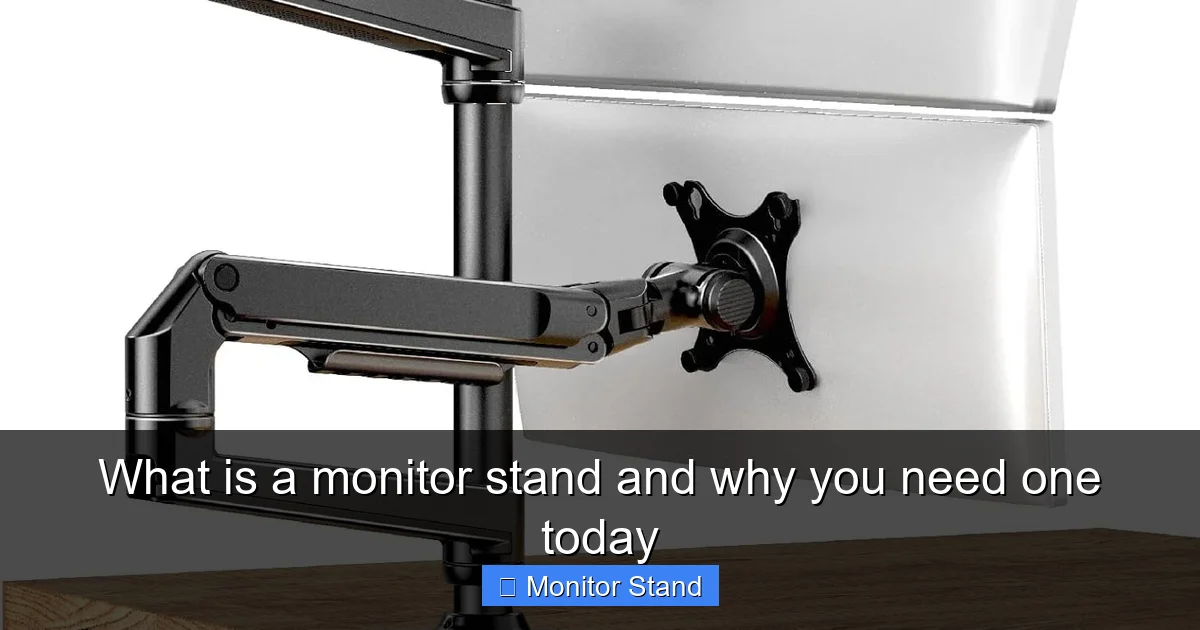
Why You Absolutely Need a Monitor Stand: The Top Benefits
You might think your monitor’s stand is fine. But once you experience the difference, you’ll never go back. Here’s why a monitor stand is a must-have upgrade for anyone who spends hours at a computer.
Visual guide about What is a monitor stand and why you need one today
Image source: m.media-amazon.com
1. Ergonomic Health is Non-Negotiable
This is the biggest reason. Proper ergonomics state that the top of your screen should be at or slightly below eye level. When you look straight ahead, your gaze should land on the address bar of your web browser. Most stock monitor stands place the screen far too low, forcing you to crane your neck downward.
A monitor stand lifts the screen to this optimal position. It aligns your spine, relaxes your neck muscles, and reduces the risk of long-term injuries like tech neck. It also helps position the screen at a better distance to reduce eye strain. Your body will thank you every single day.
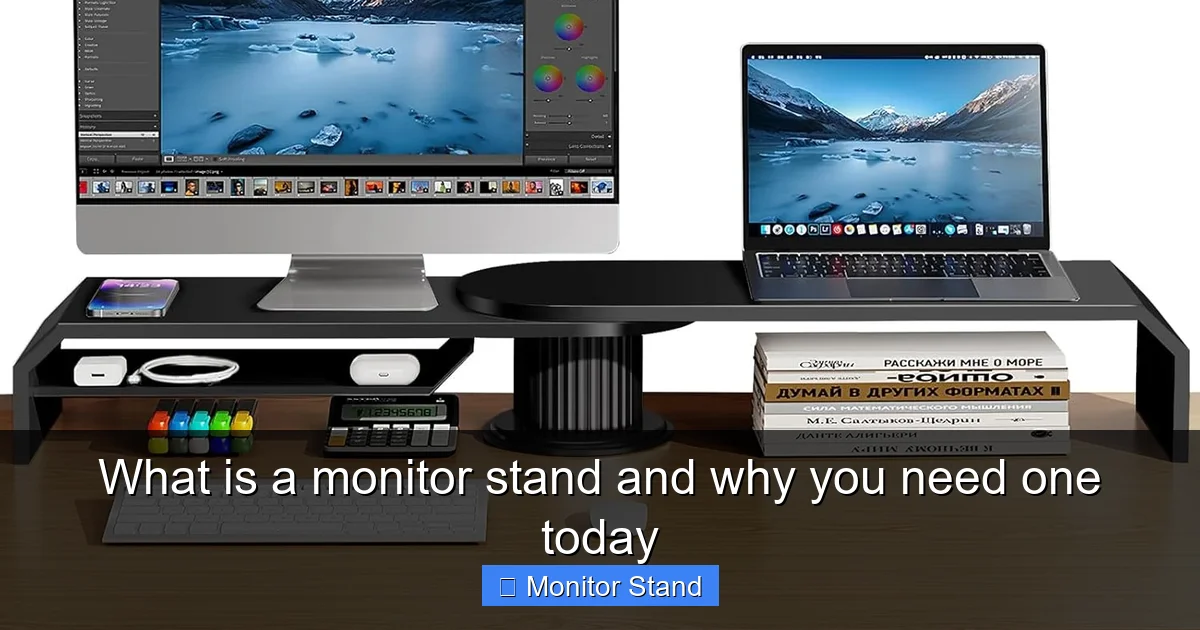
2. Reclaim Your Precious Desk Space
Look at your desk right now. How much room does that wide, bulky monitor base consume? A monitor stand, especially an arm that clamps to the back edge, eliminates that footprint entirely. The space under and around your monitor becomes free. You can finally fit that notebook, coffee mug, or desk organizer without feeling cramped. A clear desk leads to a clear mind.
3. Tame the Cable Chaos
Messy cables are more than an eyesore; they trap dust and make it hard to clean or reorganize. Quality monitor stands come with built-in cable management. This includes channels in the arms or clips that gather the power, video, and USB cables from your monitor into a single, neat bundle. It creates a professional, minimalist look in seconds.
4. Unlock Full Adjustability
Need to share your screen with a colleague? Simply swivel it. Feeling a glare from the window? Tilt the screen slightly. Want to sit up straight after lunch? Raise the height. A good monitor arm gives you this freedom instantly. This dynamic adjustability is impossible with a standard base or even a basic riser.
5. Improve Your Workflow and Posture
For dual-monitor users, a stand is a game-changer. A dual-monitor arm allows you to position both screens side-by-side at the same perfect height. No more uneven monitors or awkward neck turning. You can create a seamless, curved viewing area that boosts productivity for coding, design, trading, or content creation. It also encourages you to move and adjust your position throughout the day, which is healthier than staying static.
Your Step-by-Step Guide to Choosing and Using a Monitor Stand
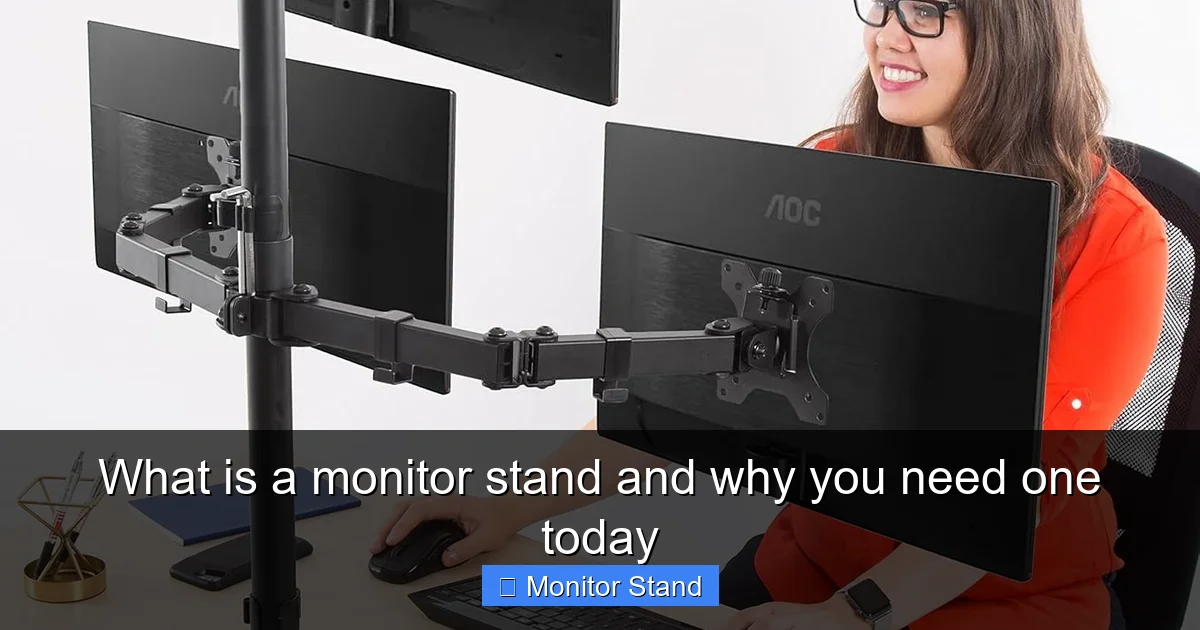
Step 1: Assess Your Needs and Setup
Before buying anything, take stock of your situation. Ask yourself these questions:
Visual guide about What is a monitor stand and why you need one today
Image source: m.media-amazon.com
- How many monitors do I use?
- What are the sizes and weights of my monitors? (Check the manual or label on the back)
- What is my desk made of (wood, glass, metal) and how thick is the lip where I might clamp?
- Do I need to frequently adjust my screen, or do I just need a fixed height lift?
- What is my budget?
Step 2: Choose the Right Type of Stand
Based on your assessment, pick a category:
- Choose a Platform Stand/Riser if: You’re on a tight budget, have a lightweight monitor, don’t need adjustability, and primarily want more desk storage or a simple lift.
- Choose a Monitor Arm if: You value full ergonomic adjustability, have a medium to heavy monitor, want to free up maximum desk space, and are willing to install it.
- Choose a Dual Monitor Arm if: You use two screens and want them perfectly aligned and easily adjustable as a pair.
Step 3: Check Critical Specifications
Do not skip this! The most important specs are:
- VESA Compatibility: Your monitor must have a VESA mount pattern on the back (four screw holes in a square). Measure the pattern in millimeters (e.g., 75×75 or 100×100). Ensure the stand supports it.
- Weight Capacity: The stand’s max weight rating must be higher than your monitor’s weight. Always add a safety margin.
- Desk Clamp or Grommet: Ensure the mounting mechanism fits your desk. For glass desks, you often need a special clamp or a through-bolt grommet mount to distribute pressure safely.
Step 4: Installation and Setup
Follow the manufacturer’s instructions closely. Here is a general process for a monitor arm:
1. Prepare Your Desk and Monitor: Clear the area. Lay the monitor face down on a soft, clean surface (like a towel). Remove the original base by unscrewing it.
2. Attach the VESA Plate: Screw the mounting plate that comes with the stand onto the back of your monitor using the provided screws. Ensure it’s tight and secure.
3. Mount the Arm to the Desk: Position the clamp on the edge of your desk, often at the center back. Tighten the clamp mechanism firmly. For grommet mounts, place it through a pre-drilled hole in your desk and secure it from underneath.
4. Hang the Monitor and Route Cables: Carefully hook the monitor (with the attached plate) onto the arm. You will hear a click or can secure it with a safety screw. Before tightening all the arm joints, route your cables through the built-in channels.
5. Adjust to Your Perfect Position: Sit in your chair. Loosen the tension knobs on the arm (usually one for height and one for tilt). Gently move the monitor so the top of the screen is at eye level, about an arm’s length away. Tighten the knobs just enough so the monitor stays in place but can still be moved with a little force.
Tips for Maximum Comfort and Efficiency
- The 20-20-20 Rule: Every 20 minutes, look at something 20 feet away for 20 seconds. Your newly positioned monitor makes this easier.
- Dynamic Movement: Use the adjustability! Change your screen’s position slightly throughout the day to avoid static posture.
- Lighting Matters: Position your monitor to avoid direct glare from lights or windows. The ability to tilt your screen is perfect for this.
- Keep it Clean: With cables managed and desk space open, wiping down your workspace takes seconds.
Troubleshooting Common Issues
Issue: Monitor sags or won’t stay in position.
Solution: The tension in the arm’s springs or gas cylinder needs adjustment. Locate the tension knob (often requiring an Allen key) and turn it clockwise to increase resistance. Refer to your manual for the specific adjustment point.
Issue: The clamp feels unstable on my desk.
Solution: Ensure you are clamping on a solid part of the desk frame, not just thin veneer. For heavier setups, consider adding a reinforcement plate (often sold separately) under the desk to distribute the weight.
Issue: My monitor doesn’t have VESA holes.
Solution: You can purchase a VESA adapter kit designed for your specific monitor model. These attach to where the original stand connected and provide the standard 75×75 or 100×100 pattern.
Conclusion: Elevate Your Workspace, Elevate Your Well-being
A monitor stand is far more than a simple accessory. It is a fundamental tool for modern digital health and efficiency. The small investment pays for itself daily in reduced discomfort, increased focus, and a workspace that feels professional and under your control.
You have learned what a monitor stand is, explored its powerful benefits, and walked through the simple steps to choose and install one. The path to a better desk is clear. Don’t settle for the strain and clutter of a standard setup. Take action today. Find the right stand for your monitor, install it, and experience the profound difference of a workspace that truly works for you.