
Properly learning how to wash goalie gloves is the best way to maintain maximum grip and durability. Regular cleaning removes dirt and sweat that break down the latex, ensuring your gloves perform at their peak for every match.
Every goalkeeper knows the feeling of a brand-new pair of gloves. The latex is sticky. The fit is snug. You feel like you can catch anything that comes your way. However, after just one match on a muddy or dusty pitch, that grip starts to fade. If you do not know how to wash goalie gloves properly, those expensive tools will quickly become useless. Dirt, sweat, and grass stains act like sandpaper on the latex. They eat away at the surface and make the palms slippery.
In this guide, you will learn the exact steps to keep your gear in top shape. We will cover everything from the initial pre-wash to the final drying stage. By the end of this article, you will be an expert on maintenance. You will save money by making your gloves last twice as long. Most importantly, you will have the confidence that comes with a reliable grip during every save.
Key Takeaways
- Consistency is Key: Wash your gloves after every use to prevent dirt from hardening and damaging the latex.
- Temperature Matters: Always use lukewarm water; hot water will ruin the delicate palm materials.
- Avoid Chemicals: Never use harsh detergents or bleach. Stick to specialized glove wash or very mild soap.
- Gentle Cleaning: Use your thumbs to rub away dirt rather than using abrasive brushes.
- Air Dry Only: Never put gloves in a dryer or under direct sunlight as heat causes the latex to crack.
- Storage Habits: Store your clean, dry gloves in a cool, dark place to maintain their moisture balance.
Why Learning How to Wash Goalie Gloves is Essential
Goalie gloves are made of soft, porous latex. This material is designed to provide friction against the soccer ball. Think of the latex like a sponge. It has tiny pores that help it “grab” the surface of the ball. When you play, these pores fill up with dirt, salt from your sweat, and chemicals from the grass.
If you leave that dirt inside the pores, the latex dries out. It becomes brittle and starts to flake off. This is known as “crumbling.” Once the latex crumbles, you cannot get the grip back. Regular washing keeps those pores open and hydrated. It keeps the latex soft and supple. This is why knowing how to wash goalie gloves is the most important skill for a keeper outside of shot-stopping.
What You Will Need
Before you begin, gather your supplies. You do not need expensive equipment, but you do need the right tools.
Visual guide about How to Wash Goalie Gloves for Better Grip and Performance
Image source: img.drz.lazcdn.com
- A sink or a plastic basin.
- Lukewarm water (around 30 degrees Celsius).
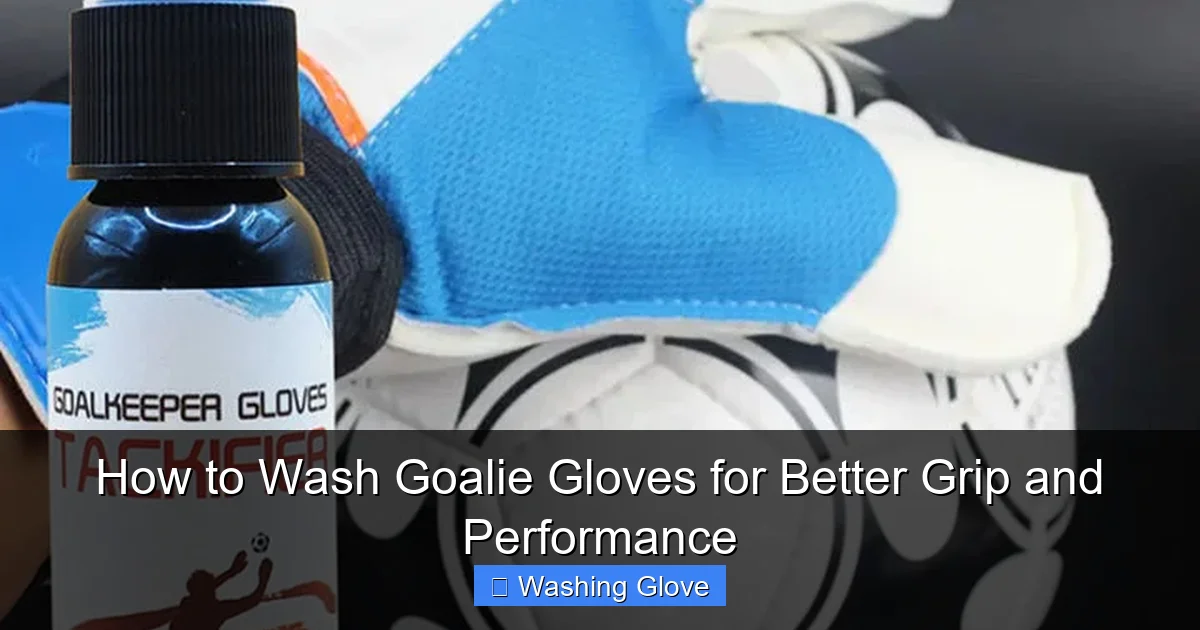
- Specialized goalie glove wash (preferred) or a very mild, perfume-free hand soap.
- A clean, dry towel.
- A clothes hanger or a drying rack.
Step 1: The Initial Rinse
The first step in how to wash goalie gloves is the rinse. You want to remove the loose dirt before you start deep cleaning. This prevents you from rubbing large pieces of grit further into the latex.
Visual guide about How to Wash Goalie Gloves for Better Grip and Performance
Image source: socceriate.com
Remove Loose Debris
Take your gloves to the sink. Turn on the lukewarm water. Do not use cold water, as it does not break down oils well. Do not use hot water, as it can melt the glue holding the gloves together. Hold the gloves under the stream. Let the water wash away any clumps of mud or blades of grass. Do this for both the palms and the backhands.
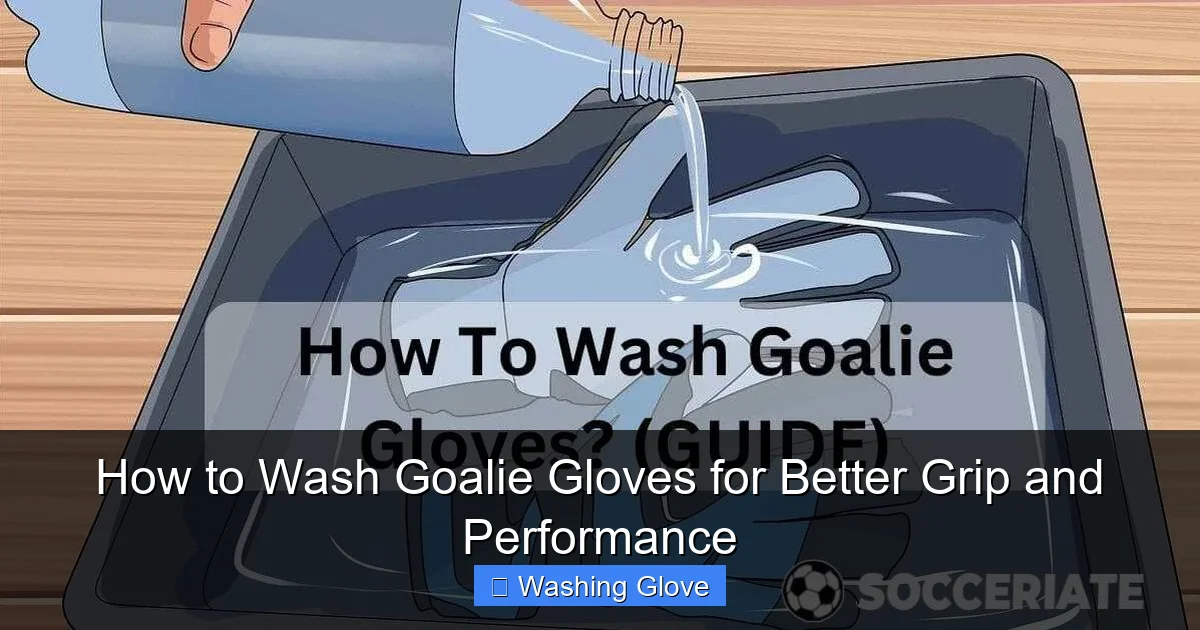
The Soaking Process
Fill your basin or sink with water. Submerge the gloves completely. Let them soak for about five to ten minutes. This softens any hardened dirt. It also allows the water to penetrate the inner lining where your sweat accumulates. Sweat contains salt, which is a major enemy of latex. Soaking ensures the salt is dissolved and ready to be washed away.
Step 2: Applying the Cleaner
Now that the gloves are wet, it is time to use your cleaning agent. This is a critical part of how to wash goalie gloves without causing damage.

Visual guide about How to Wash Goalie Gloves for Better Grip and Performance
Image source: socceriate.com
Using Specialized Glove Wash
If you have a specialized glove wash, apply a small amount directly to the palm. These cleaners are formulated to be pH-balanced for latex. They remove dirt without stripping the natural oils that keep the grip “tacky.” Rub the cleaner into the latex using gentle, circular motions with your thumbs.
Using Mild Soap
If you do not have a specific cleaner, use a very mild soap. Look for something without dyes, fragrances, or harsh chemicals. Dish soap is usually too harsh. A gentle baby shampoo or a natural hand soap is a better choice. Use only a tiny drop. Too much soap creates a buildup that can actually make the gloves more slippery if not rinsed perfectly.
Step 3: The Scrubbing Technique
When learning how to wash goalie gloves, your hands are your best tools. Never use a brush, a sponge with a rough side, or a washcloth. These are too abrasive for the soft latex.
The Thumb-to-Palm Method
Put one glove on your hand. Use the thumb of your other hand to gently rub the palm of the glove you are wearing. Focus on the areas with the most stains. These are usually the fingertips and the base of the palm. Use light pressure. You are trying to lift the dirt out of the pores, not scrape the latex off. Be patient. It might take a few minutes of rubbing to see the stains start to fade.
Cleaning the Backhand and Wrist Strap
Do not forget the back of the gloves. While the backhand does not help you catch the ball, it does absorb sweat and dirt. If the backhand is made of foam or fabric, use the same gentle rubbing motion. Clean the velcro on the wrist straps as well. Dirt in the velcro makes it lose its stickiness over time.
Step 4: Rinsing and Rinsing Again
The biggest mistake people make when figuring out how to wash goalie gloves is leaving soap behind. Soap residue is the number one cause of “slippery glove syndrome” after a wash.
Clear Water Check
Hold the gloves under the running lukewarm water again. Squeeze the gloves gently. You will see soapy bubbles coming out. Keep rinsing and squeezing until the water running off the gloves is perfectly clear. If you still see bubbles, there is still soap inside. Rinse again.
Avoid Wringing
This is very important: never wring or twist your gloves. Do not try to wring them out like a wet towel. Twisting the gloves can tear the delicate latex and ruin the stitching. Instead, place the glove between your palms and press down hard to squeeze the water out. This removes the excess liquid without damaging the structure of the glove.
Step 5: The Drying Process
If you want to know how to wash goalie gloves for better performance, you must master the drying phase. This is where most gloves are destroyed. Latex is sensitive to heat and light.
The Towel Blot
Lay a clean, dry towel on a flat surface. Place your gloves on the towel. Fold the towel over the gloves and press down firmly. This absorbs the majority of the surface water. It speeds up the drying process significantly without using heat.
Air Drying Location
Find a cool, dry place inside your home. A laundry room or a bathroom is usually a good choice. Never put your gloves on a radiator. Never use a hairdryer. Never leave them in the sun. Direct heat will make the latex crack and peel like an old orange. It will destroy the grip forever.
Proper Positioning
Hang the gloves by the wrist straps or the finger loops if they have them. You can also place them on a drying rack. Some keepers like to put a small roll of paper towels inside the glove to help it keep its shape and absorb internal moisture. Just make sure the paper towel is plain and does not have printed designs that might bleed ink into the lining.
How Long Does it Take?
Because you are not using heat, drying can take 24 to 48 hours. This is why you should not wait until the night before a big game to learn how to wash goalie gloves. Plan ahead. If you have a Saturday match, wash them on Thursday evening. This ensures they are perfectly dry and ready for action.
Washing New Gloves: The Pre-Wash
Did you know you should wash brand-new gloves before you ever use them? During the manufacturing process, companies apply a light layer of chemicals to the latex to keep it from sticking to the packaging. This layer makes the gloves look shiny but feel slippery.
When you get a new pair, follow the steps above. A gentle pre-wash removes those factory chemicals. It “activates” the latex. You will notice that after a pre-wash, the gloves feel much stickier than they did right out of the box. This is a pro secret that every serious goalkeeper should know.
Troubleshooting Common Issues
Sometimes, things go wrong. Even if you know how to wash goalie gloves, you might face some challenges. Here is how to handle them.
Stinky Gloves
If your gloves smell like old socks, it is because of bacteria buildup. This happens when gloves are left in a damp equipment bag. To fix this, use a specialized antibacterial glove spray. You can also add a tablespoon of white vinegar to your soaking water. Vinegar is a natural disinfectant and helps neutralize odors without harming the latex.
Stiff Latex
If your gloves feel stiff after drying, they have likely become too dry. You can revive them by lightly misting the palms with water before your next training session. In the future, make sure you are not drying them in a place that is too hot or has too much airflow.
The Latex is Peeling
A little bit of wear and tear is normal. However, if large chunks are falling off, you might be scrubbing too hard during the wash. Or, you might be using the palms to push yourself up off the ground during a game. Remember to be very gentle when cleaning. The latex is soft for a reason!
Pro Tips for Ongoing Maintenance
Washing is just one part of glove care. To keep that “better grip and performance,” follow these daily tips:
- Dampen Before Play: Most pro-grade latex performs best when it is slightly damp. Give your palms a quick spray of water before kickoff.
- Avoid the Bag: Never leave wet, dirty gloves in your soccer bag overnight. They will grow mold and smell terrible.
- Store Separately: When storing your gloves, do not let the palms touch each other. They can stick together and tear when you pull them apart. Put a piece of plastic wrap or the original plastic sheet between the palms.
- Spit is Not a Cleaner: Many keepers spit on their gloves for grip. While this works in a pinch, the enzymes in saliva actually break down the latex over time. Use water or a grip enhancer instead.
Conclusion
Knowing how to wash goalie gloves is a fundamental part of being a soccer player. It is not just about hygiene; it is about performance. A clean glove catches the ball better. A clean glove stays soft. A clean glove saves you money by lasting an entire season instead of just a few weeks.
Remember the golden rules: use lukewarm water, be gentle with your thumbs, never use harsh chemicals, and always air dry away from heat. If you follow these steps, your hands will be the most reliable part of your team’s defense. Treat your gloves like the professional tools they are, and they will take care of you on the pitch. Now, go get those gloves cleaned and get ready for your next clean sheet!
🎥 Related Video: How To Clean Your Goalkeeper Gloves – Goalkeeper Tips – Goalie Cloves wash – How To Wash GK Gloves
📺 OP1GK
Cleaning Gloves is important to improve the performance of the gloves as this will boost durability and grip on the gloves.