
Mastering your spin mop is the key to faster, easier, and more effective floor cleaning. This guide walks you through the complete process, from initial setup and perfect wringing to efficient mopping patterns and proper maintenance. You’ll learn professional tips to avoid streaks, tackle tough spots, and extend the life of your mop.
Key Takeaways
- Perfect the Wring: The spin function is your best tool for controlling moisture; a well-wrung mop prevents streaks and speeds up drying.
- Work in Sections: Clean your floor in manageable quadrants using a figure-eight or “S” pattern to lift dirt efficiently without just pushing it around.
- Start Clean: Always sweep or vacuum thoroughly before mopping to prevent abrasive grit from scratching your floors during the mopping process.
- Use Two Buckets: For deeply soiled floors, employ a two-bucket system—one for clean cleaning solution and one for rinsing—to keep your mop head fresh.
- Maintain Your Tool: Rinse the mop head thoroughly after each use, wash it occasionally, and let it air-dry completely to prevent mildew and odors.
- Choose the Right Solution: Use a cleaning solution appropriate for your floor type (e.g., vinyl, tile, sealed hardwood) and avoid overly soapy products that leave residue.
How to Use a Spin Mop Like a Pro for Spotless Floors
Does mopping feel like a never-ending, back-breaking chore? Are you tired of streaks and a bucket of dirty water that just seems to spread grime around? Enter the spin mop. This clever tool has changed the game for home cleaners everywhere. But simply having one isn’t enough. To truly get those gleaming, spotless floors, you need to know how to use it correctly.
This complete guide will teach you everything. We will cover unboxing your mop, the secrets to the perfect wring, pro mopping techniques, and simple maintenance. Follow these steps, and you’ll transform this simple tool into your most powerful cleaning ally. Let’s get started on the path to effortlessly clean floors.
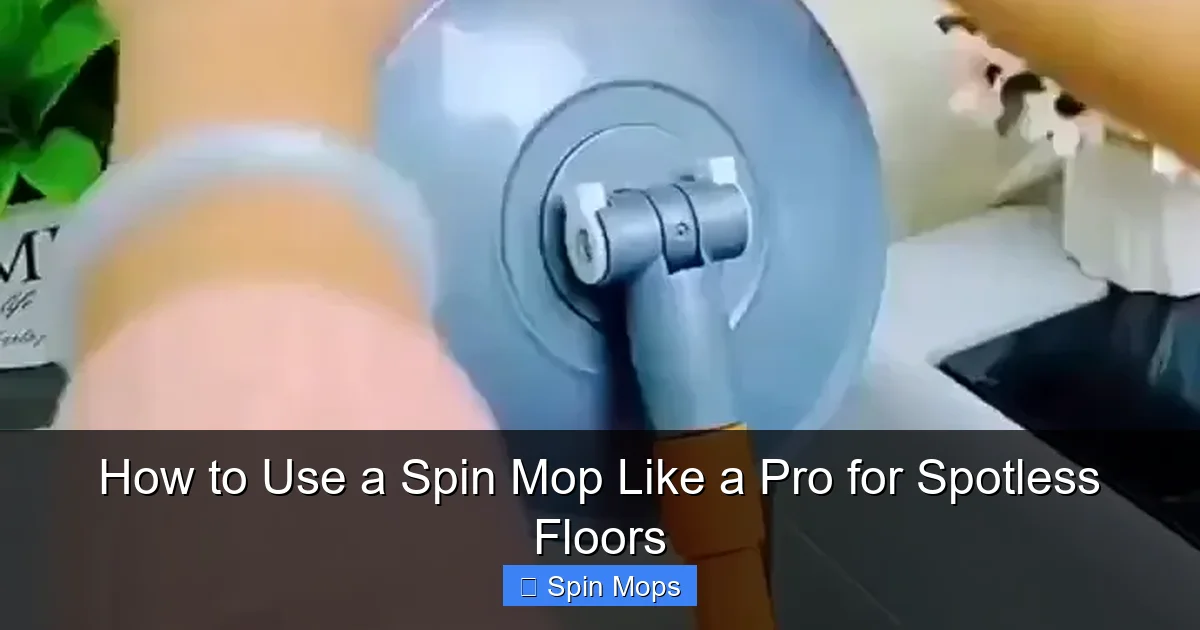
Step 1: Assemble and Prepare Your Spin Mop
First things first. You need to get your mop ready for action. Most spin mops come in a few easy-to-assemble pieces.

Visual guide about How to Use a Spin Mop Like a Pro for Spotless Floors
Image source: i1.sndcdn.com
Assembly
Typically, you’ll attach the mop handle to the bucket’s pedal mechanism or the mop head holder. It usually just clicks or screws into place. Next, take your dry mop head and press it firmly onto the mop plate. Ensure it’s secure and even. A wobbly head won’t clean well.
Pre-Mopping Prep: The Non-Negotiable Step
This is the most important tip for professional results: never mop a dirty floor. Your spin mop is designed for washing, not picking up loose debris. Always sweep or vacuum the floor thoroughly first. This removes dust, hair, and gritty dirt that could scratch your floors or just turn your mop water into mud.
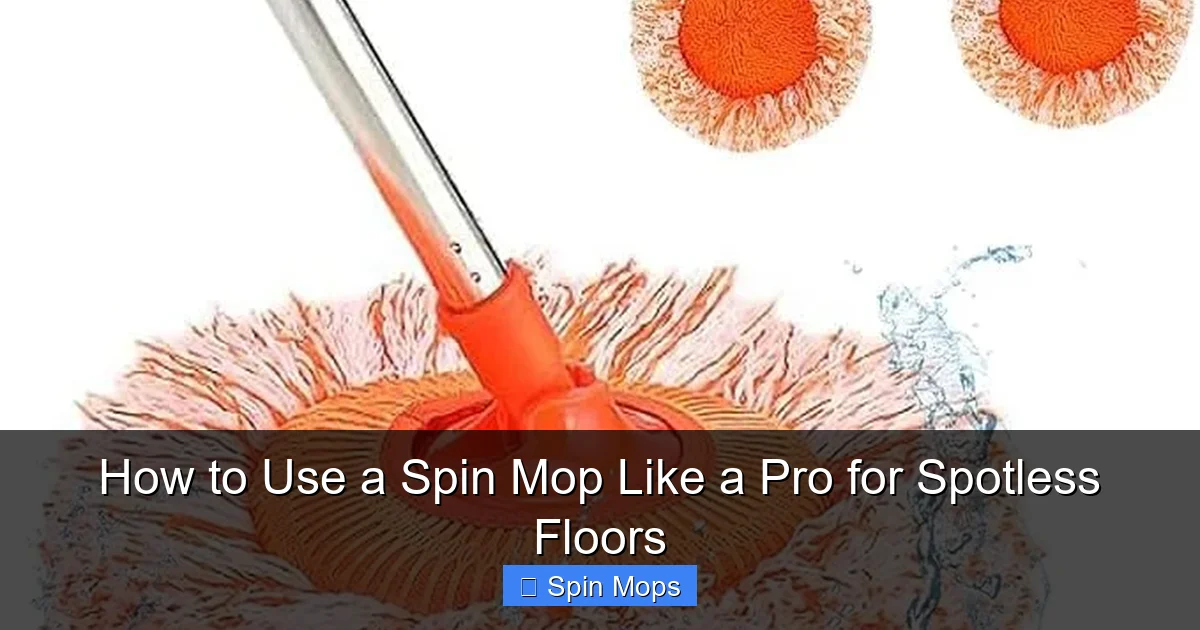
Step 2: Mix Your Cleaning Solution and Wet the Mop
Now, let’s prepare your cleaning arsenal. Fill the clean bucket with warm water. Hot water can sometimes break down finishes on some floors, so warm is generally safest.
Visual guide about How to Use a Spin Mop Like a Pro for Spotless Floors
Image source: video-play.daraz.pk
Choosing a Cleaning Solution
Check your floor manufacturer’s recommendations. For most vinyl, laminate, and tile floors, a few drops of a mild all-purpose cleaner or a dedicated floor cleaner is perfect. Avoid using too much soap. Excess soap leaves a filmy residue that attracts more dirt and causes streaks. For sealed hardwood, use a cleaner specifically made for wood.
The Initial Soak
Submerge the mop head fully in the cleaning solution. Press down on the pedal or turn the handle (depending on your model) a few times to spin the mop head in the solution. This helps the microfiber strands fully absorb the liquid and get ready to clean.
Step 3: Master the Art of the Spin
This is the core feature of your spin mop. Proper wringing is what separates an amateur from a pro.
Visual guide about How to Use a Spin Mop Like a Pro for Spotless Floors
Image source: static-01.daraz.pk
How to Wring Perfectly
Lift the mop head out of the water and place it directly into the spin basket. Press down firmly on the foot pedal or turn the handle (for geared models) several times. The goal is to get the mop head damp, not soaking wet. A dripping mop will leave too much water on the floor, leading to slow drying and streaks.
Pro Tip: The Touch Test
After spinning, give the mop head a gentle squeeze with your hand (wear gloves if you prefer). Only a few drops of water should come out. This is the ideal dampness for cleaning most floors.
Step 4: The Professional Mopping Technique
You’re prepped and ready. Now, let’s clean efficiently and effectively.
Work in Sections
Don’t try to mop the whole room at once. Mentally divide the floor into quadrants. Start in the corner farthest from the door so you can mop yourself out of the room.
Use the Right Motion
Push the mop in a loose figure-eight or “S” pattern. This motion helps lift dirt into the mop fibers instead of just pushing it around. Apply light pressure. Let the microfiber do the work. Over-pressing flattens the fibers and reduces their cleaning power.
Rinse and Spin Frequently
After cleaning a 4×4 foot area, or whenever the mop head looks dirty, return to the bucket. Rinse it in the clean water by moving it around, then spin it out again. This ensures you’re always applying clean water and solution to your floor. For very dirty floors, consider a two-bucket system: one with clean solution and one with plain water for rinsing.
Step 5: Tackling Tough Spots and Edges
Every floor has them. Here’s how to handle stubborn areas.
For Dried-On Spills or Sticky Spots
Don’t scrub frantically. Place the damp mop head directly on the spot and let it sit for 30-60 seconds. The moisture will help loosen the grime. Then, use a gentle back-and-forth motion to wipe it away.
For Baseboards and Corners
Use the edge of the mop head. Most spin mop heads are designed to splay out, allowing you to get right up to the edge. You can also use the mop on its side for tight corners.
Step 6: Final Rinse and Dry
For the ultimate shine on non-porous floors like tile or vinyl, a final clear-water rinse can make a big difference.
The Clear Water Pass
Empty, rinse, and refill your bucket with clean, warm water. Go over the floor one more time with the mop, using the same section technique but with clear water only. This removes any last traces of cleaning solution, preventing a sticky, streak-prone film.
Air Dry for Perfection
Open windows or turn on a fan to speed up drying. Avoid walking on the floor until it is completely dry to prevent new footprints.
Step 7: Clean and Store Your Spin Mop Properly
Good maintenance keeps your mop working like new and prevents foul odors.
Immediate Aftercare
After mopping, empty the bucket. Rinse the mop head thoroughly under running water until the water runs clear. Wring it out completely in the spin basket. Hang the mop head to air-dry completely, preferably in the sun which has a natural bleaching effect. Never store a damp mop head in the bucket or a closet.
Deep Cleaning the Mop Head
Every few weeks, wash the mop head in the washing machine. Use hot water with a little detergent and a cup of white vinegar. Do not use fabric softener, as it coats the microfiber and ruins its absorbency. Tumble dry low or air dry.
Troubleshooting Common Spin Mop Issues
Ran into a problem? Here are quick fixes.
My Floor is Streaky
This is usually caused by too much soap or a mop that’s too wet. Use less cleaner and spin the mop head more aggressively. Always do a clear-water rinse pass.
The Mop Head Smells Musty
This means it wasn’t dried properly. Soak it in a solution of hot water and baking soda or vinegar for 30 minutes, then wash it. Always ensure it is bone-dry before storage.
The Spin Mechanism is Hard to Press
Check for tangles. Long hair and threads can wrap around the mechanism. Also, ensure you are not overfilling the bucket with water, as the displacement can create pressure.
Conclusion
Using a spin mop like a pro isn’t about strength; it’s about technique. By following this guide—prepping your floor, mastering the spin, working in sections, and maintaining your tool—you’ll turn a mundane task into a quick and satisfying win. You’ll save time, save your back, and most importantly, enjoy truly spotless, streak-free floors that shine. Grab your spin mop and put these tips into action. Your floors will thank you.
🎥 Related Video: How to use the spin mop
📺 Go Compare Offers
One Vileda Turbo Microfibre Mop and Bucket Set with an extra 2-in-1 mop head replacement The foot pedal on this mop bucket …