A telescopic dusting pole is the ultimate tool for safe, easy, and efficient cleaning of high and hard-to-reach areas. This guide will walk you through choosing the right pole, preparing your space, mastering essential cleaning techniques, and maintaining your equipment. Transform your cleaning routine and conquer dust from floor to ceiling without the risk of a ladder.
Key Takeaways
- Master Adjustable Reach: The core benefit is its telescopic design, allowing you to clean ceilings, light fixtures, and tall windows safely from the ground.
- Versatility is Key: These poles work with various attachments like microfiber dusters, cobweb brushes, and squeegees, making them a multi-purpose cleaning tool.
- Proper Preparation Prevents Problems: Clearing the floor, checking for obstacles, and securing breakables ensures a smooth and safe cleaning process.
- Technique Trumps Force: Use gentle, sweeping motions and let the microfiber do the work. Avoid harsh scrubbing on delicate surfaces like lightbulbs or blinds.
- Regular Maintenance Extends Life: Clean attachments after use, fully dry the pole before collapsing it, and store it extended or loosely retracted to prevent seizing.
- Safety First, Always: Be mindful of ceiling fans (turn them off!), light fixtures (ensure bulbs are cool), and always maintain a stable stance while reaching.
- Investment in Efficiency: A good telescopic dusting pole saves time, reduces physical strain, and eliminates the need for risky ladder climbing for most high-dusting tasks.
Telescopic Dusting Pole: Your Key to Effortless High Cleaning
Do you dread cleaning ceiling fan blades, cobwebby corners, or dusty top shelves? Does the thought of dragging out a wobbly ladder make you put off these tasks forever? You’re not alone. High cleaning is a common chore that many people skip because it’s awkward and sometimes unsafe. But what if you could clean from floor to ceiling without ever leaving the ground? Enter the telescopic dusting pole, a simple yet revolutionary tool that makes high cleaning safe, simple, and surprisingly satisfying. This complete guide will teach you everything you need to know. You will learn how to choose the best pole, prepare your space, master professional cleaning techniques, and care for your tool. Let’s turn high cleaning from a dreaded chore into a quick and easy win.
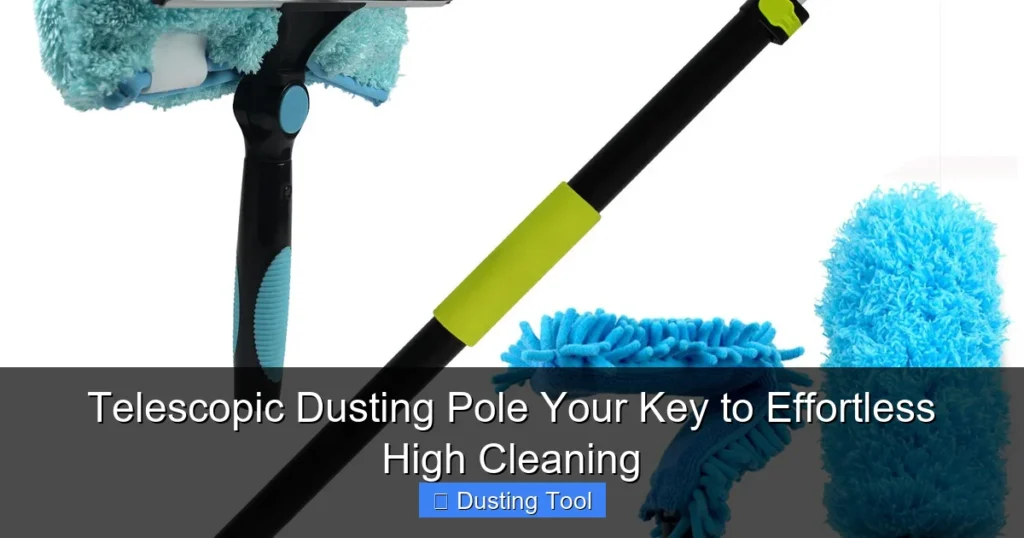
Understanding Your Telescopic Dusting Pole
Before we start cleaning, let’s get familiar with the tool. A telescopic dusting pole is not magic, but smart design. It’s typically made of lightweight, strong materials like aluminum or fiberglass. The pole has several sections that slide inside one another. A locking mechanism, often a twist-lock or push-button style, secures it at your desired length. At the end, there is a universal connector. This connector lets you attach different cleaning heads. Knowing these parts helps you use the tool correctly and safely.
Visual guide about Telescopic Dusting Pole Your Key to Effortless High Cleaning
Image source: m.media-amazon.com
The Main Components
- The Pole Sections: The hollow tubes that extend and retract. More sections often mean a greater range of length adjustment.
- The Locking Mechanism: This is crucial for safety. It holds the pole at your chosen length. Always check that it’s fully engaged before you start cleaning.
- The Universal Connector (Adapter): This is usually a threaded socket or a quick-clip mechanism at the tip of the pole. It allows you to screw or snap on various attachments.
- The Handle/Grip: The bottom section often has a comfortable, non-slip rubber grip for better control.
Choosing the Right Telescopic Dusting Pole for You
Not all poles are created equal. Picking the right one makes all the difference. Here are the key things to consider before you buy.
Visual guide about Telescopic Dusting Pole Your Key to Effortless High Cleaning
Image source: m.media-amazon.com
1. Maximum Extended Length
Think about the highest point you need to clean. Is it an 8-foot ceiling? A 12-foot vaulted area? A ceiling fan? Choose a pole that extends at least a foot taller than your highest cleaning point. This gives you comfortable working reach without straining. Most household poles range from 4 feet to 12 feet or more.
2. Material and Weight
Aluminum poles are light, affordable, and common. They are perfect for most homes. Fiberglass poles are also light and have the added benefit of being non-conductive. This is a safer choice if you’ll be working near light fixtures. Avoid very heavy poles, as you’ll be holding it overhead for periods of time.
3. Locking Mechanism
Twist-lock mechanisms are very common and secure. You simply twist the sections to lock and unlock them. Push-button locks can be faster to adjust but ensure they click solidly into place. Test the mechanism in the store if you can. It should feel sturdy and not slip under gentle pressure.
4. Attachment Compatibility
Most poles use a standard thread (like a 27mm thread) for attachments. This is great because you can buy heads from different brands. Check what attachments come in the kit. A basic kit with a microfiber duster and a cobweb brush is a great start. You can always add more later.
Step-by-Step: How to Use Your Telescopic Dusting Pole
Now for the fun part. Let’s break down the cleaning process into simple, safe steps.
Visual guide about Telescopic Dusting Pole Your Key to Effortless High Cleaning
Image source: m.media-amazon.com
Step 1: Preparation is Everything
Good preparation makes cleaning faster and protects your home.
Clear the Area: Move furniture away from where you’ll be working. If you can’t move it, cover it with a sheet. This catches falling dust and debris.
Protect the Floor: If you are cleaning very dusty surfaces (like a neglected ceiling fan), lay down an old sheet or drop cloth.
Safety Check: Ensure ceiling fans are turned OFF and completely stopped. For light fixtures, turn off the switch and let bulbs cool down if they were recently on.
Gather Your Kit: Have your telescopic dusting pole, chosen attachments, a vacuum cleaner (for later), and a damp cloth handy.
Step 2: Assembling and Adjusting the Pole
Attach Your Tool Head: Screw or clip your chosen duster, brush, or pad onto the universal connector. Make sure it’s secure.
Extend the Pole: Loosen the locking mechanism. Gently pull the inner sections upward to your desired length. For your first time, start shorter to get a feel for the weight and balance.
Lock It In Place: This is the most important step. Firmly engage the lock. Give the pole a gentle tug to confirm the sections are locked and won’t collapse.
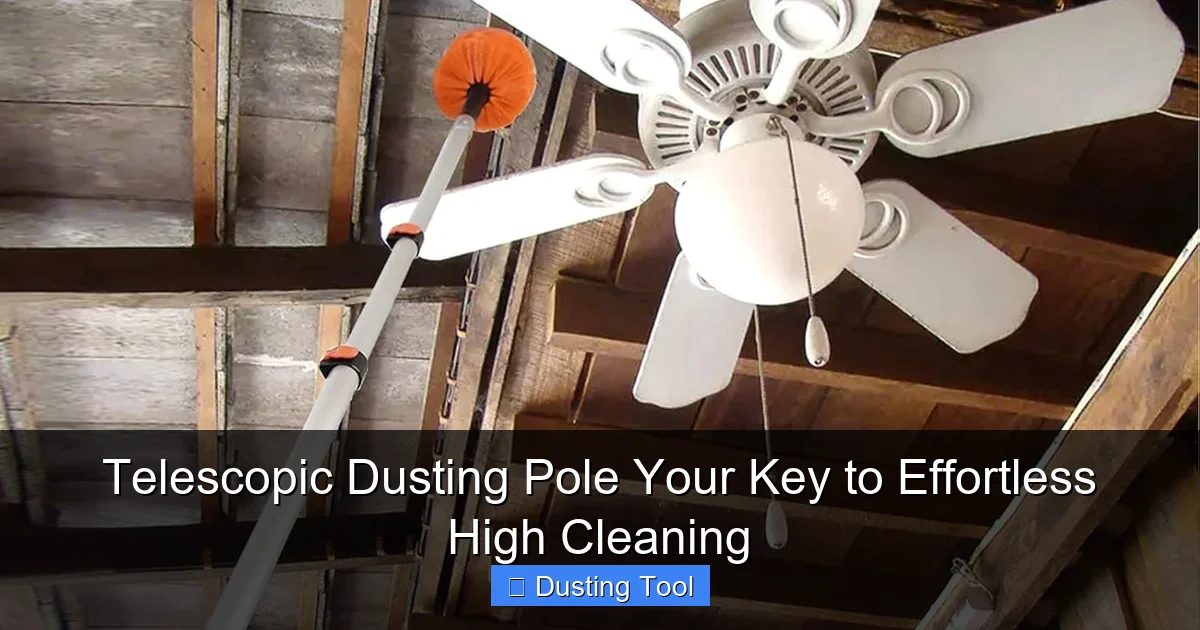
Step 3: Mastering Cleaning Techniques
Good technique gets better results with less effort.
For Flat Ceilings and Walls: Attach a flat microfiber pad or a lamb’s wool duster. Use long, slow, and gentle sweeping motions. Work in sections so you don’t miss spots. Let the microfiber attract and trap the dust—no need to press hard.
For Ceiling Fans: Use a fan blade duster or a U-shaped microfiber wrap. Place the duster on top of a blade and gently pull it toward you, trapping the dust. Rotate the fan by hand to reach each blade. Do this for both the top and bottom of each blade.
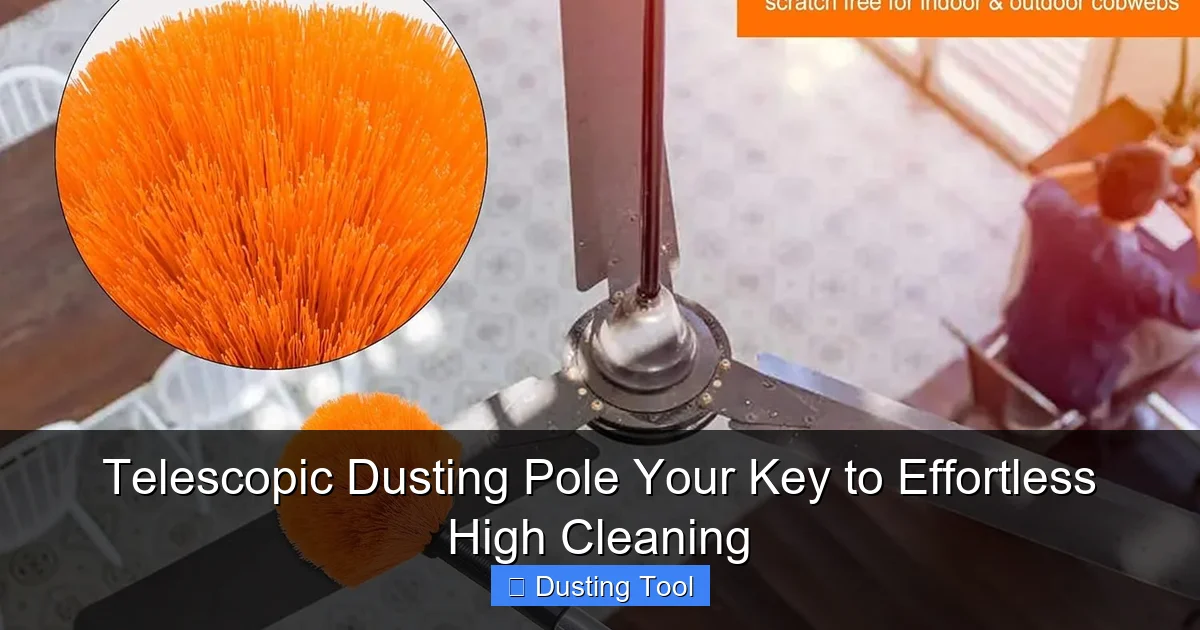
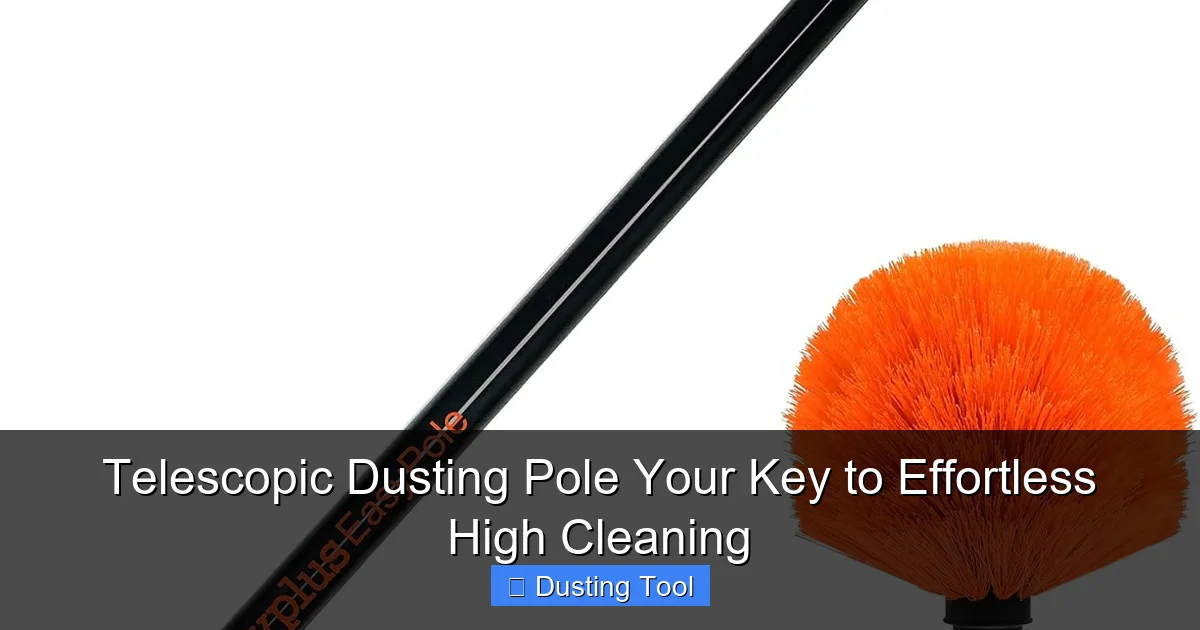
For Cobwebs and Corners: A soft bristle brush or a dedicated cobweb brush is perfect. Gently roll or twist the brush in corners and along edges where walls meet ceilings. The dust and webs will cling to the bristles.
For Blinds and Vents: A blind duster or a thin microfiber sleeve works wonders. Close the blinds and run the duster down each slat. For vents, use a brush attachment to dislodge dust from the grates.
General Tip: Always work from the highest point in the room down to the lowest. This way, any dislodged dust will fall onto areas you haven’t cleaned yet, and you can capture it later.
Step 4: Post-Cleaning and Maintenance
Taking care of your pole ensures it lasts for years.
Clean the Attachments: Shake out microfiber dusters outside or into a trash can. Most microfiber heads can be hand-washed or machine-washed (check the label). Let them air dry completely.
Clean the Pole: Wipe down the pole with a damp cloth to remove any dust or smudges.
Dry and Store: Ensure the pole and attachments are completely dry before storage. Store the pole either fully extended or only loosely retracted. Storing it tightly collapsed for long periods can make the sections difficult to separate later.
Troubleshooting Common Issues
Having a problem? Here are simple fixes.
The pole sections are stuck and won’t extend/retract: Don’t force it. Apply a small amount of silicone lubricant or household oil (like 3-in-1 oil) to the joints. Let it sit for 15 minutes, then gently twist and pull.
The locking mechanism feels loose: Some twist locks can wear. Ensure you are twisting it firmly in the correct direction. If it’s a push-button, check for debris blocking the latch.
Dust is falling everywhere, not sticking to the duster: Your microfiber pad may be saturated or old. Wash it or replace it. For very dry, caked-on dust, lightly mist the microfiber with water (never spray water onto a ceiling or light fixture!).
The pole feels too wobbly when fully extended: This is normal to a degree. Use two hands for better control—one on the grip and one further up the pole for guidance. Don’t over-extend it beyond its recommended length.
Conclusion: Reclaim Your Clean Space
A telescopic dusting pole is more than just a long handle. It’s a tool that gives you back your time, your safety, and the satisfaction of a truly clean home. By choosing the right model, preparing your space, and using the gentle techniques outlined here, you can banish high dust for good. No more ignored ceiling corners or grimy fan blades. This small investment delivers huge returns in cleanliness and peace of mind. So, extend that pole, attach your duster, and enjoy the view from below—knowing everything above is spotless.
🎥 Related Video: Double Side Magnetic Window Cleaner Brush Tool 🎯Product Link in Description & Comments!🎯
📺 MaviGadget
You can find the product on: https://mavigadget.com/products/double-side-magnetic-window-cleaner-brush-tool/?ref=4973 Find …