This guide provides a complete, step-by-step process to effectively sanitize your dusting tools, from microfiber cloths to feather dusters. You’ll learn why it’s crucial for a truly clean and healthy home, moving beyond just moving dust around. Follow our simple methods to kill germs, remove allergens, and extend the life of your cleaning supplies.
Key Takeaways
- Sanitizing is Different from Cleaning: Cleaning removes dirt, but sanitizing kills germs and pathogens that linger on your tools after use.
- Hot Water is Your First Weapon: For most fabric tools like microfiber, a wash in hot water (130°F/55°C+) with detergent is a great starting point for sanitization.
- Disinfectants Target Germs: Using a diluted bleach solution, vinegar, or rubbing alcohol is key for killing viruses and bacteria on tools, especially after cleaning sick rooms.
- Air Dry Thoroughly: Moisture breeds mold and mildew. Always allow your dusting tools to dry completely in a well-ventilated area before storing them.
- Know Your Tool’s Material: The method you use depends on whether your tool is microfiber, cotton, lambswool, synthetic, or has a wooden handle.
- Regular Maintenance Saves Money: Properly sanitizing your dusting tools extends their lifespan, saving you money on replacements and ensuring peak performance.
- Prevent Cross-Contamination: Using sanitized tools prevents you from spreading germs from one room (like a bathroom) to another (like a kitchen).
Sanitize Your Dusting Tools: A Quick Guide
Do you ever finish dusting and wonder if you actually cleaned anything? Or maybe you sneeze more after you dust? The problem might not be the dust in the air. The problem could be your tools. Dusting doesn’t just pick up dust. It picks up germs, allergens, and bacteria. If you don’t clean your tools, you’re just moving those nasties around. This guide will teach you how to sanitize dusting tools the right way. We will cover all common tools. You will learn simple methods to kill germs. Your home will be healthier. Your tools will last longer. Let’s get started!
Why Sanitizing Your Dusting Tools Matters
Think about where you dust. You wipe window sills, baseboards, ceiling fan blades, and TV screens. These surfaces collect more than just fluffy dust. They harbor pet dander, pollen, mold spores, and germs from hands and air. When you use a cloth or duster, all that gets trapped in the fibers. A quick shake outside isn’t enough. Sanitizing destroys the invisible threats. It’s the difference between a home that looks clean and a home that is truly clean and hygienic. For homes with allergies, asthma, or little kids, this step is non-negotiable.
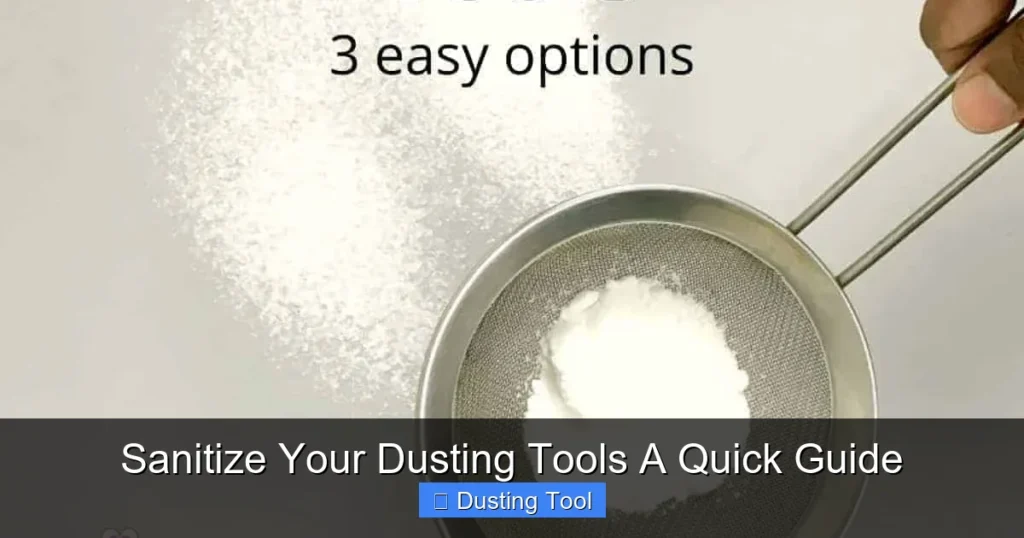
Visual guide about Sanitize Your Dusting Tools A Quick Guide
Image source: stain-removal-101.com
What You’ll Need to Get Started
You don’t need fancy equipment. Most items are already in your home.
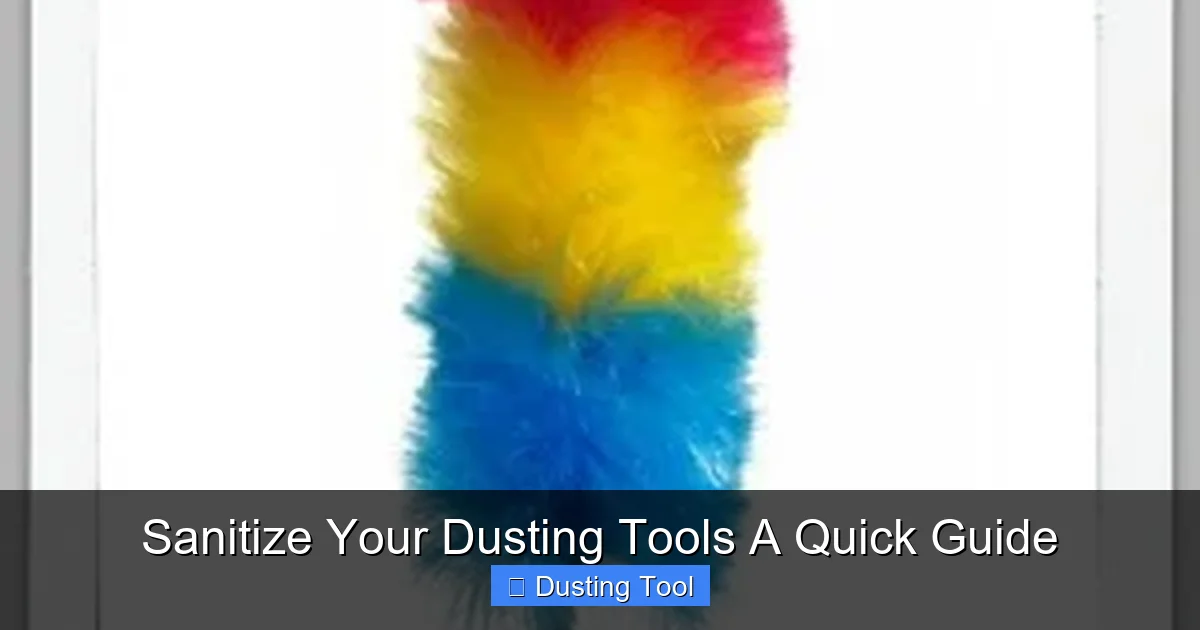
Visual guide about Sanitize Your Dusting Tools A Quick Guide
Image source: thespruce.com
- Hot Water: Your best friend for killing germs on fabrics.
- Mild Laundry Detergent: Avoid fabric softener, especially for microfiber.
- White Distilled Vinegar: A natural disinfectant and deodorizer.
- Rubbing Alcohol (70% Isopropyl): Great for quick disinfection and drying.
- Bleach: For heavy-duty disinfection (use with caution).
- Liquid Dish Soap: For cutting through greasy dust.
- Two Buckets or Basins: For the wash-and-rinse method.
- Clean, Dry Towels: For air-drying aids.
- Gloves: To protect your hands, especially when using bleach.
How to Sanitize Different Types of Dusting Tools
Not all dusting tools are made the same. The material determines the best sanitizing method.
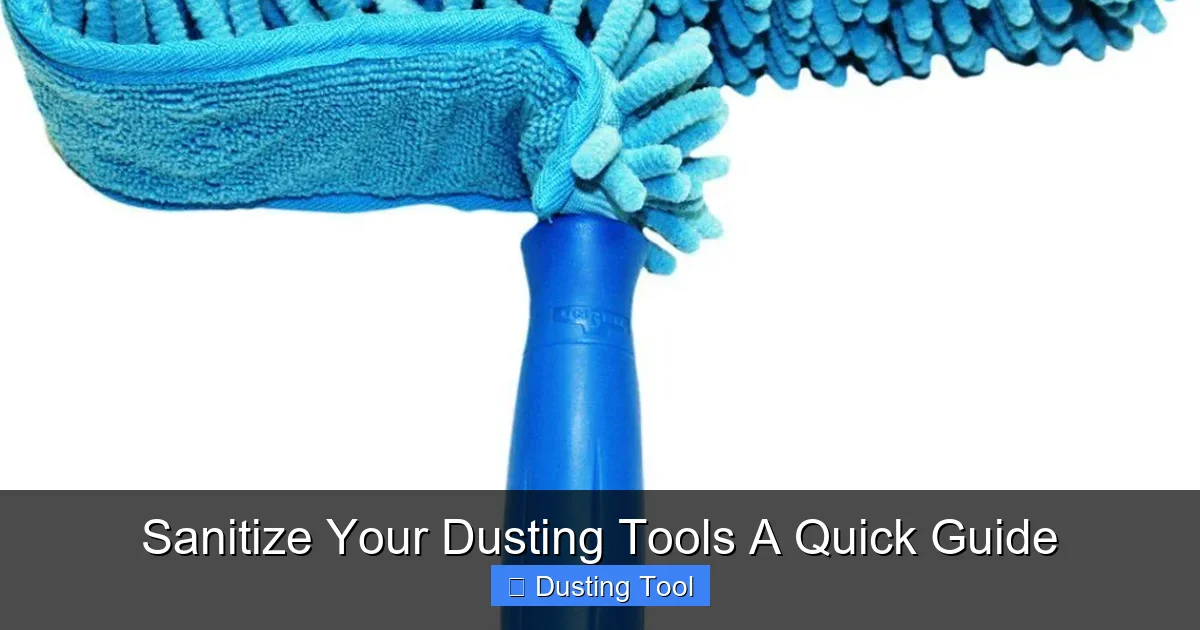
Visual guide about Sanitize Your Dusting Tools A Quick Guide
Image source: thespruce.com
1. Microfiber Cloths and Mitts
Microfiber works by trapping dust in its tiny fibers. To release the dirt and germs, you need to wash it properly.
Step-by-Step Method:
Step 1: Pre-Shake and Rinse
Take the cloth outside and give it a good shake. Rinse it under warm water to remove loose debris.
Step 2: Hot Water Wash
Wash microfiber items separately from other laundry. Use hot water (130°F/55°C or higher) and a mild detergent. Do not use fabric softener or dryer sheets! They coat the fibers and ruin their electrostatic dust-grabbing power.
Step 3: Disinfect (Optional but Recommended)
For extra sanitization, add one cup of white vinegar to the rinse cycle. Vinegar helps kill bacteria and breaks down any residual detergent.
Step 4: Dry Thoroughly
Tumble dry on low heat or air dry completely. High heat can melt the microfibers.
2. Feather Dusters and Lambswool Dusters
These delicate tools can’t be submerged in water. The goal is to disinfect without damaging the feathers or wool.
Step-by-Step Method:
Step 1: Shake Vigorously
Take the duster outside and shake it firmly to dislodge as much dust as possible.
Step 2: Alcohol Spray Disinfection
In a well-ventilated area, lightly spritz the feathers or lambswool with 70% rubbing alcohol. The alcohol will kill germs and evaporate quickly without soaking the core. Avoid getting the handle or base too wet.
Step 3: Freshen with Baking Soda
For deodorizing, place the duster head-first into a large bag with a few tablespoons of baking soda. Shake gently and let it sit for an hour before removing and giving it a final shake.
3. Synthetic (Polyester) Dusting Wands and Pads
These are often used with extendable poles and have removable pads.
Step-by-Step Method:
Step 1: Remove the Pad
Take the pad off the plastic frame or head.
Step 2: Soak in Soapy Water
Fill a basin with hot water and a squirt of dish soap. Submerge the pad and agitate it to release dirt. Let it soak for 15-20 minutes.
Step 3: Disinfecting Rinse
Rinse thoroughly with clean water. Then, dip or spray it with a disinfecting solution (1 part vinegar to 1 part water, or a dilute bleach solution*).
Step 4: Air Dry Completely
Squeeze out excess water and let it air dry fully before reattaching.
4. Dust Mops (Dry Mops)
These have large, often machine-washable heads designed to trap dust on floors.
Step-by-Step Method:
Step 1: Vacuum or Shake the Head
Remove the head and shake it outdoors or use a vacuum hose with an upholstery attachment to suck out dust.
Step 2: Machine Wash
Check the label. Most dust mop heads can be machine-washed in warm water with mild detergent. Wash separately.
Step 3: Disinfect the Handle and Frame
Wipe down the plastic or metal pole and frame with a disinfectant wipe or a cloth dampened with rubbing alcohol.
Step 4: Dry Fully Before Reassembly
Air dry the mop head or use a low-heat dryer cycle. Ensure no moisture remains to prevent mildew.
General Tips for Effective Sanitization
- Frequency is Key: Sanitize your tools at least once a month for regular use, or immediately after dusting a sick person’s room or areas with high grease (like kitchen cabinets).
- Read the Labels: Always check the manufacturer’s care instructions first.
- Never Store Tools Wet: This is the fastest way to create mold and a foul smell. Ensure every part is bone-dry.
- Have a “Clean” and “Dirty” Set: Consider having two sets of cloths. Use one set, then wash/sanitize them while you use the other set. This prevents you from ever using a dirty tool.
- Sunlight is a Helper: If possible, dry your tools in direct sunlight. UV rays have natural disinfecting properties.
Troubleshooting Common Problems
Problem: My microfiber cloth is greasy and doesn’t pick up dust anymore.
Solution: It’s likely clogged with oils or fabric softener. Soak it in a hot water solution with a few drops of Dawn dish soap for 30 minutes, then wash as usual (no detergent this time). The dish soap will cut the grease.
Problem: My feather duster smells musty.
Solution: It was probably stored damp. Place it in a bag with baking soda for 24 hours. If the smell persists, a very light spritz of a fabric refresher followed by thorough airing may help, but be cautious not to wet it.
Problem: I’m worried about using bleach on colored dusting tools.
Solution: Don’t use chlorine bleach on colors. Opt for a oxygen-based bleach (like OxiClean) or use the vinegar or rubbing alcohol methods instead. They are color-safe and effective disinfectants.
Problem: The mop head shrunk in the wash.
Solution: It was likely dried with too high heat. Unfortunately, this damage is often permanent. In the future, always air dry or use the lowest heat setting.
Conclusion: A Small Step for a Healthier Home
Learning how to sanitize dusting tools is a simple habit with a huge payoff. It takes your cleaning routine from superficial to deep and effective. You invest time in cleaning your home, so don’t let dirty tools undo all that hard work. By following the methods in this guide, you’ll eliminate allergens, destroy germs, and make your tools last much longer. Your home will feel fresher, look cleaner, and be a healthier place for everyone. Start your next cleaning day with a set of freshly sanitized tools and feel the difference!
*A note on bleach solution: To make a disinfecting bleach solution, mix 5 tablespoons (1/3 cup) of household bleach per gallon of water, or 4 teaspoons per quart. Always use in a well-ventilated area, wear gloves, and never mix bleach with ammonia or vinegar.
🎥 Related Video: How To Dust ✨The Right Way✨ #cleaning #dusting
📺 Kacie Stephens