Keeping your dusters lint-free is key for effective cleaning. This guide provides step-by-step, expert-approved methods to remove stubborn lint, from simple manual techniques to using your washing machine safely. You’ll learn how to prevent future lint buildup and extend the life of your essential dusting tools.
Key Takeaways
- Act Quickly: Removing lint is easier before it becomes matted and embedded into the duster fabric.
- Manual Methods Are Essential: Tools like lint brushes, tape, and a pumice stone provide precise control for delicate or heavily soiled dusters.
- Your Washing Machine Can Help: Using a gentle cycle with cold water and no fabric softener is a safe and effective bulk-cleaning method for many duster types.
- Air-Drying is Non-Negotiable: Never machine-dry a duster, as the heat will melt microfibers and set lint and oils permanently.
- Proper Storage Prevents Lint: Store dusters in a clean, dry place away from lint-producing items like towels to minimize future contamination.
- Know Your Duster Material: The best lint-removal method depends on whether your duster is lambswool, microfiber, cotton, or synthetic.
- Regular Maintenance Saves Money: A clean duster works better and lasts longer, saving you from frequent replacements.
Expert Tips on How to Remove Lint From Dusters Easily
Is your trusty duster leaving more fuzz behind than it picks up? Lint buildup is a common headache. It makes your duster look messy and, worse, hurts its performance. A lint-clogged duster just pushes dirt around. But don’t worry! With the right know-how, you can restore your duster to its fluffy, lint-free glory. This guide will walk you through several easy methods. You will learn manual tricks, how to use your washing machine, and smart ways to stop lint from coming back. Let’s get your duster working like new again.
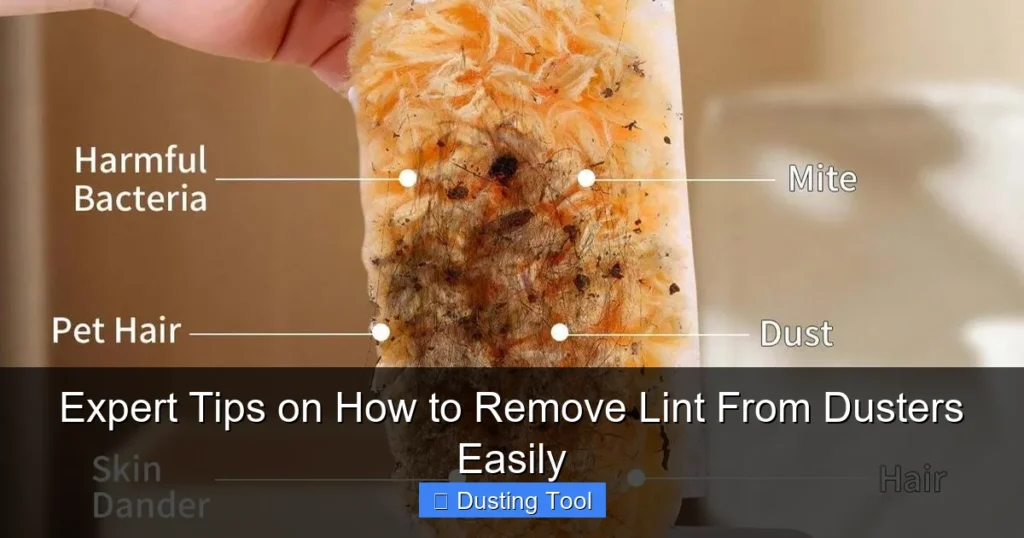
Why Does My Duster Get Linty?
Before we fix the problem, let’s understand it. Lint on your duster comes from a few places. Often, it’s a case of “like attracts like.” Your duster grabs lint from the air and surfaces. It also catches fibers from other laundry if washed together. Some new dusters shed a bit at first. And sometimes, the duster material itself can break down into lint if it’s old or washed wrong. Knowing the cause helps you pick the best fix.
Visual guide about Expert Tips on How to Remove Lint From Dusters Easily
Image source: i.zoomtventertainment.com
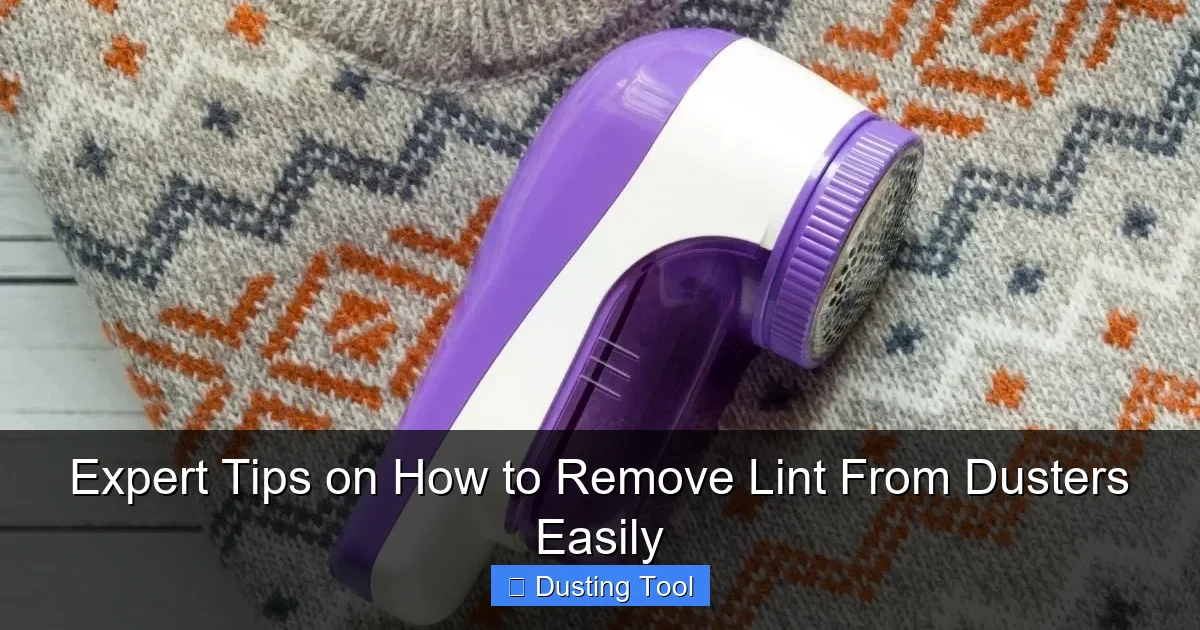
What You’ll Need: Your Lint-Removal Toolkit
Gather these simple items before you start. You might not need them all, but it’s good to have options.

Visual guide about Expert Tips on How to Remove Lint From Dusters Easily
Image source: smoothwares.com
- Lint Roller or Packing Tape: Perfect for surface-level lint.
- Fabric Shaver/Lint Remover: Great for pesky pills and matted fibers.
- Pumice Stone (for laundry): A secret weapon for heavy lint in the wash.
- Soft-Bristled Brush or Comb: Gently loosens embedded lint.
- Mild Laundry Detergent: For washing methods.
- White Vinegar: A natural fabric softener alternative that reduces static.
- A Clean Sink or Basin: For hand-washing.
Method 1: Quick Manual Lint Removal
This is your go-to for a fast clean or for delicate dusters you don’t want to wet.

Visual guide about Expert Tips on How to Remove Lint From Dusters Easily
Image source: aws-obg-image-lb-1.tcl.com
Step 1: Shake It Out
Take your duster outside or over a trash can. Give it a firm but careful shake. Snap it like you would a rug. This dislodges loose dust and lint trapped in the fibers. It’s a simple first step that makes the next steps easier.
Step 2: Use a Lint Roller or Tape
Wrap a wide packing tape around your hand, sticky side out. Or, use a sticky lint roller. Gently press and lift the tape onto the duster surface. Roll or pat the duster all over. The sticky tape picks up surface lint, hair, and dust bunnies instantly. Replace the tape or roller sheet as it gets full. This method is very gentle on all duster types.
Step 3: Brush It Off
Use a clean, soft-bristled clothes brush or a pet-grooming brush. Gently brush in one direction, following the duster’s fibers. This pulls out deeper lint and fluffs the material back up. For microfiber, a fine-tooth comb can work wonders on clumped areas. Be gentle to avoid pulling the strands.
Method 2: The Washing Machine Deep Clean
For a thorough clean, your washing machine is a powerful ally. But you must use it correctly to avoid damage.
Step 1: Prep the Duster and Machine
First, check the care label if your duster has one. Shake it out well outside. Place the duster in the washing machine by itself. Do not wash it with towels, sweaters, or other linty items. This is the golden rule! Washing it alone prevents cross-contamination.
Step 2: Choose the Right Settings and Add-ins
Set your machine to a gentle, cold water cycle. Hot water can damage fibers and set stains. Use a small amount of mild, liquid detergent. Avoid fabric softener at all costs! It coats the fibers, making them less absorbent and more likely to attract lint. For an extra boost, add ½ cup of white vinegar to the rinse cycle dispenser. Vinegar breaks down residue and reduces static cling.
Step 3: The Pumice Stone Trick (For Heavy Lint)
If your duster is very linty, try this pro tip. Get a clean, dedicated laundry pumice stone. As the washing machine fills with water, gently rub the stone over the duster in the water. The pumice grabs and holds onto lint particles. You’ll see lint collecting on the stone. Rinse the stone periodically. This works amazingly well for lambswool and cotton dusters.
Method 3: Hand Washing for Delicate Dusters
For vintage, delicate, or handmade dusters, hand washing is the safest choice.
Step 1: Make Your Cleaning Solution
Fill a clean sink or basin with cool or lukewarm water. Add a teaspoon of mild detergent or a tablespoon of baking soda. Swish to mix. Baking soda is great for deodorizing and gently lifting dirt.
Step 2: Wash and Rinse Gently
Submerge the duster. Gently agitate and squeeze the suds through it for a few minutes. Don’t twist, wring, or scrub harshly. Let it soak for 15-20 minutes if it’s very dirty. Drain the soapy water and refill the sink with clean, cool water. Rinse by squeezing repeatedly until the water runs clear.
Step 3: Remove Lingering Lint
While the duster is still damp, you can gently pick off any visible lint balls. The water loosens them. You can also run a fine comb through the fibers. This is much easier when the material is wet.
The All-Important Drying Process
How you dry your duster is just as critical as how you wash it. Never, ever put a duster in the dryer. The heat can melt microfiber plastics, shrink natural fibers, and bake any remaining lint or oils into the fabric forever.
After washing, gently squeeze out excess water. Do not wring. Lay the duster flat on a clean, dry towel or a drying rack. Reshape it to its original form. Let it air dry completely, away from direct heat or sunlight, which can be damaging. This could take a day or two. Be patient!
Troubleshooting Common Duster Problems
Problem: Lint is still there after washing.
Solution: The lint might be trapped. Try the manual brush or tape method on the dry duster. For future washes, use the pumice stone trick and always wash the duster alone.
Problem: My duster smells musty.
Solution: Soak it in a solution of cold water and one cup of white vinegar for an hour before washing. Ensure it is completely dry before storing it.
Problem: The duster lost its fluffiness.
Solution: While slightly damp, gently brush or “fluff” the fibers with your fingers. For microfiber, a quick tumble with a dryer ball on no heat (air fluff setting) for 10 minutes can help, but monitor it closely.
How to Prevent Future Lint Buildup
An ounce of prevention is worth a pound of cure! Follow these habits to keep your duster lint-free longer.
- Store Smartly: Keep your duster in a closed closet or drawer, away from laundry piles and other fuzzy textiles.
- Designated Washing: Always wash dusters separately from other laundry, especially towels and blankets.
- Skip the Softener: Never use fabric softener or dryer sheets on or near your dusters.
- Shake Often: Give your duster a good shake outside after each major use to expel dust before it turns into embedded lint.
- Rotate Your Tools: Have two dusters. Use one while the other is being cleaned. This extends the life of both.
Conclusion: Enjoy Your Like-New Duster
Removing lint from your duster isn’t just about looks. It’s about performance and value. A clean duster grabs dust and holds it. It doesn’t smear or scatter it. By using these simple methods—manual pickup, a smart machine wash, or a careful hand wash—you can save money and clean better. Remember the core rules: wash alone, use cold water, avoid heat, and never use fabric softener. With this knowledge, you can tackle lint easily. Your dusting will be faster and more effective. Your home will thank you for it.
🎥 Related Video: How To Dust ✨The Right Way✨ #cleaning #dusting
📺 Kacie Stephens